What is Image Map?
Display questions and choices in the chatbot as an image, and by clicking that the action will follow depending on the image the users clicked.
Setting of an Image Map
(1) Click on the setting button on the upper right of the management page.
(2) Click on [Chat]>[Function]>[Chatbot+] on the left side of the screen.
(3) Click on [Add parts].
(4) In the section [Basic Information], enter [Part's name] and [Detail], and in the section [Rule], set the condition for sending an image<。br />
(5) In the section [Action], click on [Image Map] from the pull down.
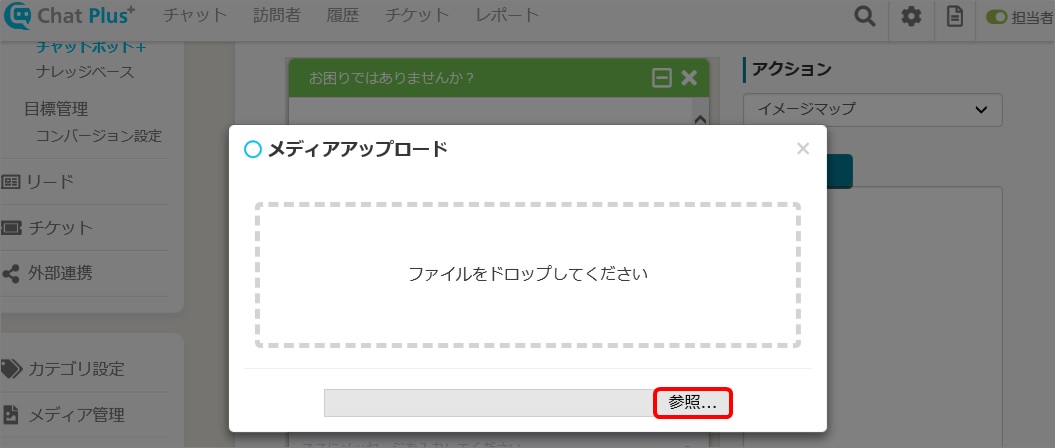
(6) Click on [Register Image], and upload the image for the Image Map.
(7) In the empty box under [Register Image], click with [Alt(Option)+Shift], and open [Image Map Editor].

(8) In the section [Divide], set the division of the image, Image Map will be divided and the numbers will be distributed to each section.
※The Image Map below is divided by two.
(9) In the section [Action], choose a number you want to set an action.
(10) These contents can be set
■Coordinates:You can set the range of images with coordinates for setting an action.

(11) Click on [Output], and the code of the setting will be shown, copy all.
(12) Close [Image Map Editor] window, and paste in the box below [Register Image] what you copied. 
(13) Click on [Update].


