
1.About SSO (single sign-on)
With Premium subscription and higher subscriptions, you can configure SSO with SAML 2.0 authentication.
This allows the identity provider (IdP) to centrally manage email addresses and passwords for enhanced security.
2.How to configure SAML with Okta
2-1.Add an application with Okta
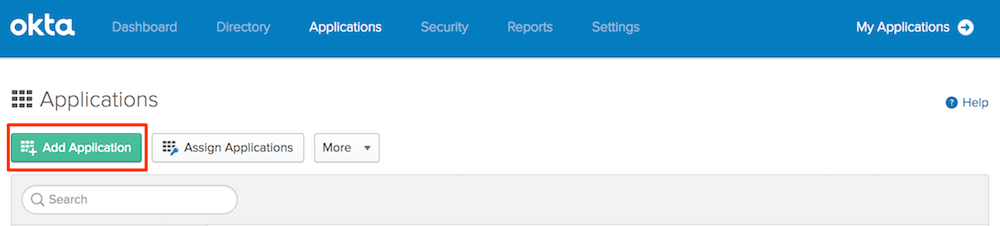
- Select [Applications → Applications] on the top page of the Okta management screen.

- Select [Add applications].
- Select [Create a new application].
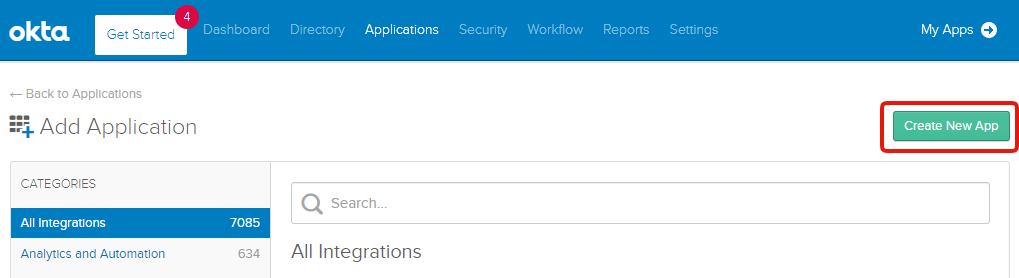
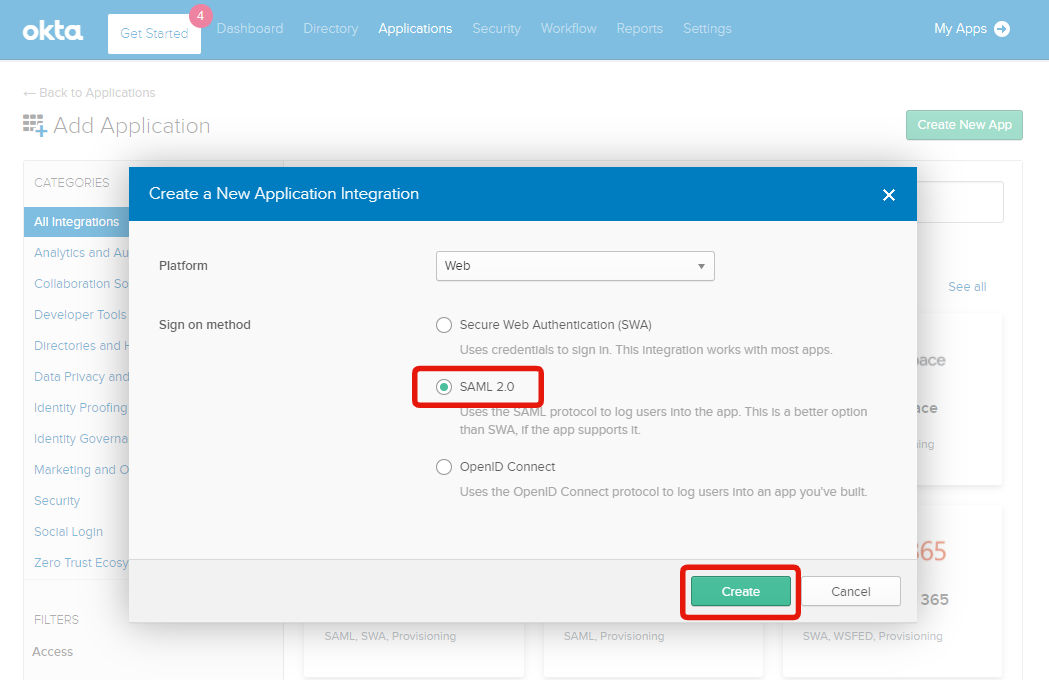
-
Select [SAML 2.0], then click on [Create].
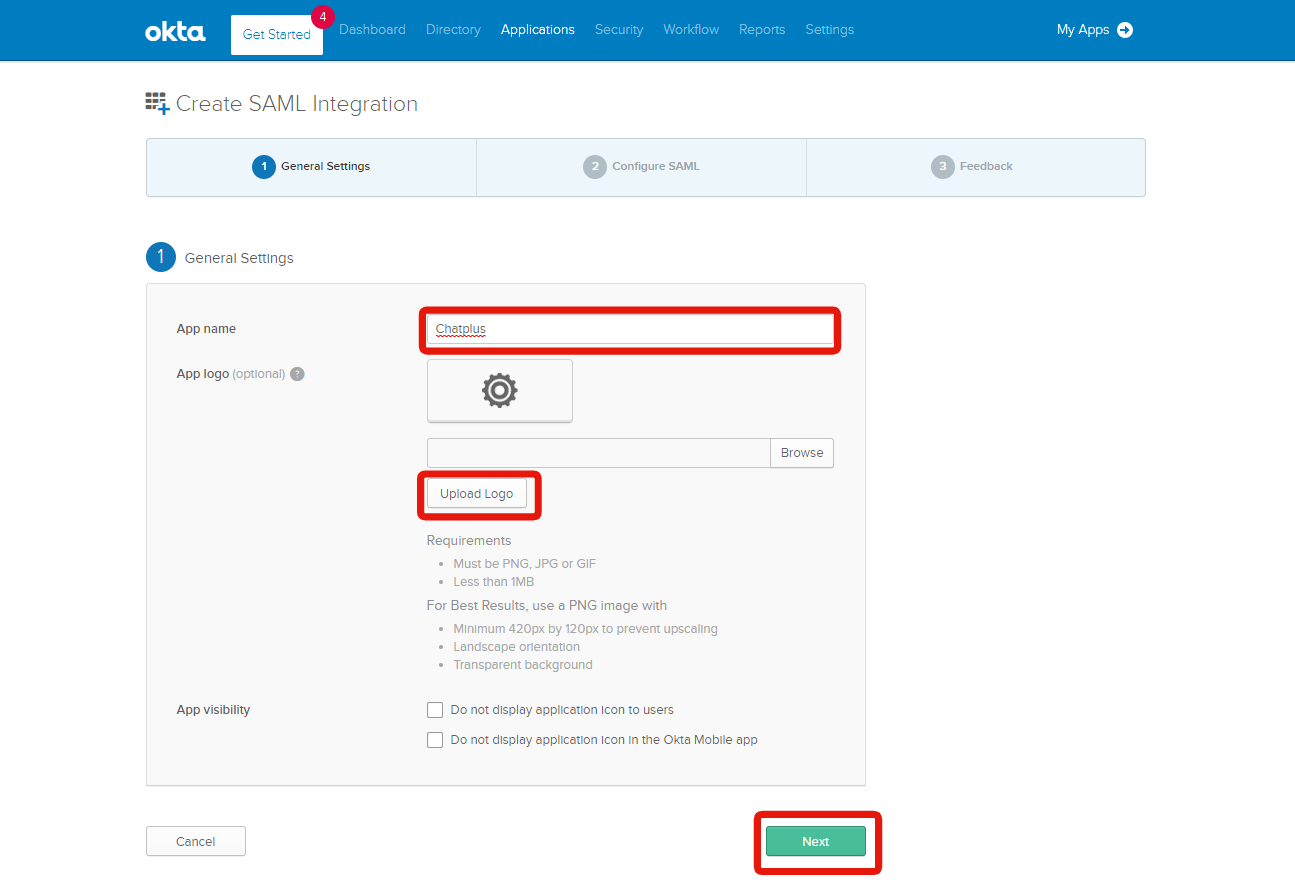
2-2.General Settings
- Enter a simple name, such as [Chatplus] in [App Name], and then upload the image you want when setting up [App Logo]. Click on [Next] when you are finished.
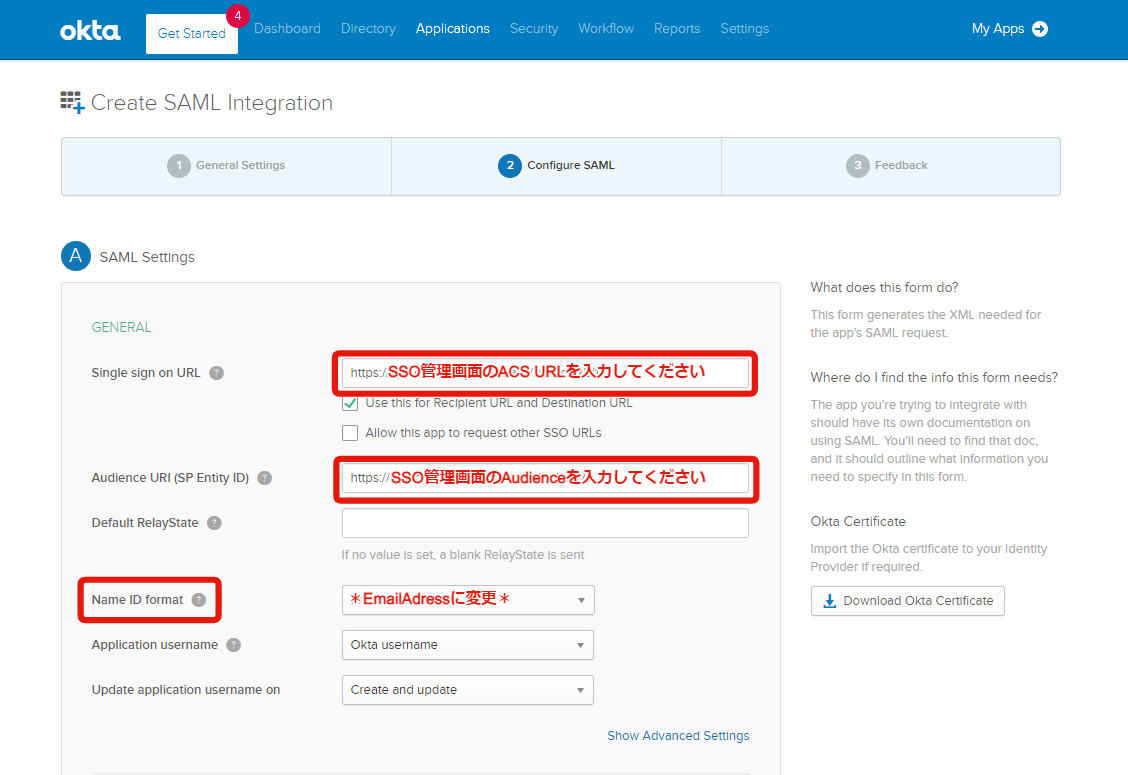
2-3.Configure SAML
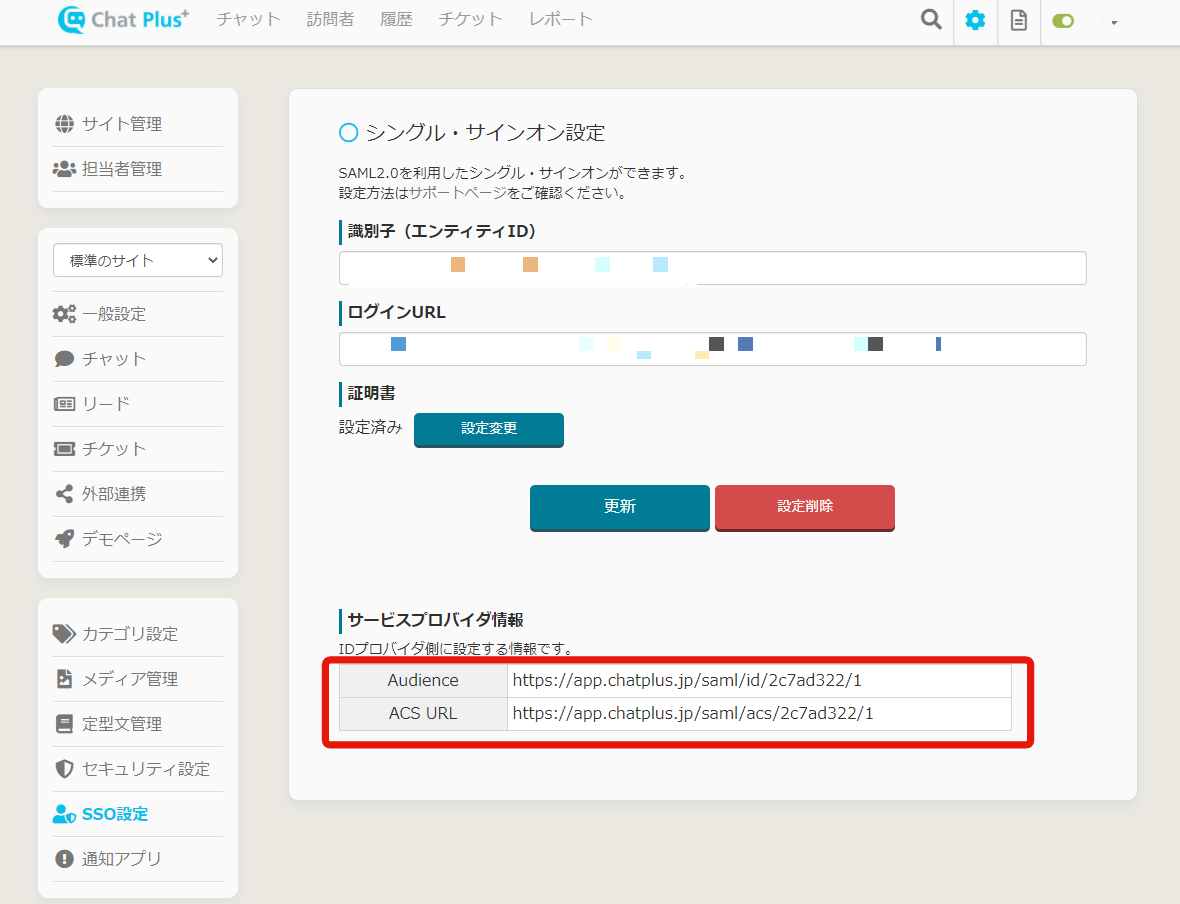
- Enter each item by referring to the information in [SSO settings → Service provider information] of Chat Plus, and specify [Email address] in [Name ID format]. Click on [Next] when you are finished.
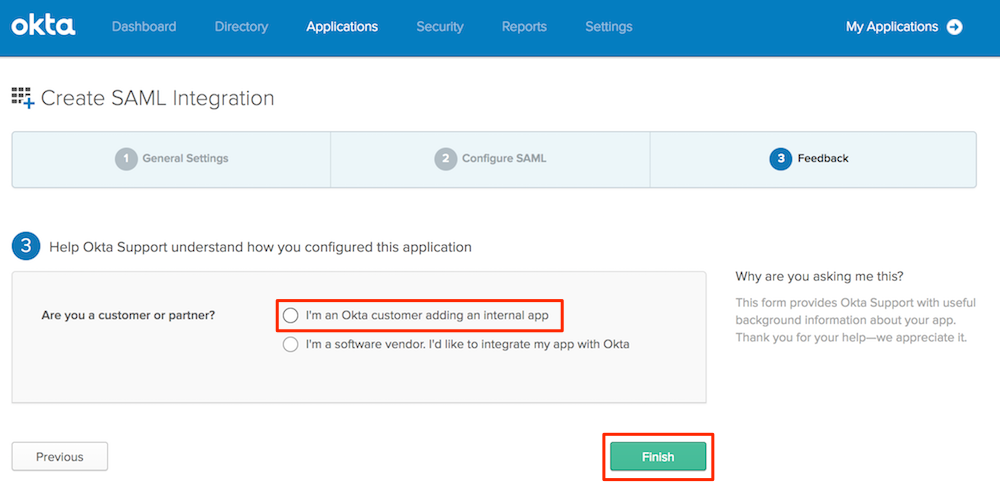
- Finally, select the red frame below and click on [Finish] to finish.
3. Chat Plus side settings
- From the settings screen of the created application, select [Sign On → View Setup Instructions].
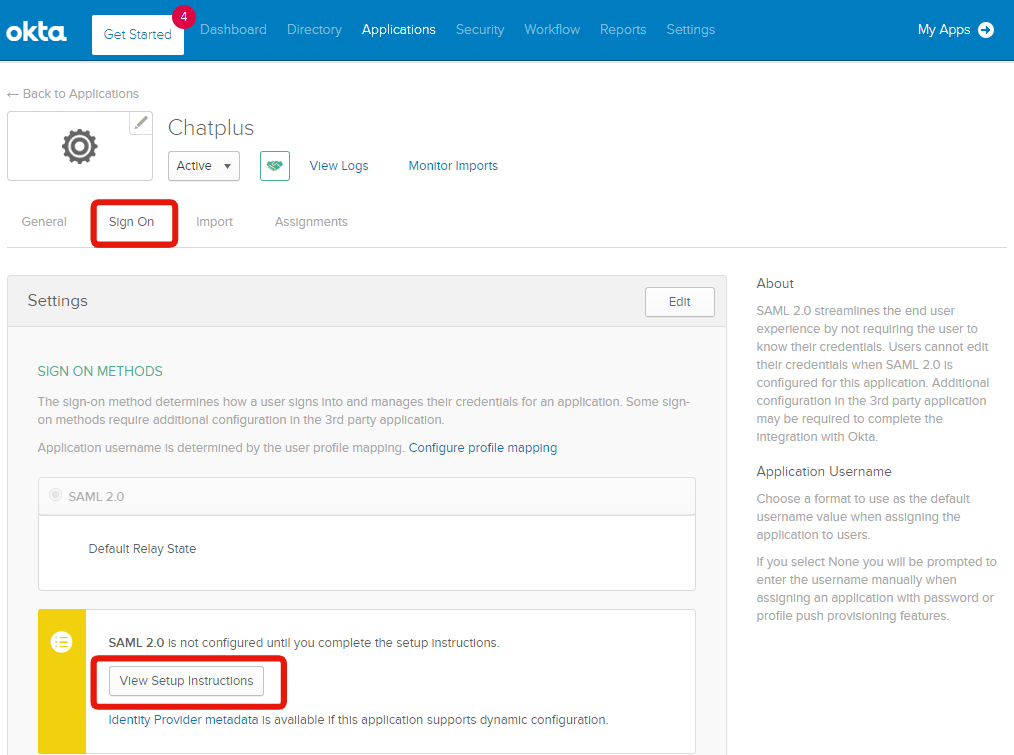
- Copy [(1) Identity Provider Single Sign-On URL] and [(2) Identity Provider Issuer] then upload [(3) X.509 certificate].
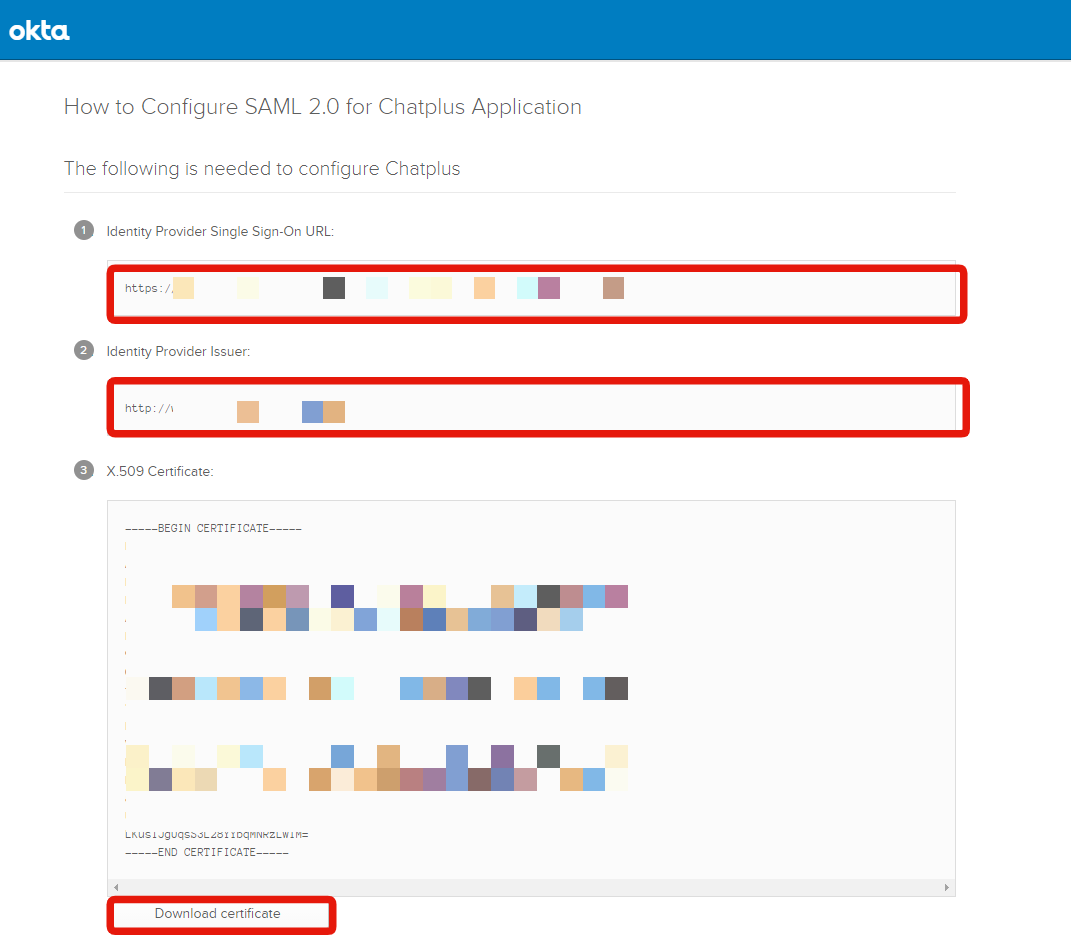
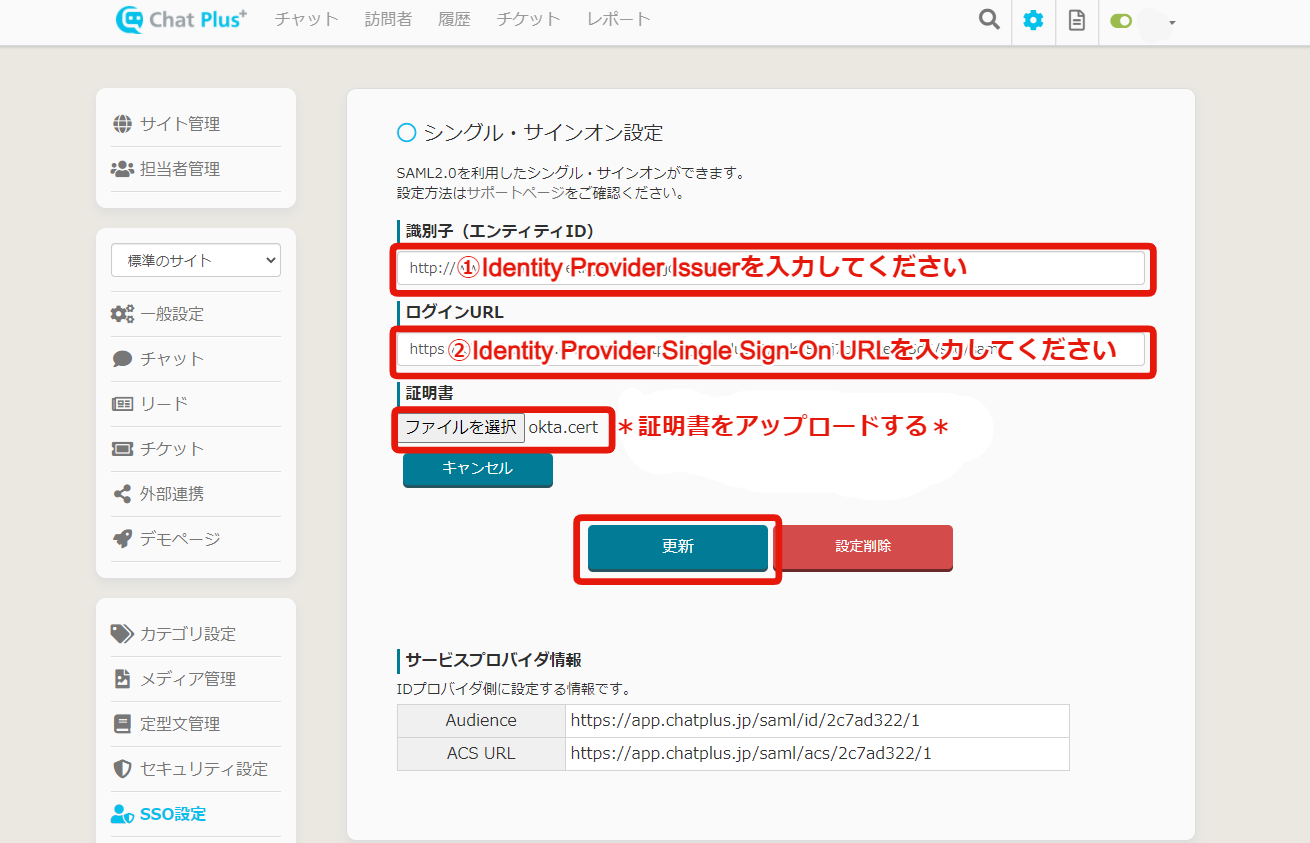
- In Chat Plus's [SSO Settings], enter the values copied in [Login URL] and [Identifier (Entity ID)], and then upload the downloaded certificate.
4.Function test
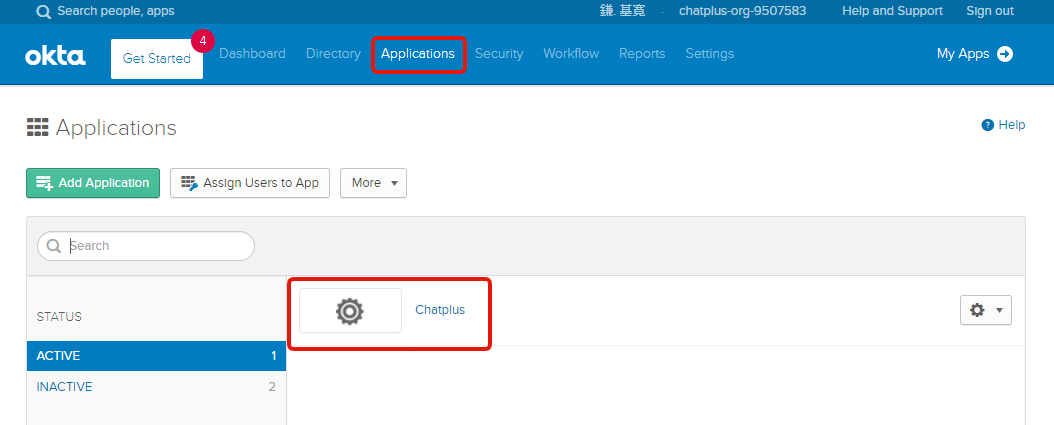
- Select [Applications → Application created] on the Okta management screen page.
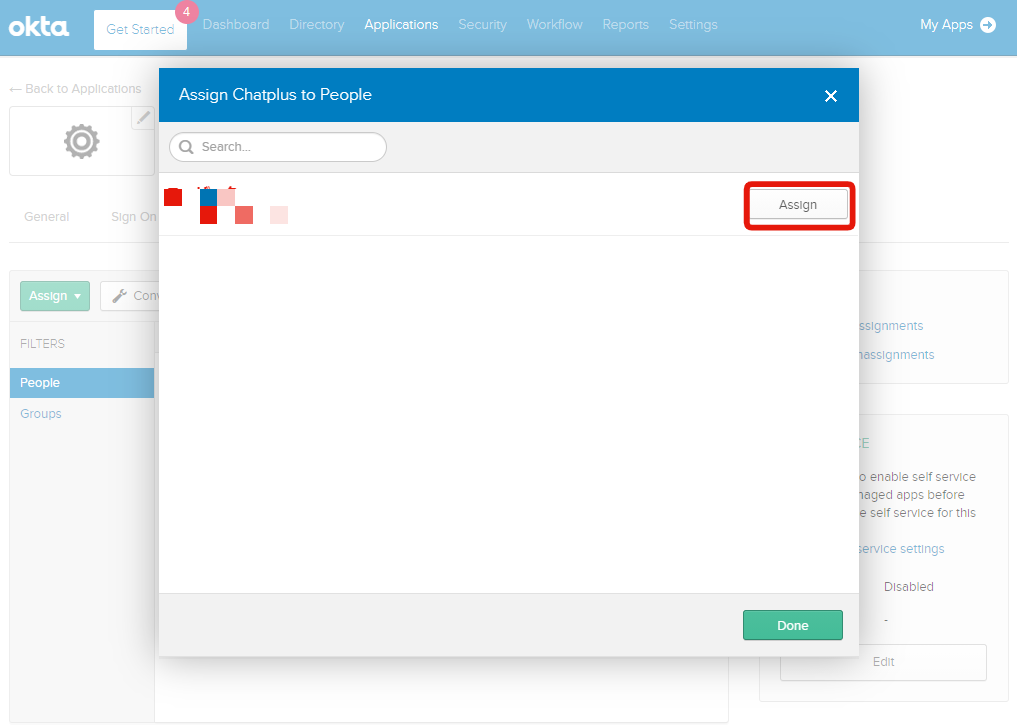
- Select [Assignments → Assign → Assign to people].
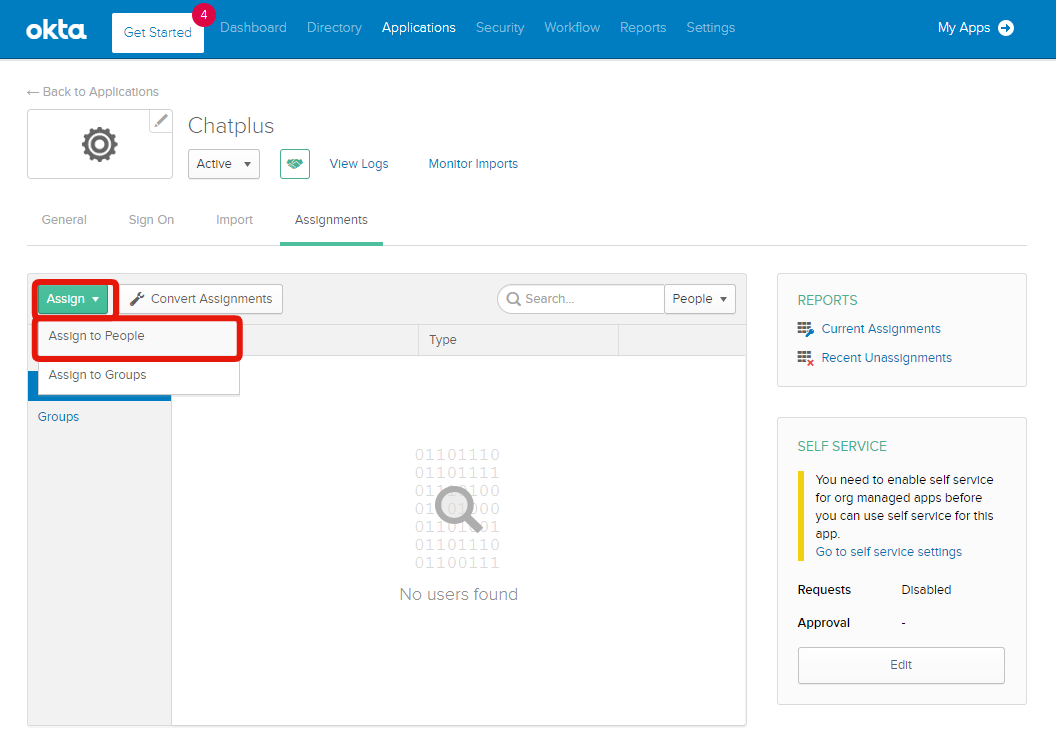
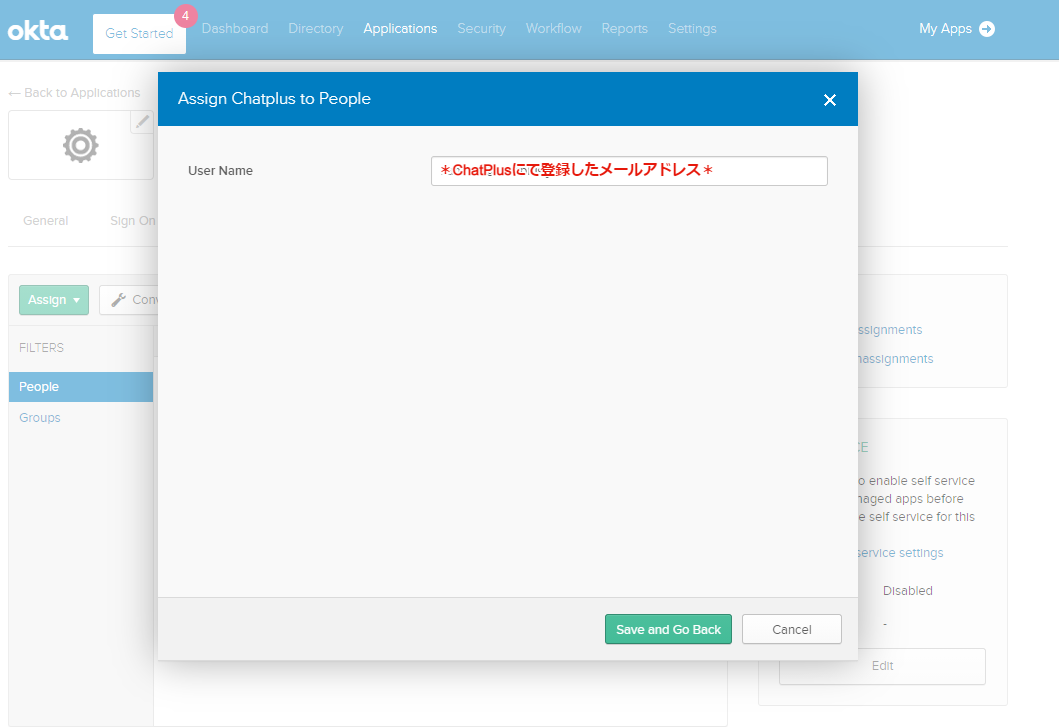
- Go to Assign> Done> Save and Go Back to add a user.
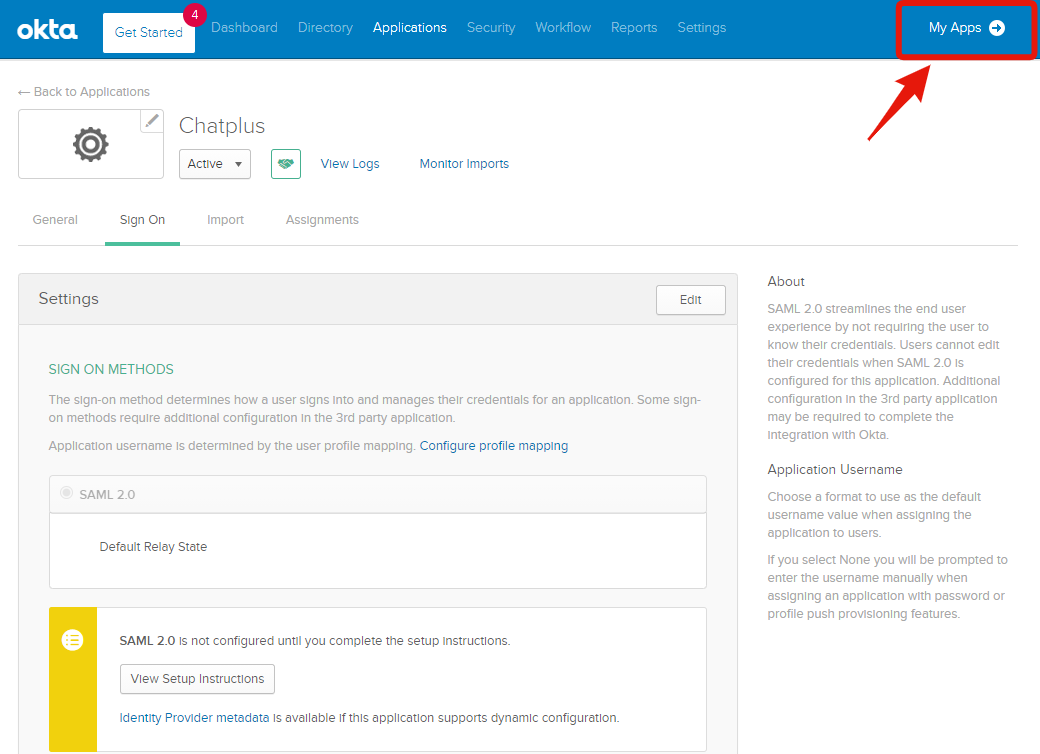
- Select [My app].
- Select the added Chat Plus app.
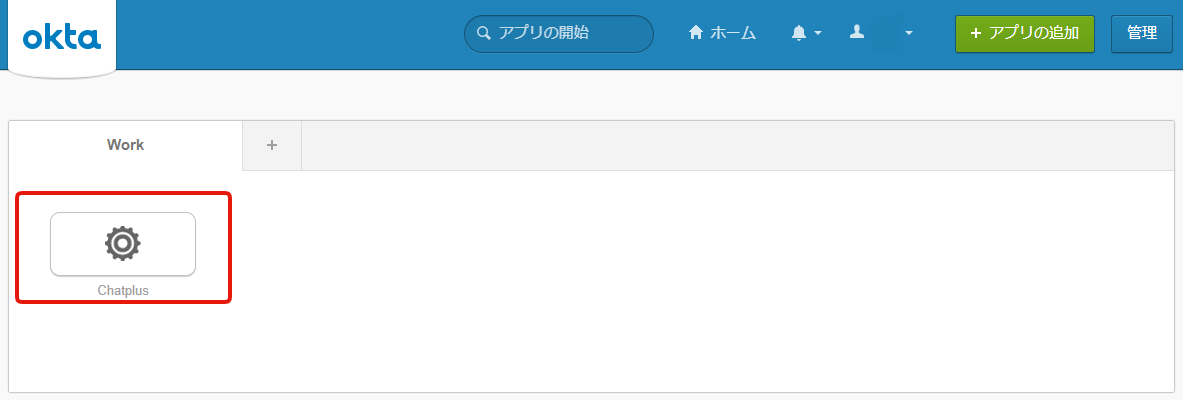
- If you can sign in to Chat Plus, the SSO settings are successful. If it fails, check that there are no errors in the settings and then start again.
This completes the settings.