
1.About SSO (single sign-on)
With Premium subscription and higher subscriptions, you can configure SSO with SAML 2.0 authentication.
This allows the identity provider (IdP) to centrally manage email addresses and passwords for enhanced security.
This time, we will proceed with the creation of Google workspace before defining the single sign-on.
2.How to configure SAML in Google workspace
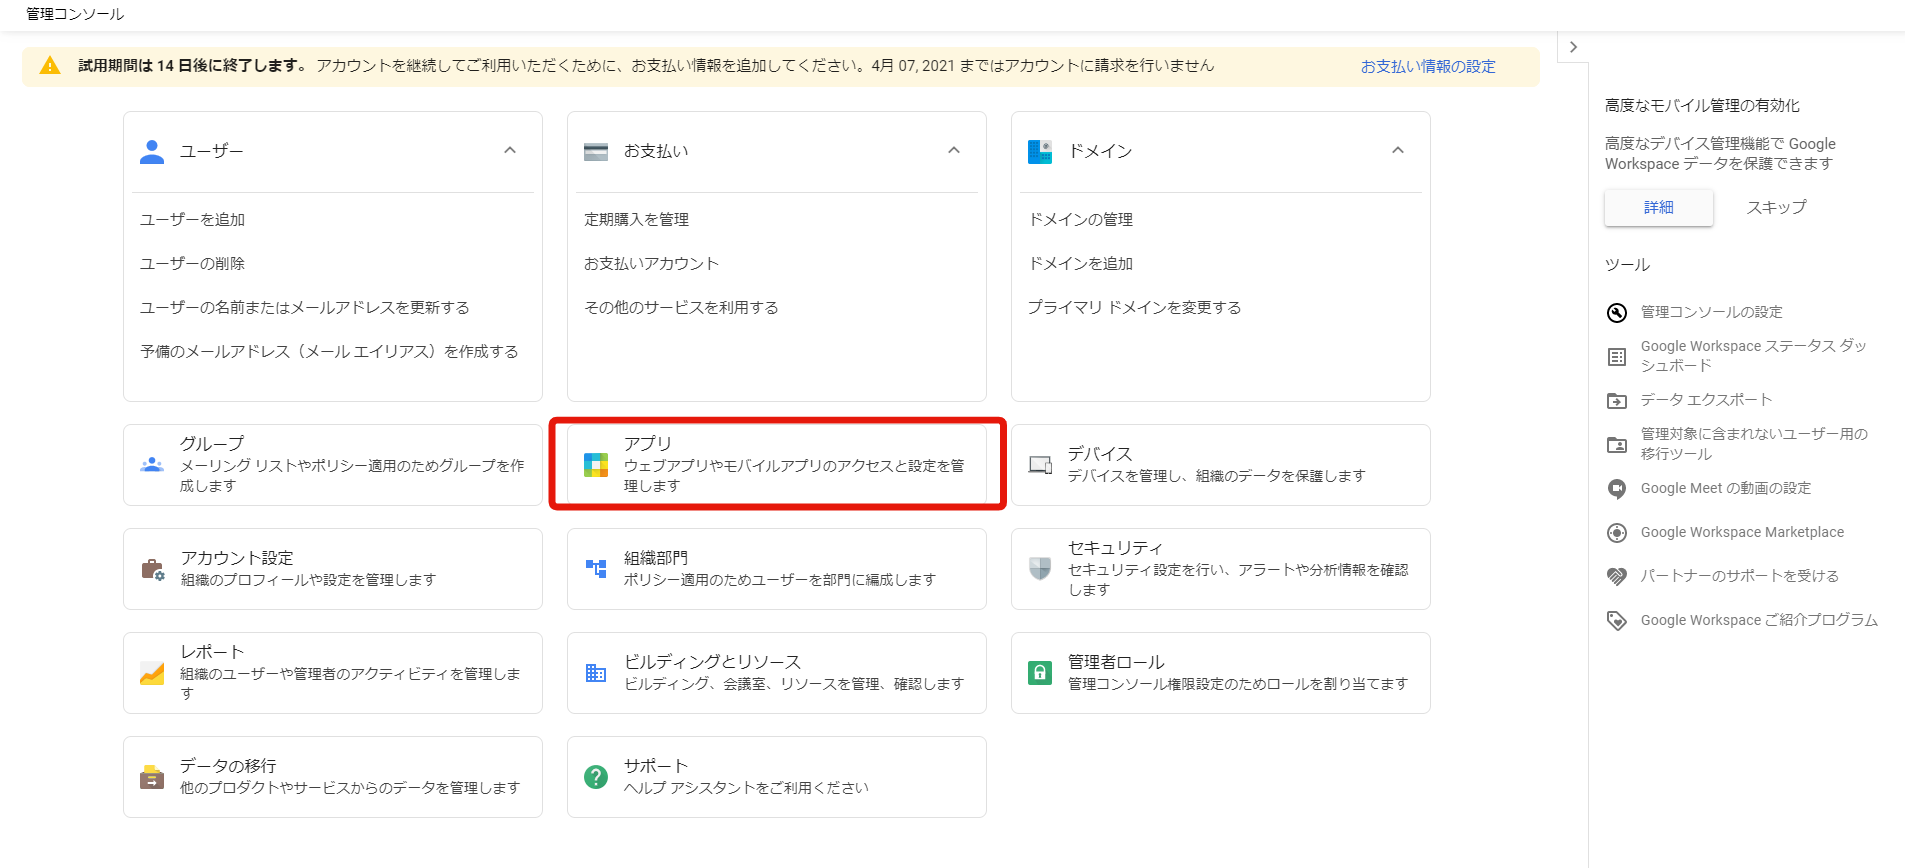
- Open the Google workspace administrator control page and select [Applications].
(You can find the HP link here:https://admin.google.com/u/1/)
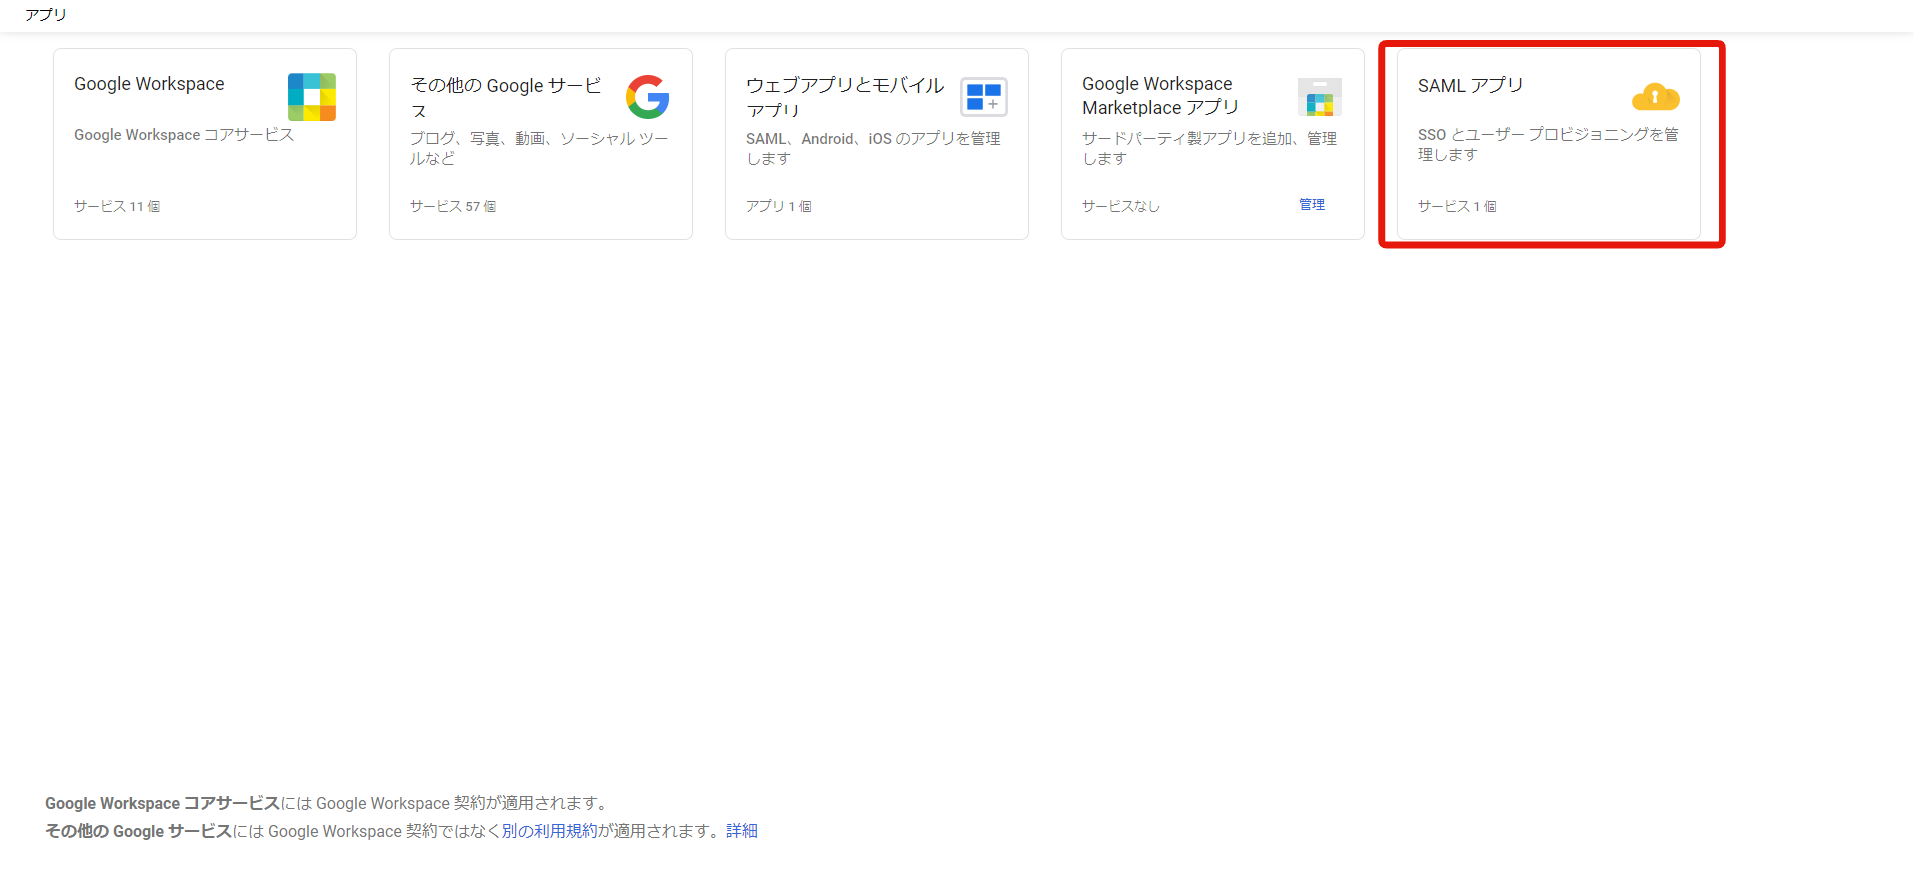
- Select the SAML app.
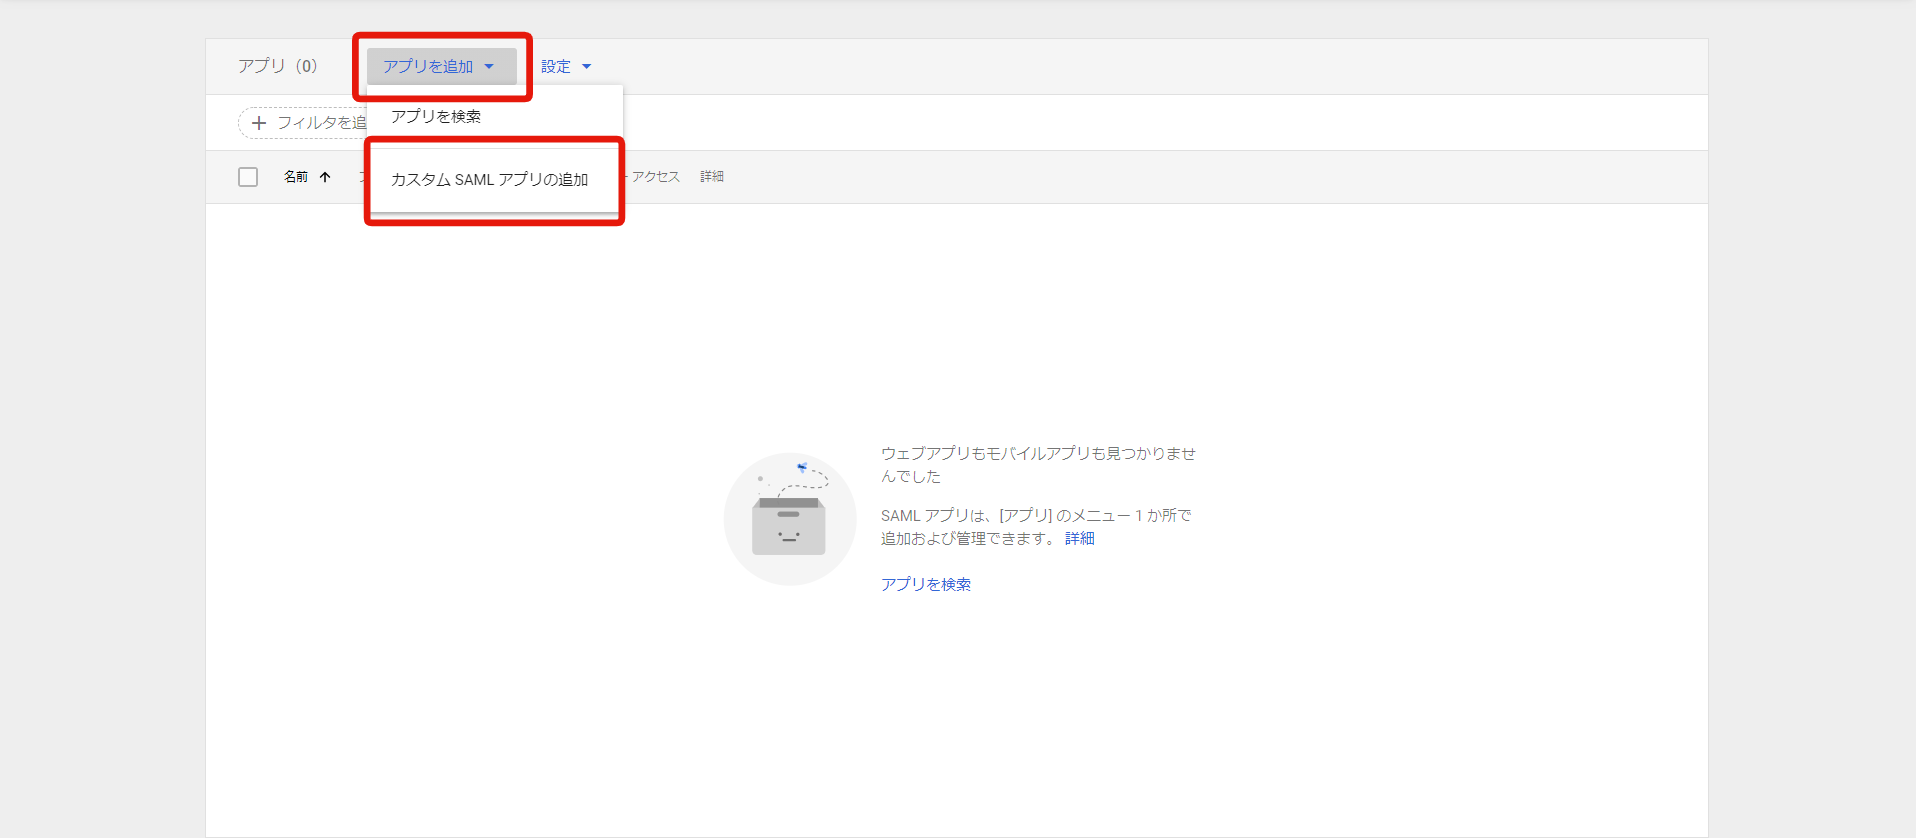
- Select [Add application] to continue creating a new application.
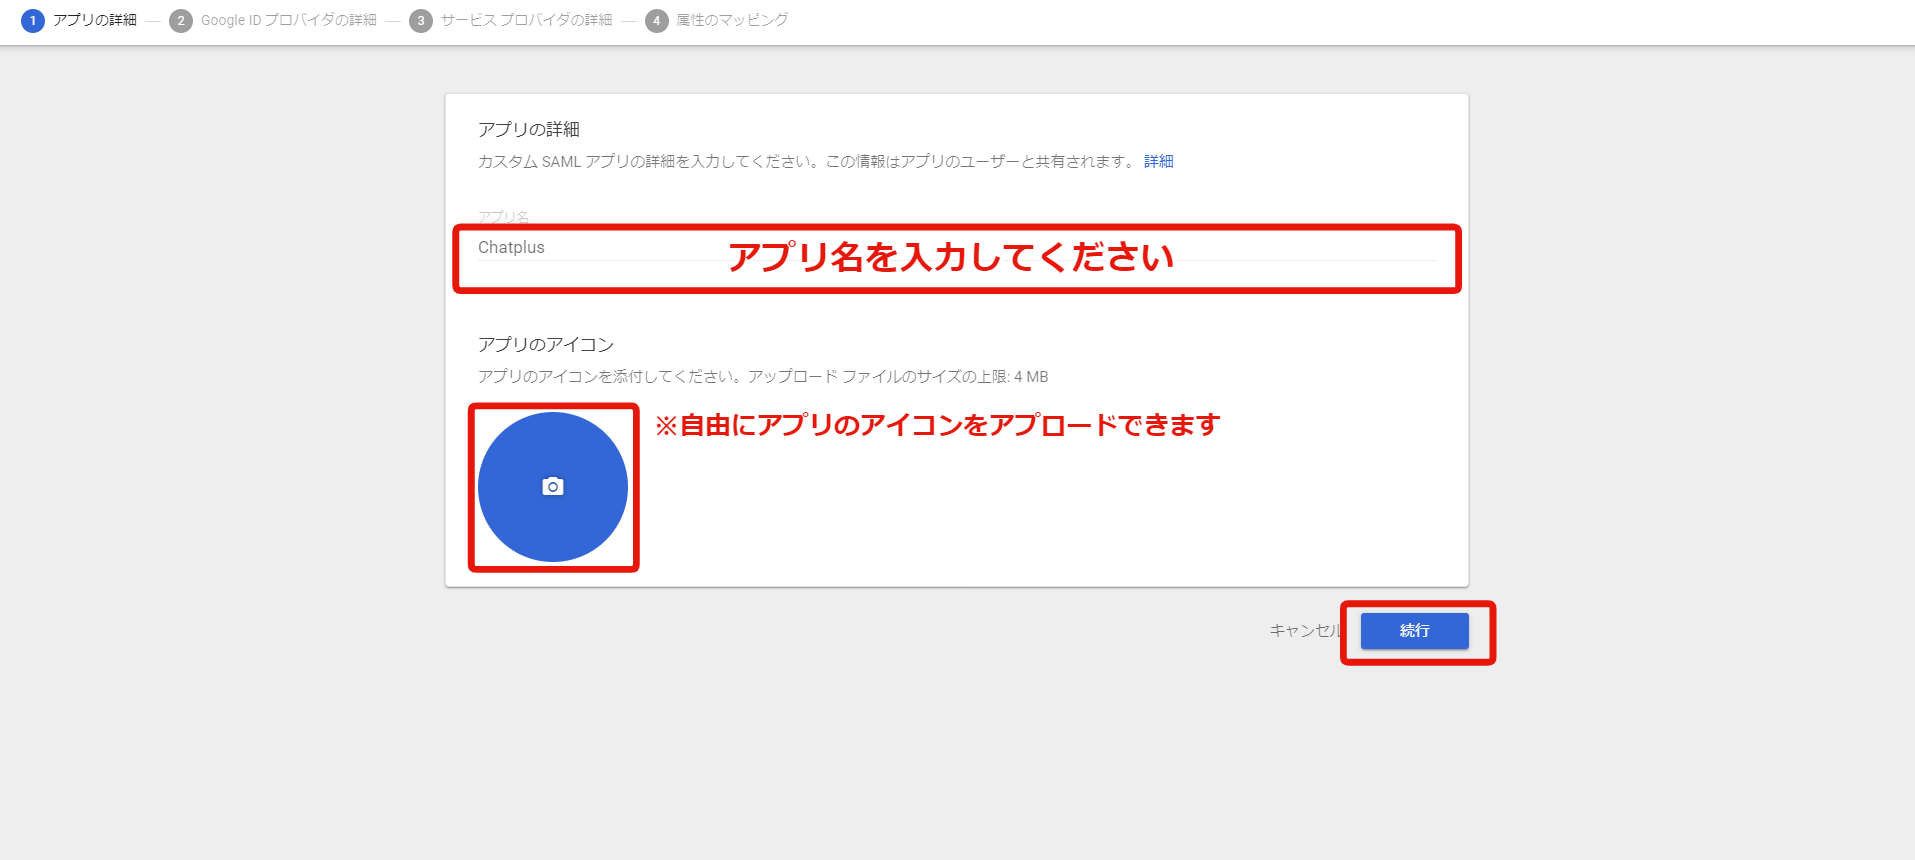
- Enter a simple name for the app name and you can also choose the app icon as you want. Click on [Execute] when you are finished.
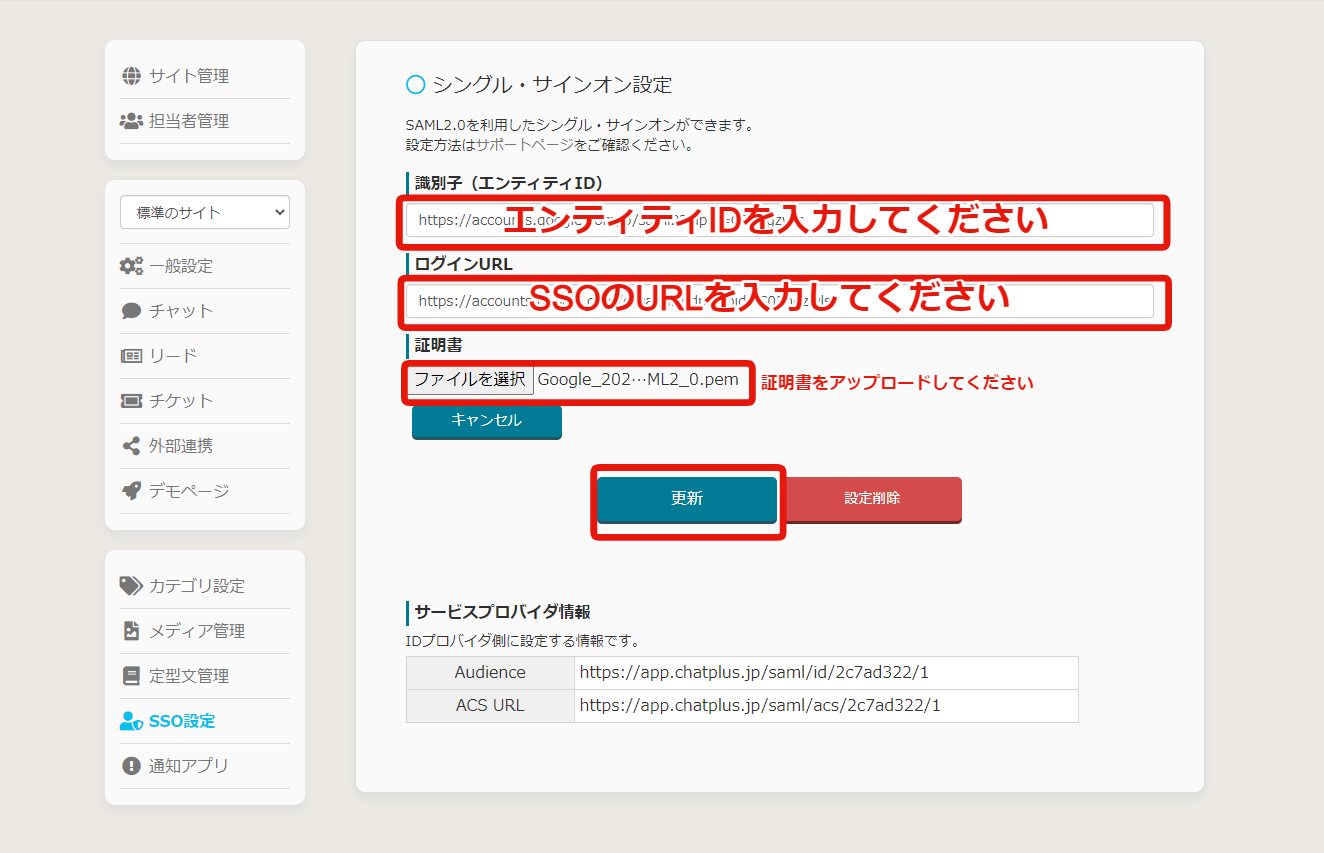
- Download the certificate by copying the SSO URL and entity ID. After that, enter each item in Chat Plus [SSO setup screen].

- When the entry is complete, click on [Register].
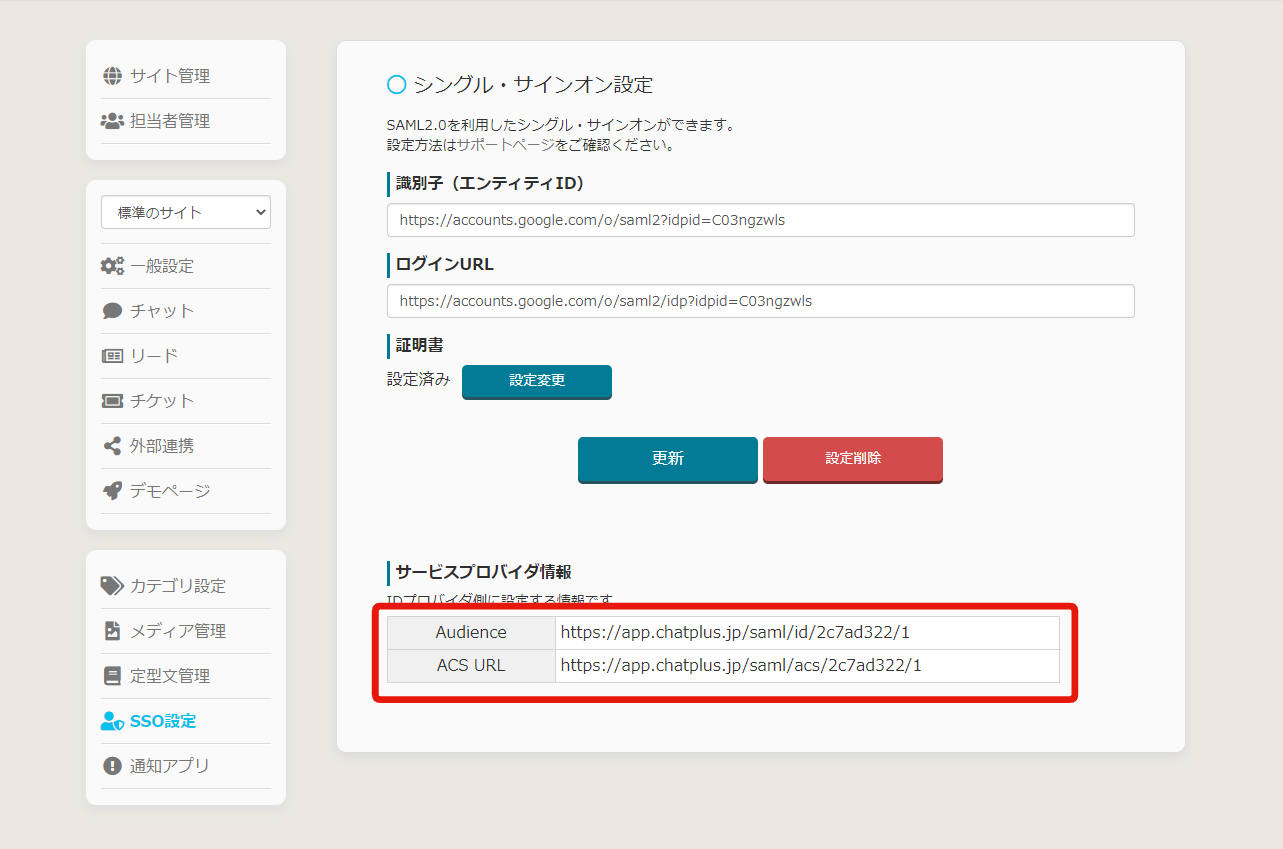
- Enter these two items while referring to the service provider information in Chat Plus [SSO setup screen].

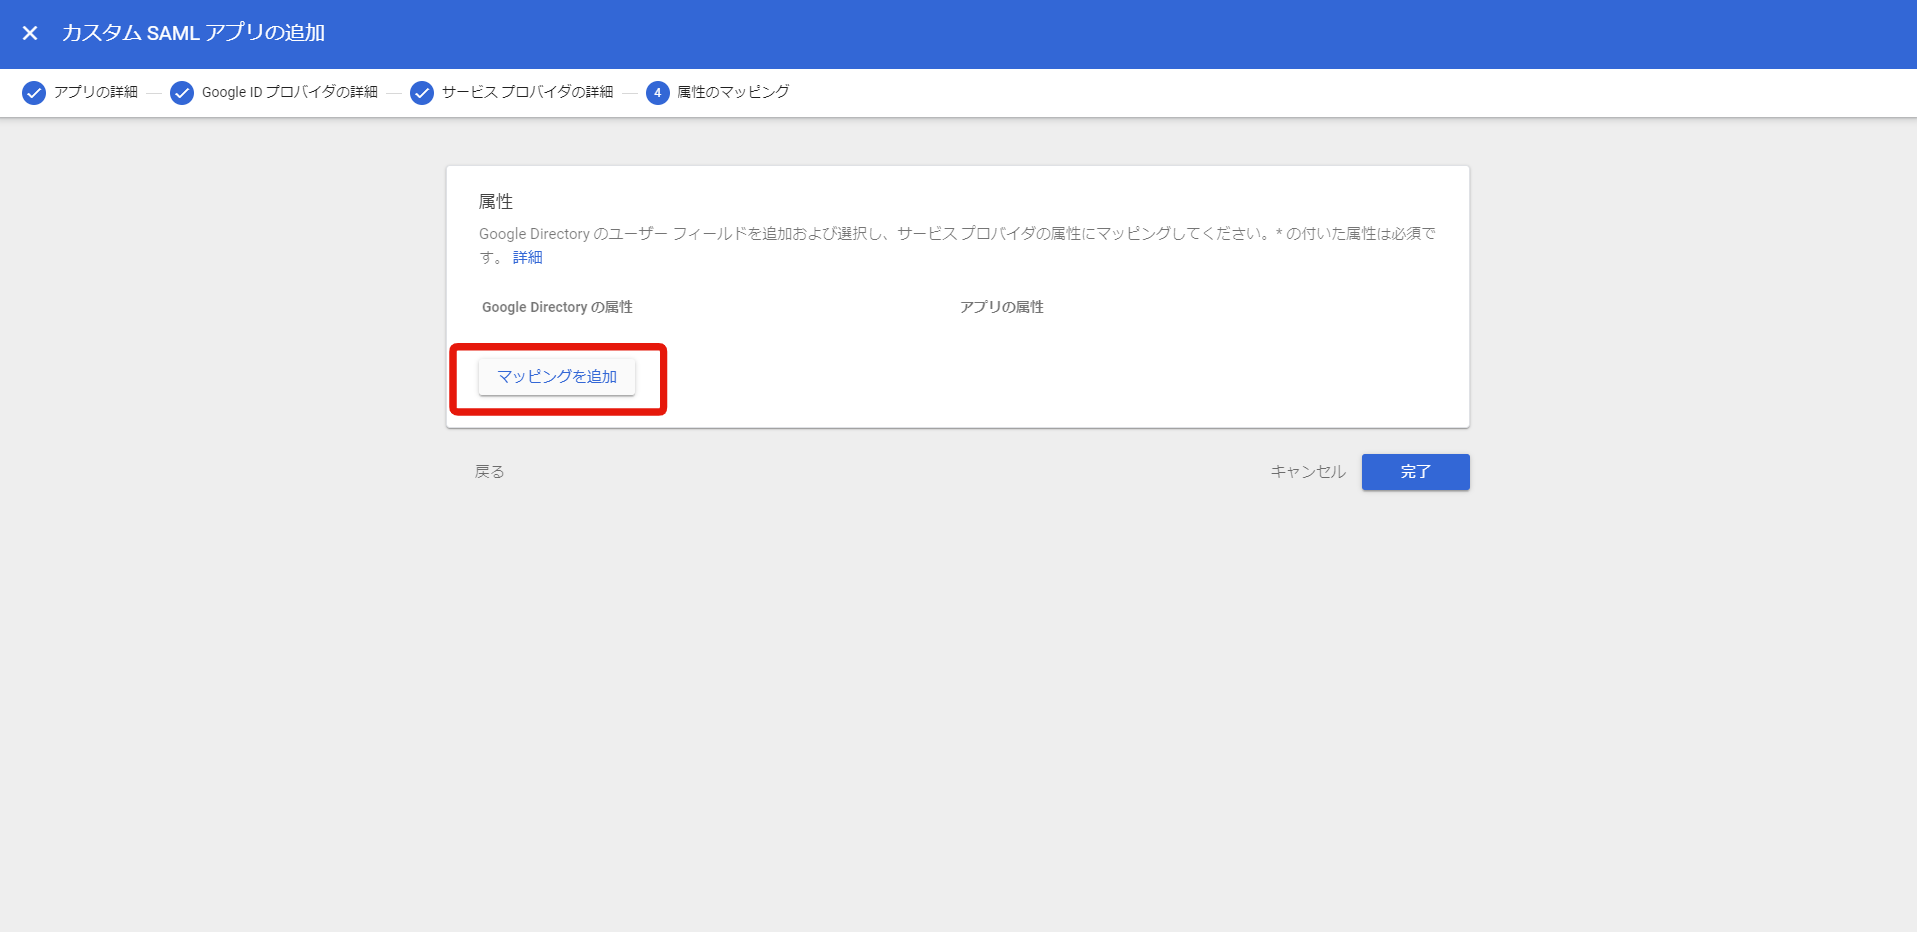
- Select [Add mapping].
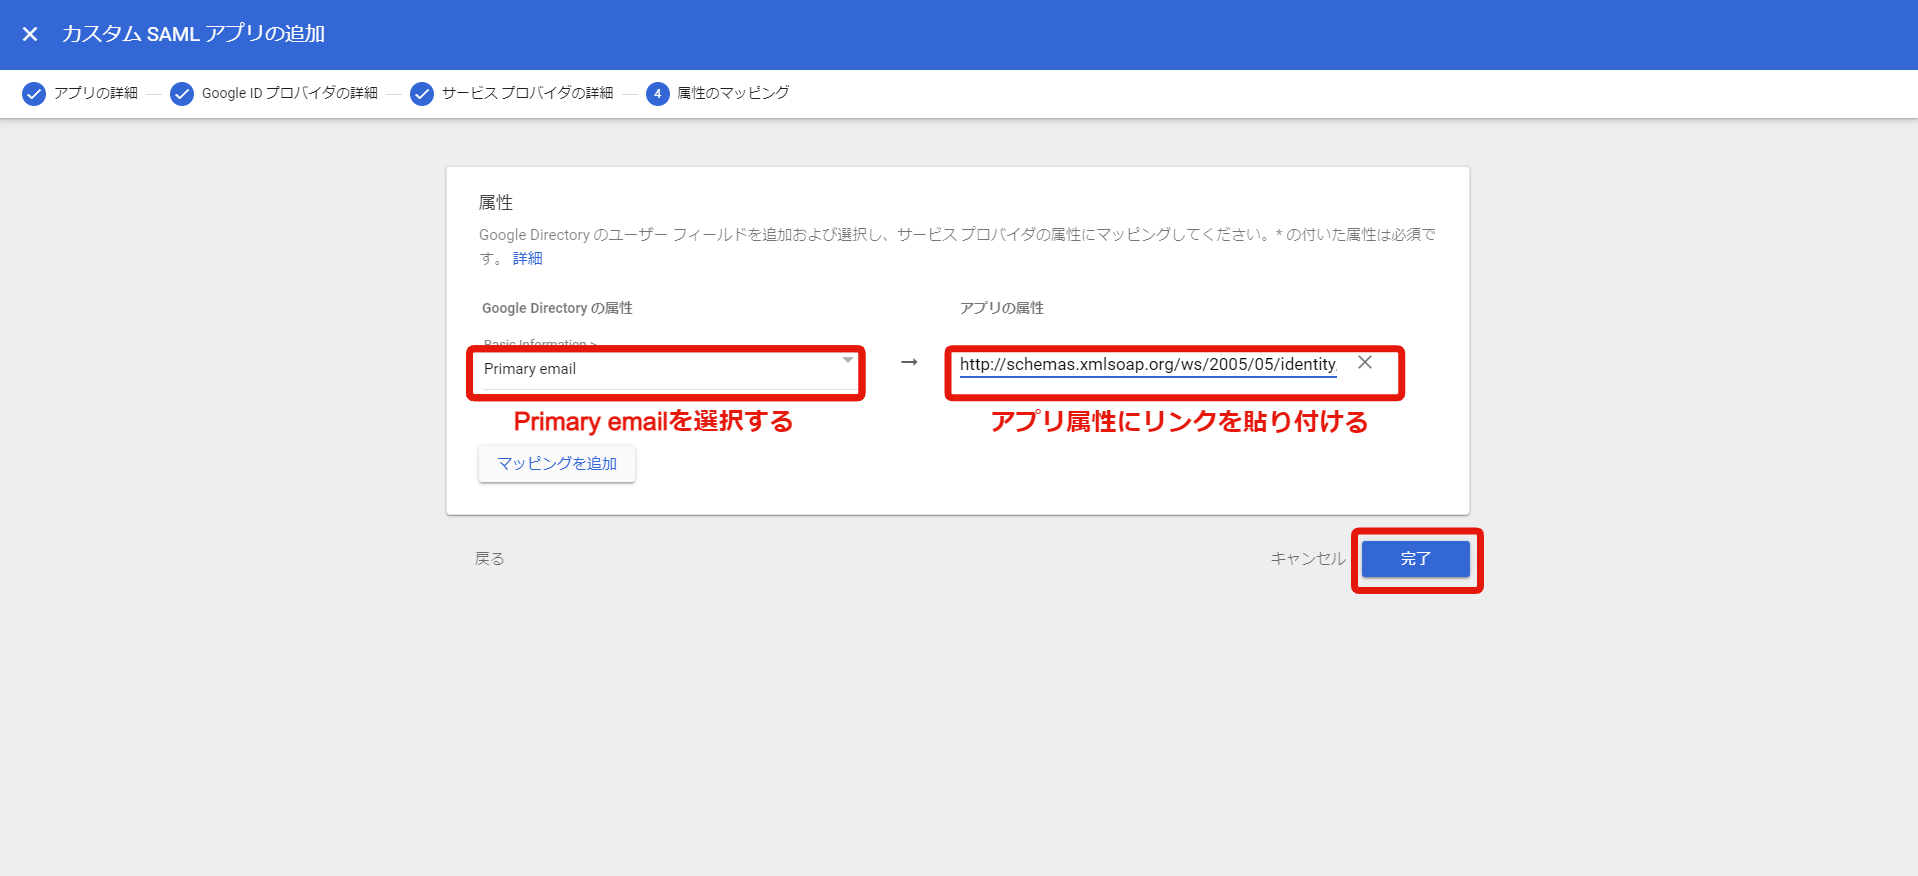
- Please set the following.
- Google directory attributes: primary email
- Application attributes:http://schemas.xmlsoap.org/ws/2005/05/identity/claims/emailaddress
- After entering them, click on [Finish].
- The saved screen will appear. Click on [User Access] at the top.
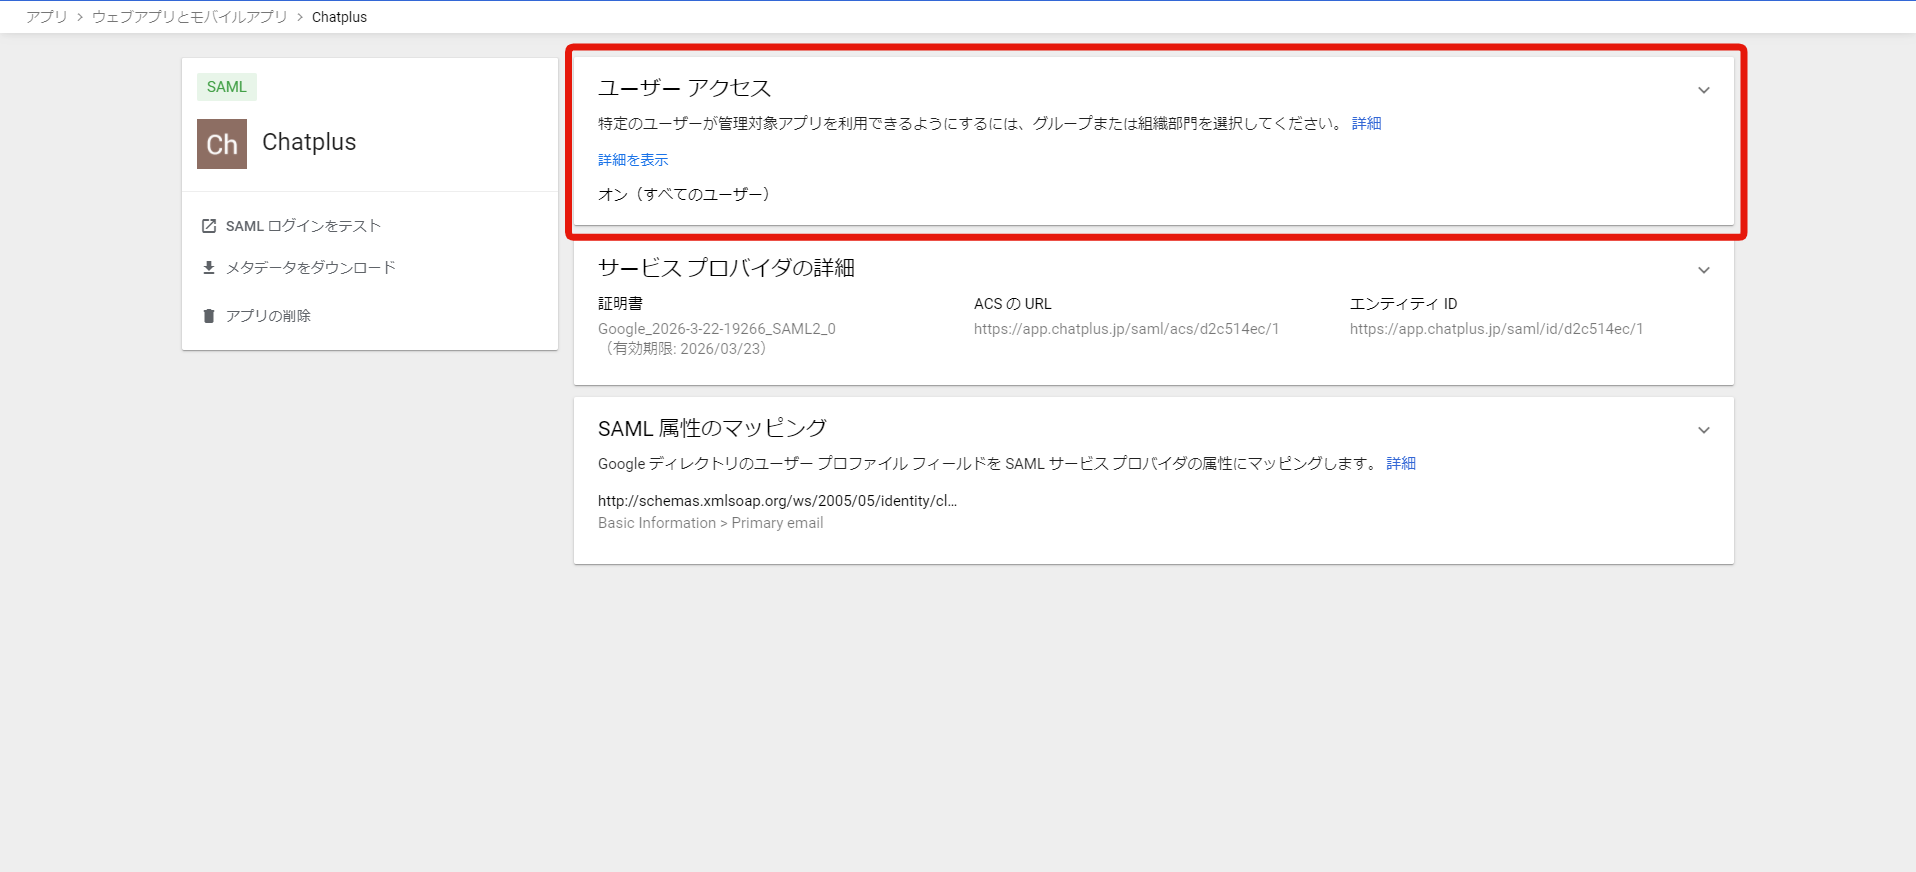
- Check [On] in [Service Status].
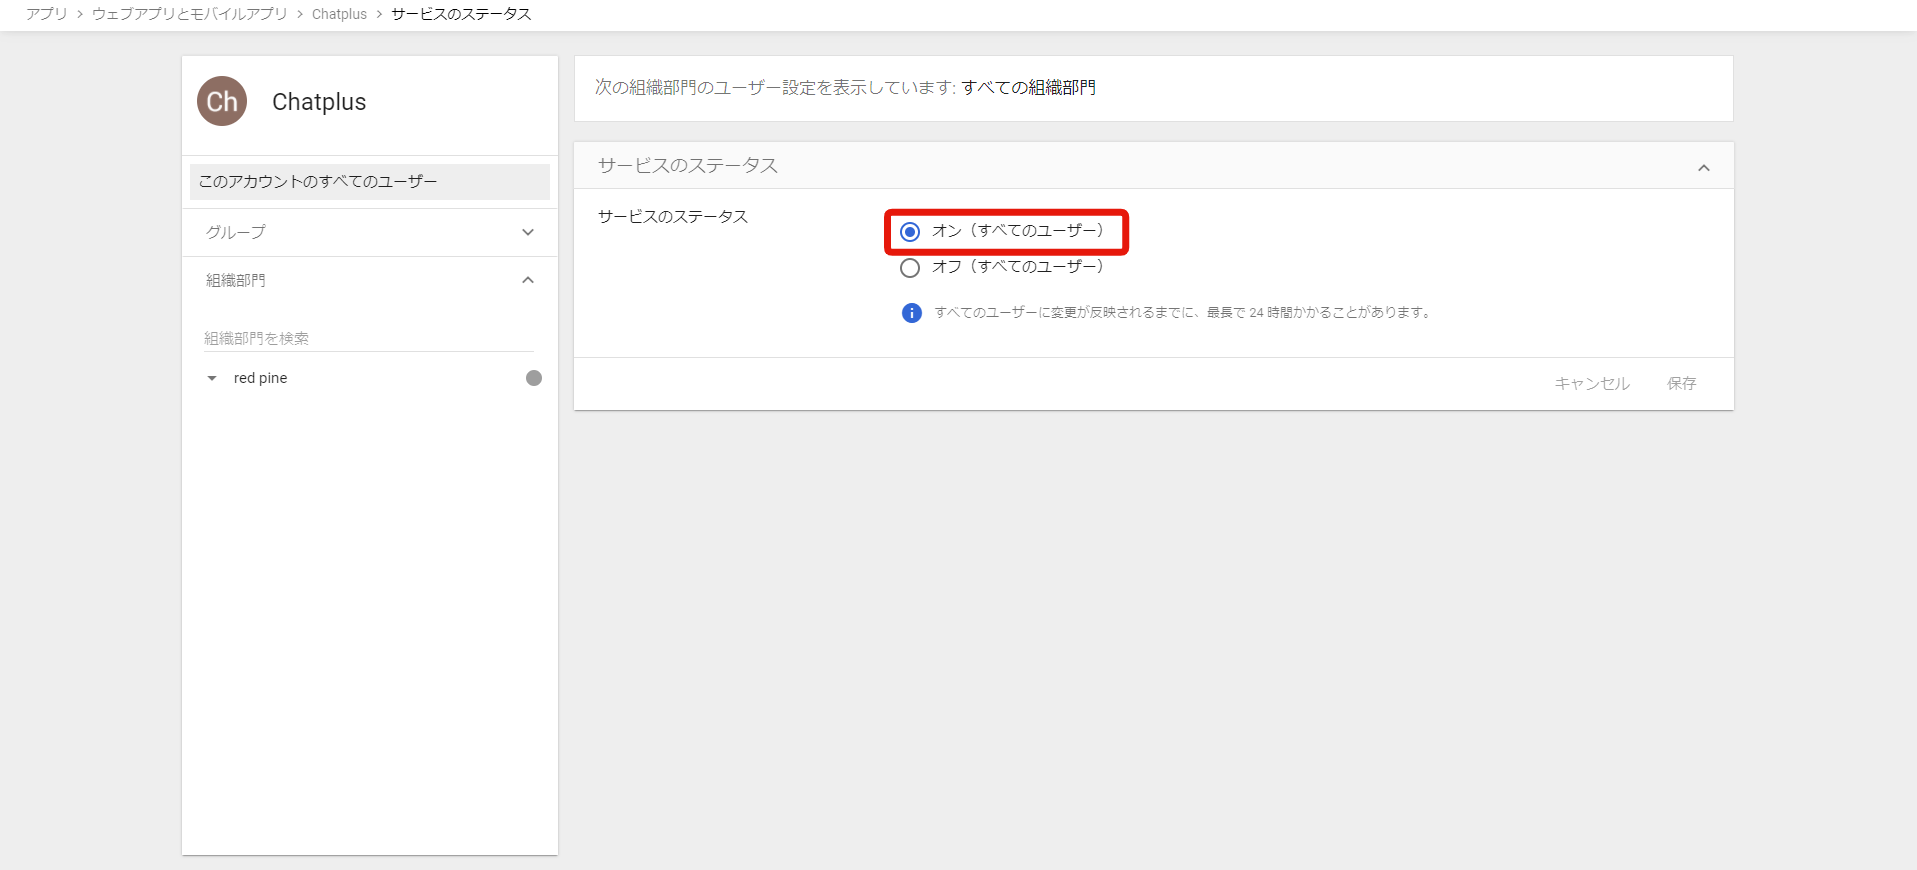
- The SAML settings for Google workspace are complete.
3.Operation test (performed by administrator)
- Log out of Chat Plus once. Click on [Test SAML Connection] on the left side of the Google workspace screen.
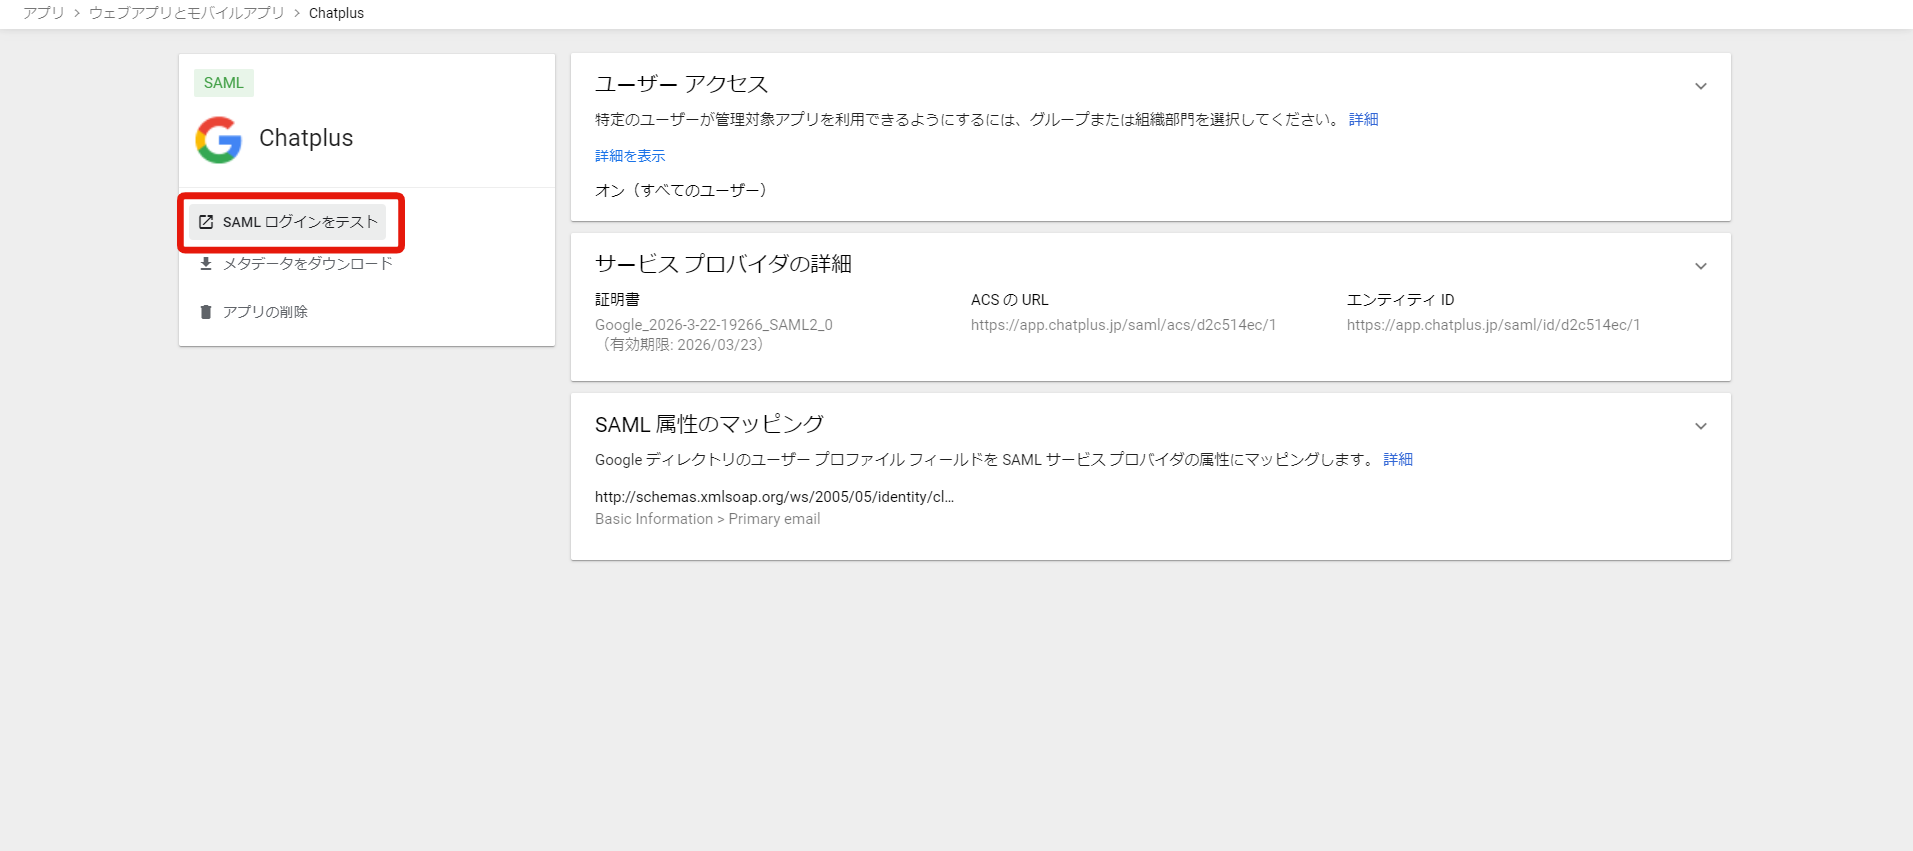
- If you can log in to Chat Plus, the SSO setting is successful. If it fails, check that there are no errors in the settings and then start again.
This completes the SSO setting.