
1.About SSO (single sign-on)
With Premium subscription and higher subscriptions, you can configure SSO with SAML 2.0 authentication.
It allows the ID Provider (IdP) to centrally manage email addresses and passwords for enhanced security.
2.How to configure SAML in Azure AD
You must create Microsoft Azure before configuring SSO.
2-1.How to create Microsoft Azure
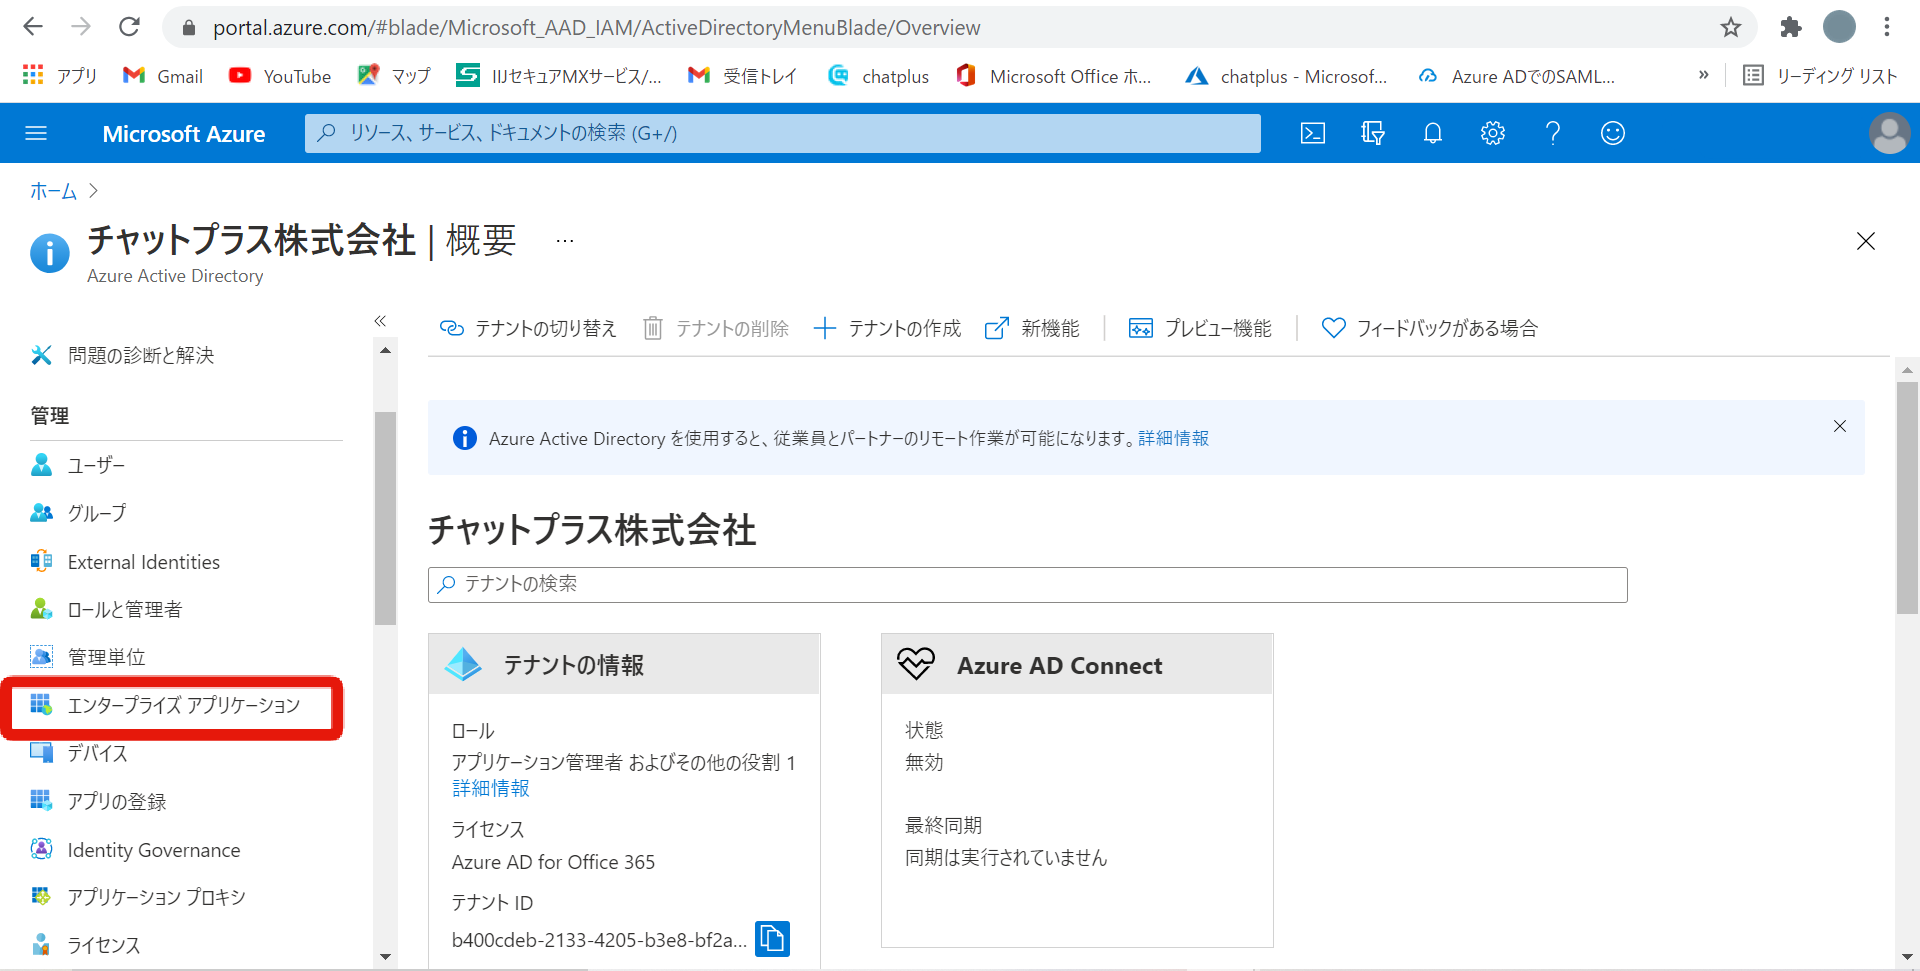
- Open Microsoft Azure home page and select [Active Directory].
(You can find the HP link here:https://portal.azure.com/#home)

- Select [Business Apps] on the left side of the screen.
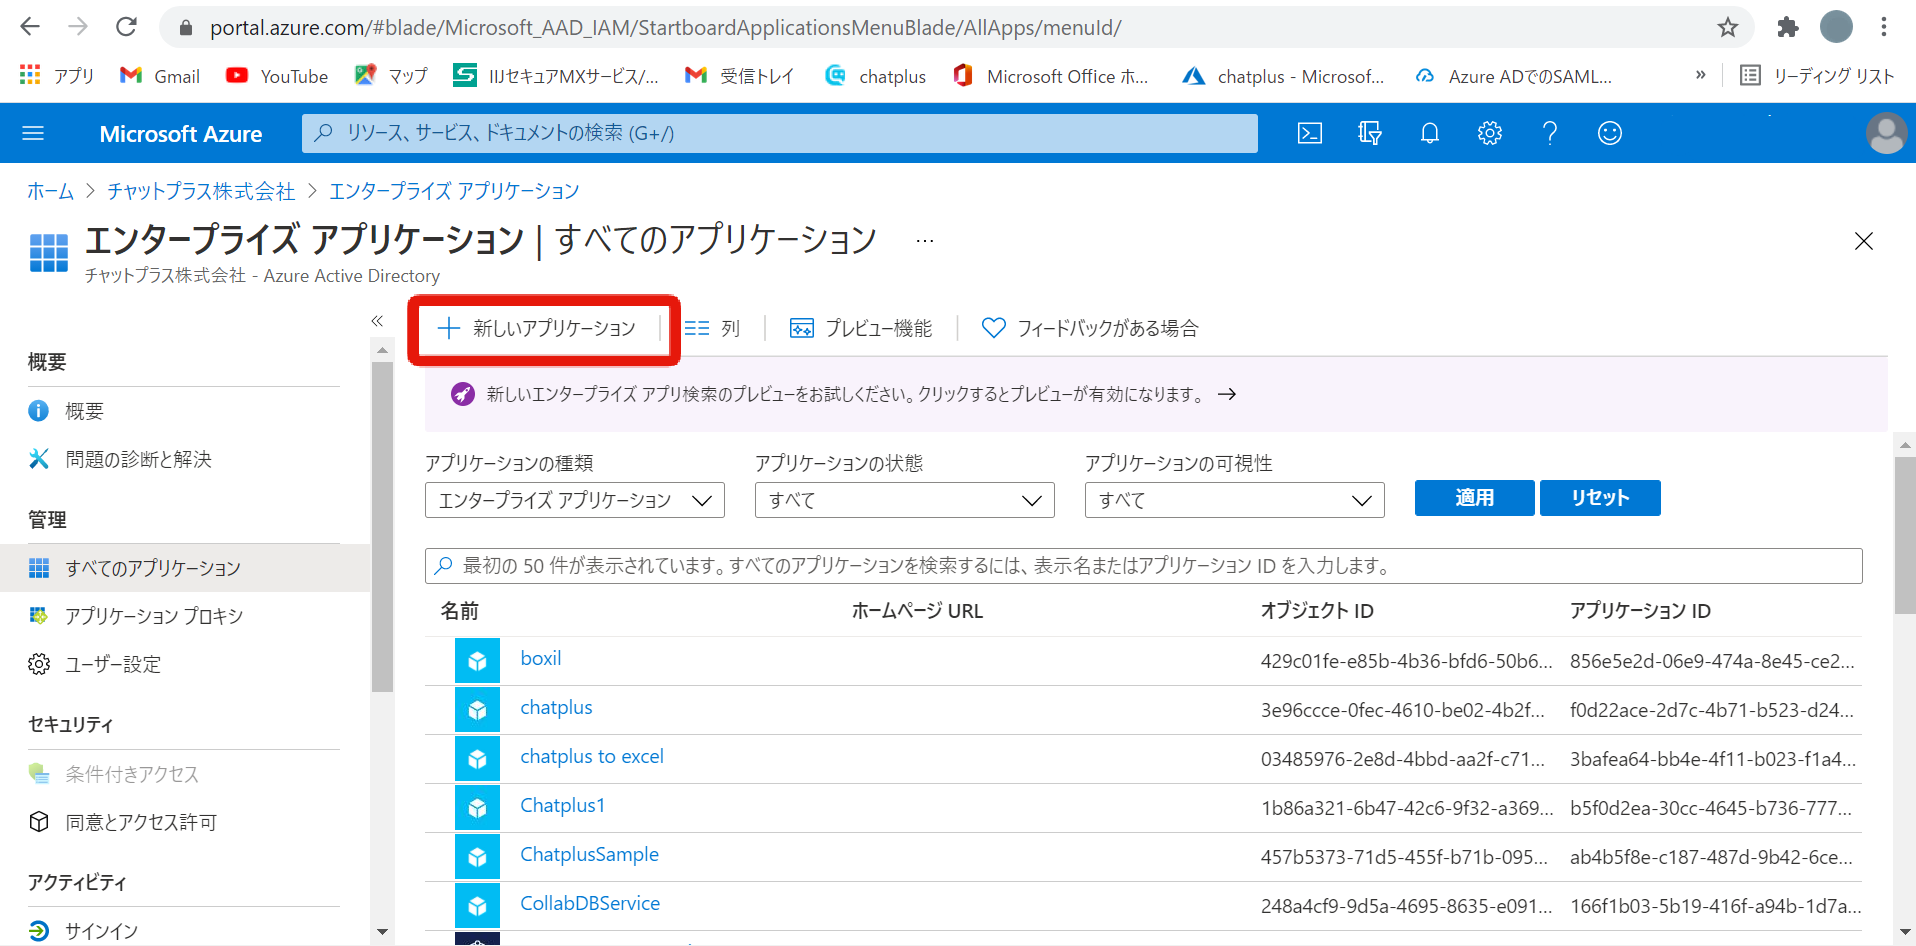
- Select [New application].
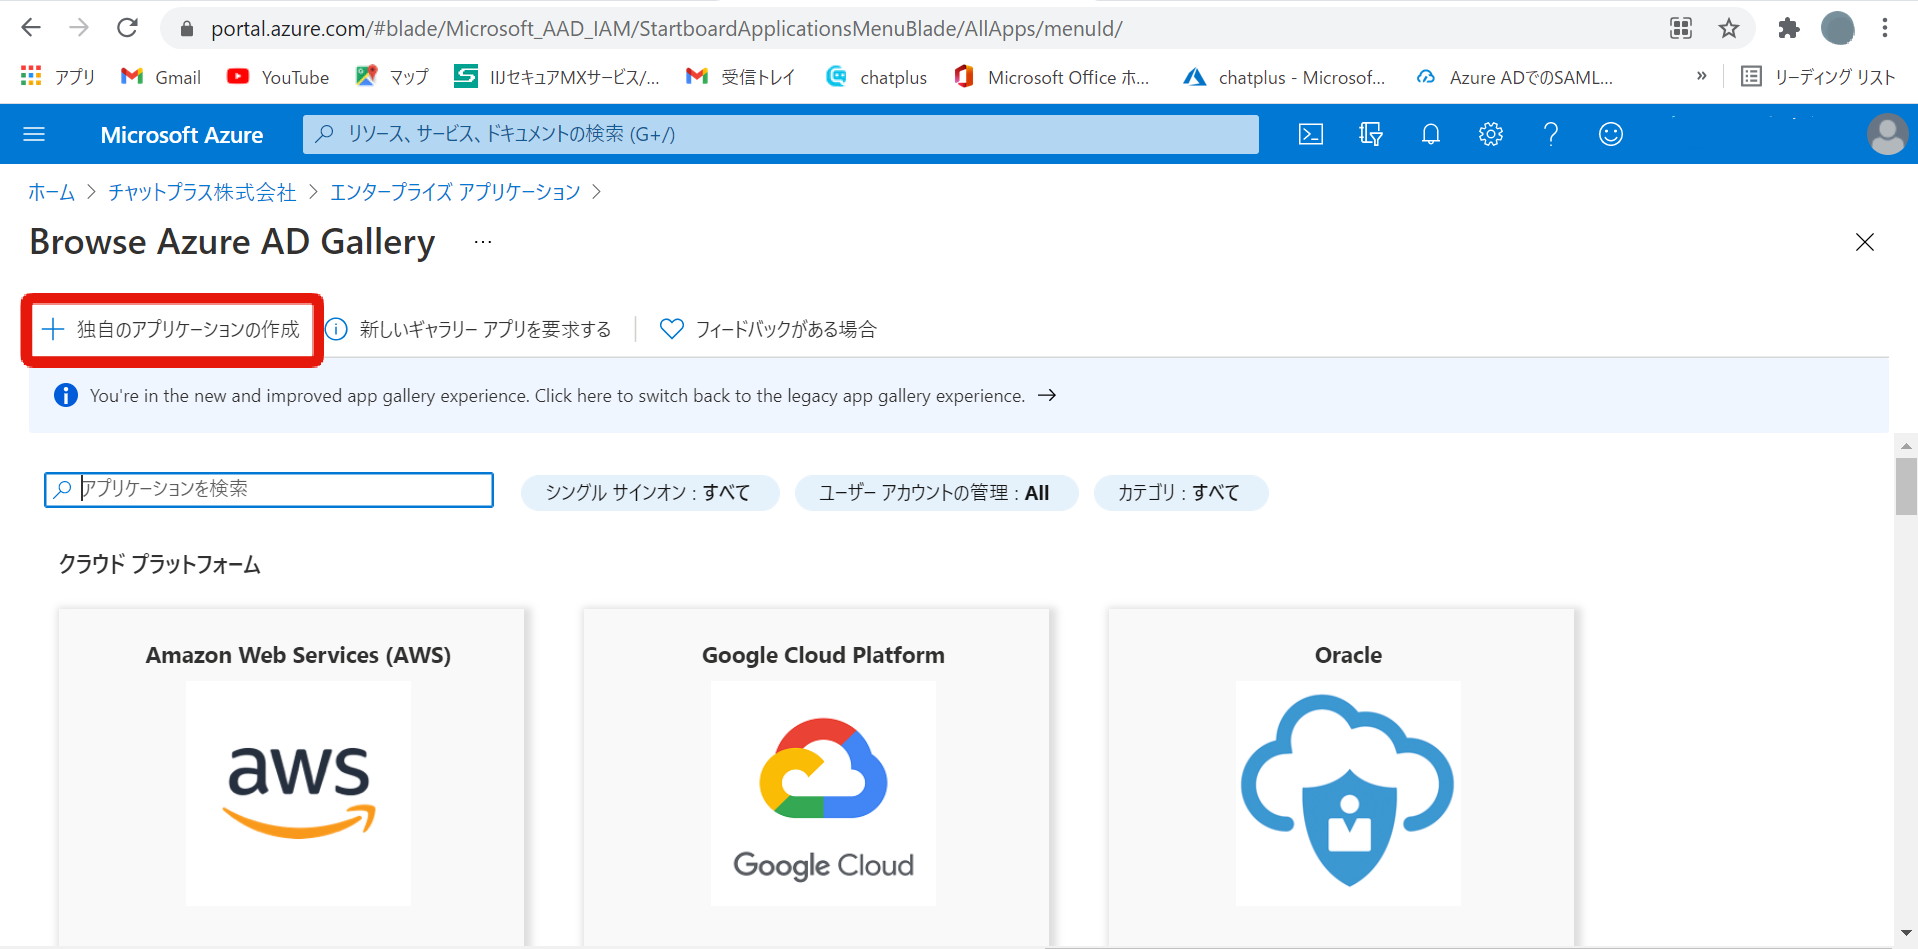
- Select [Create your own application].
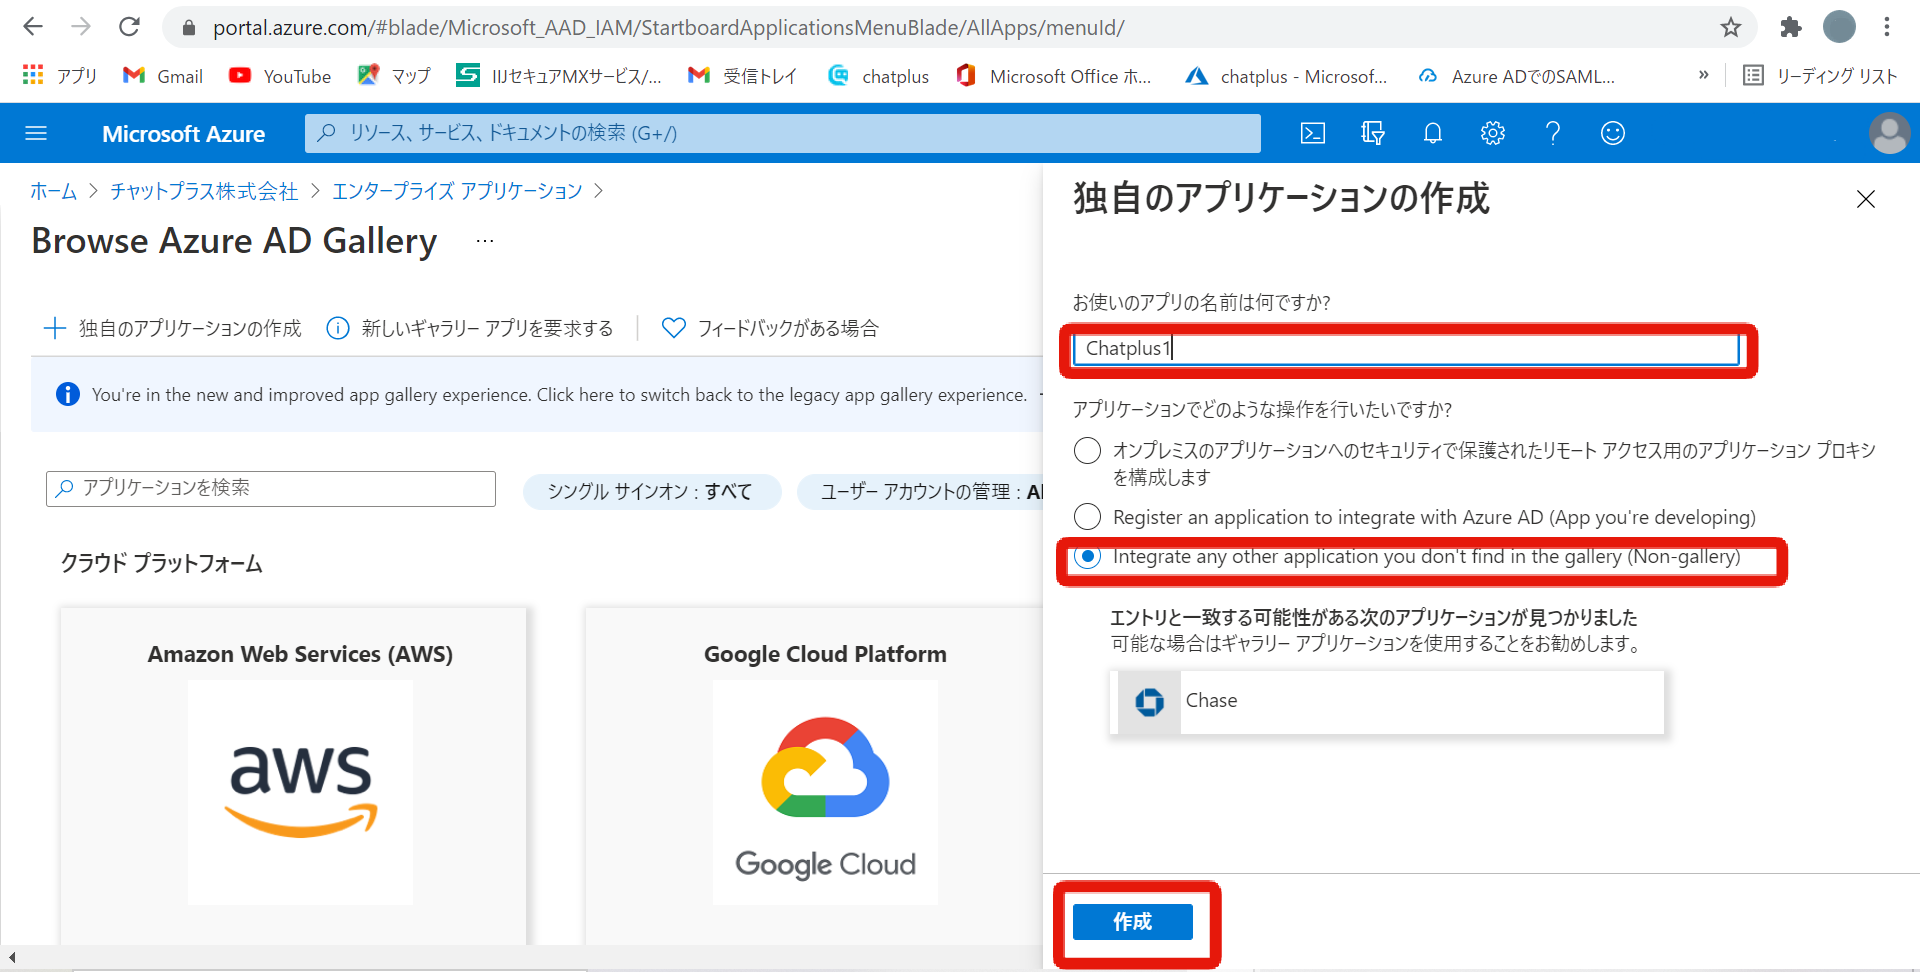
- Regarding the name, enter a name that will identify you as [Chat Plus], check the options at the bottom, then click on [Create].
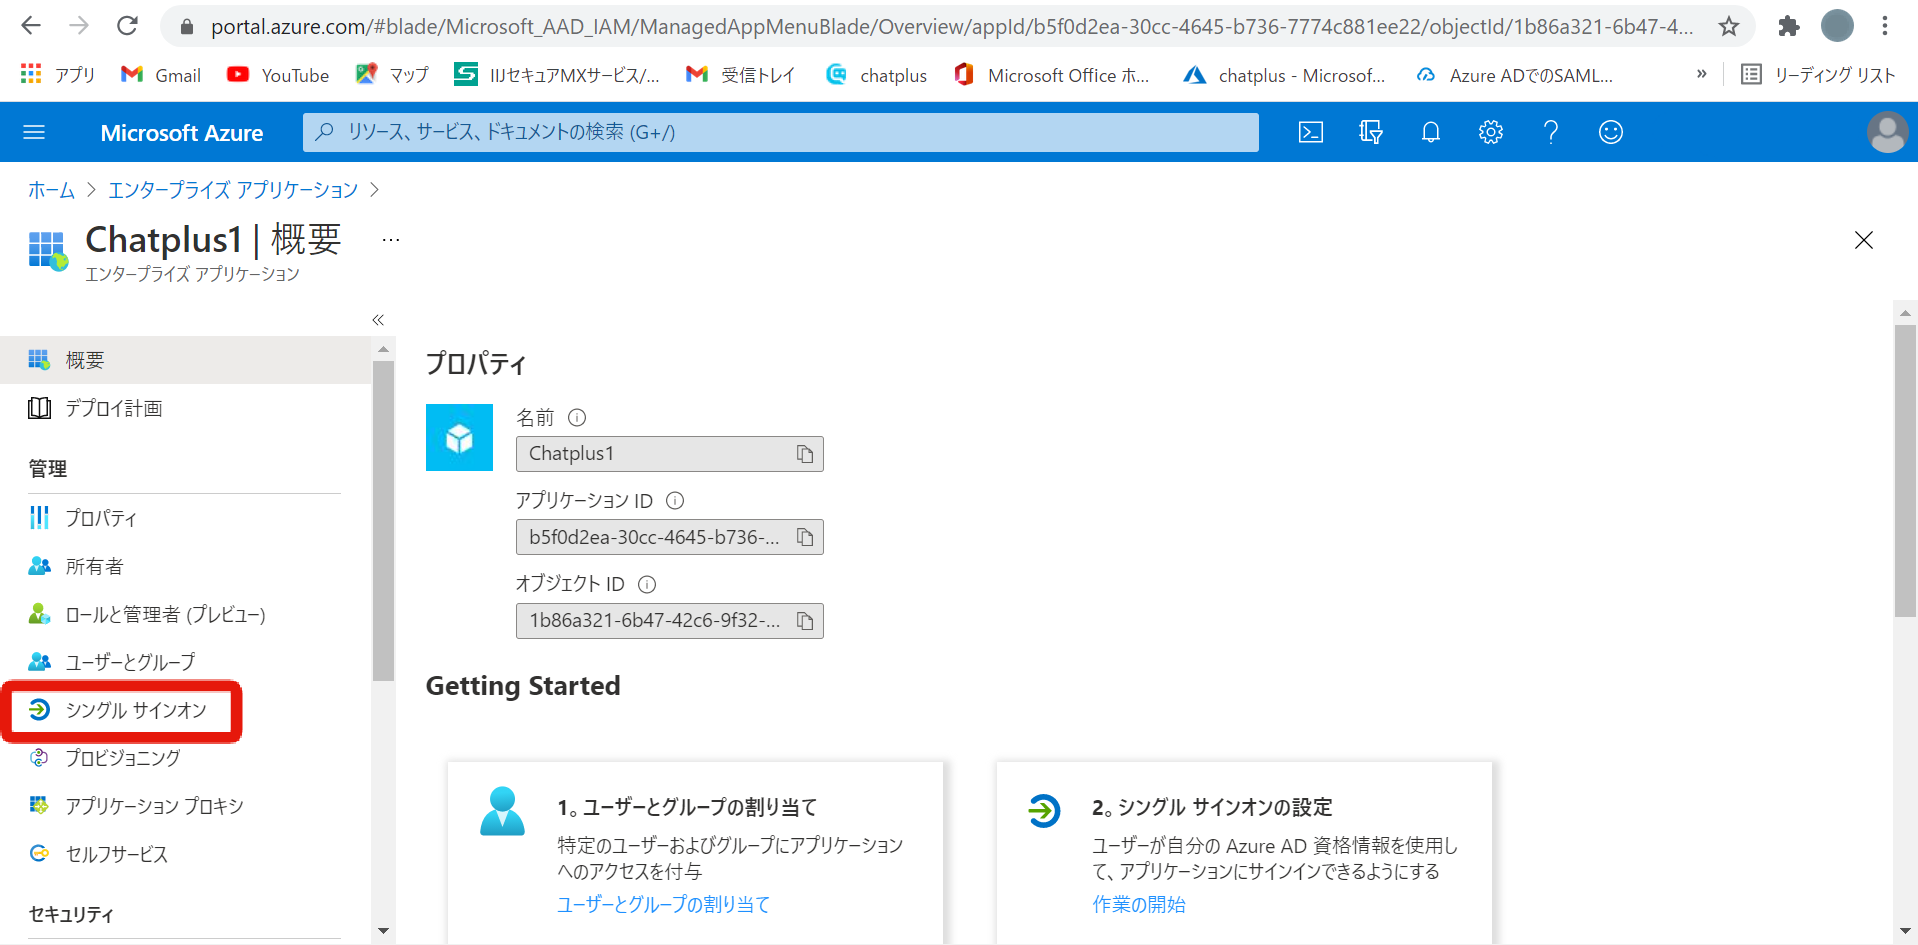
- After creation, the properties screen is displayed. Select [Single sign-on] on the left.
 Select [Edit] in [Basic SAML setup] in ①.
 Select [Edit] in [Basic SAML setup] in ①.
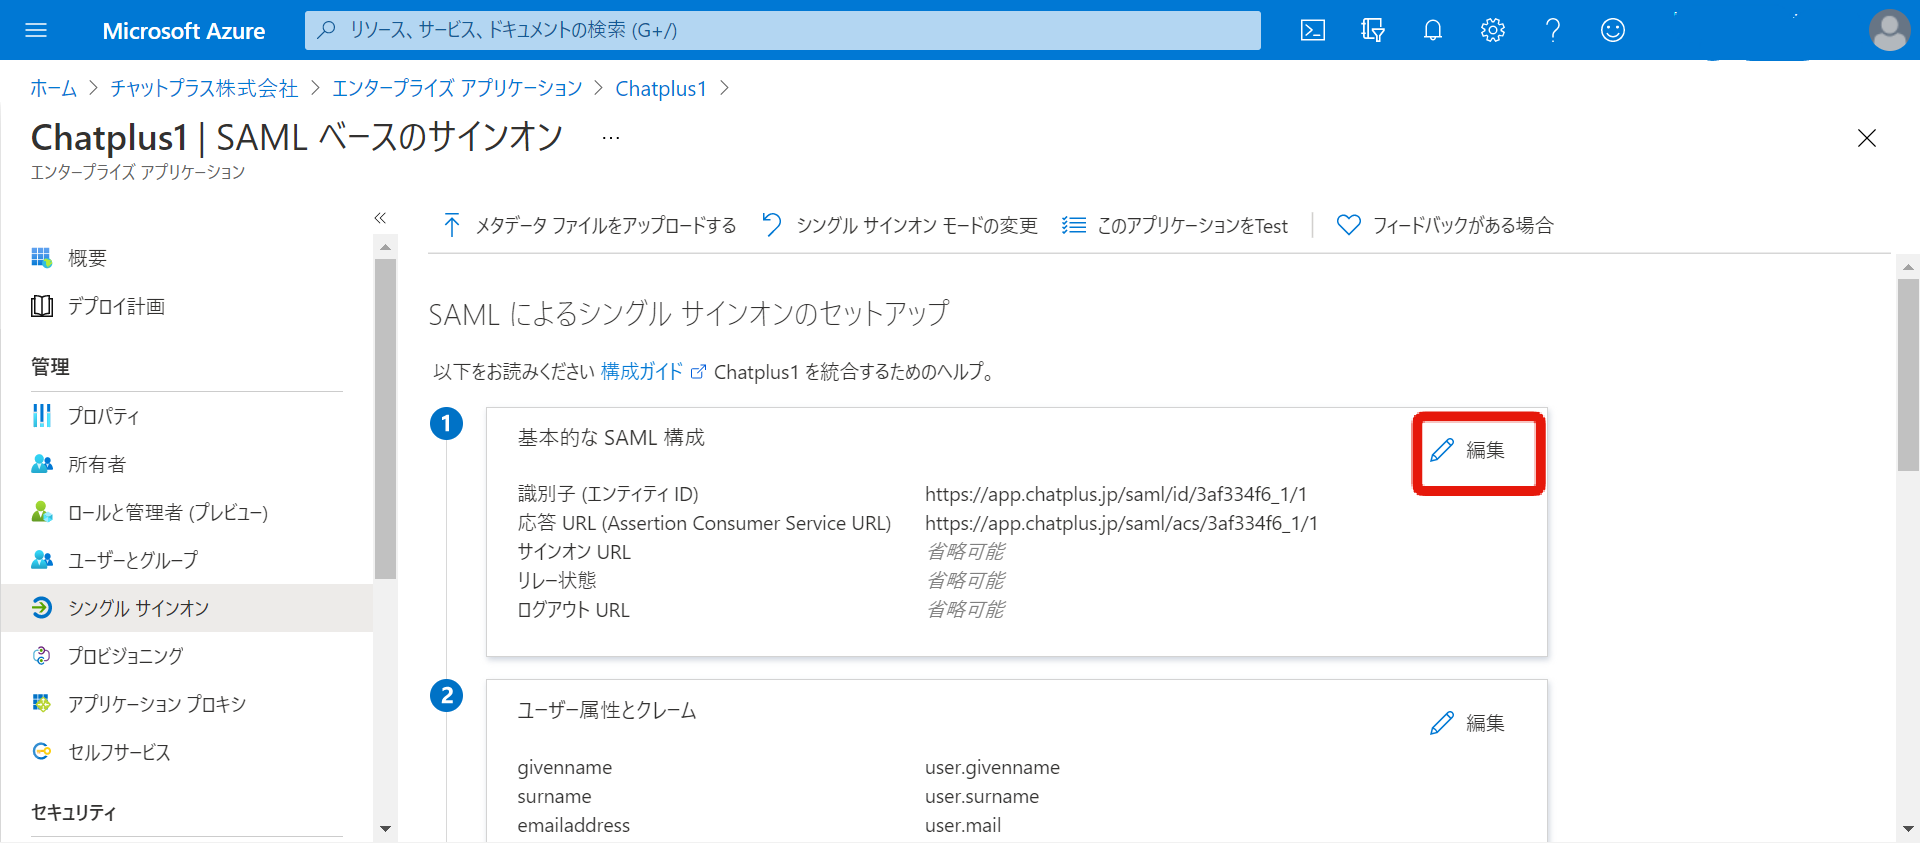
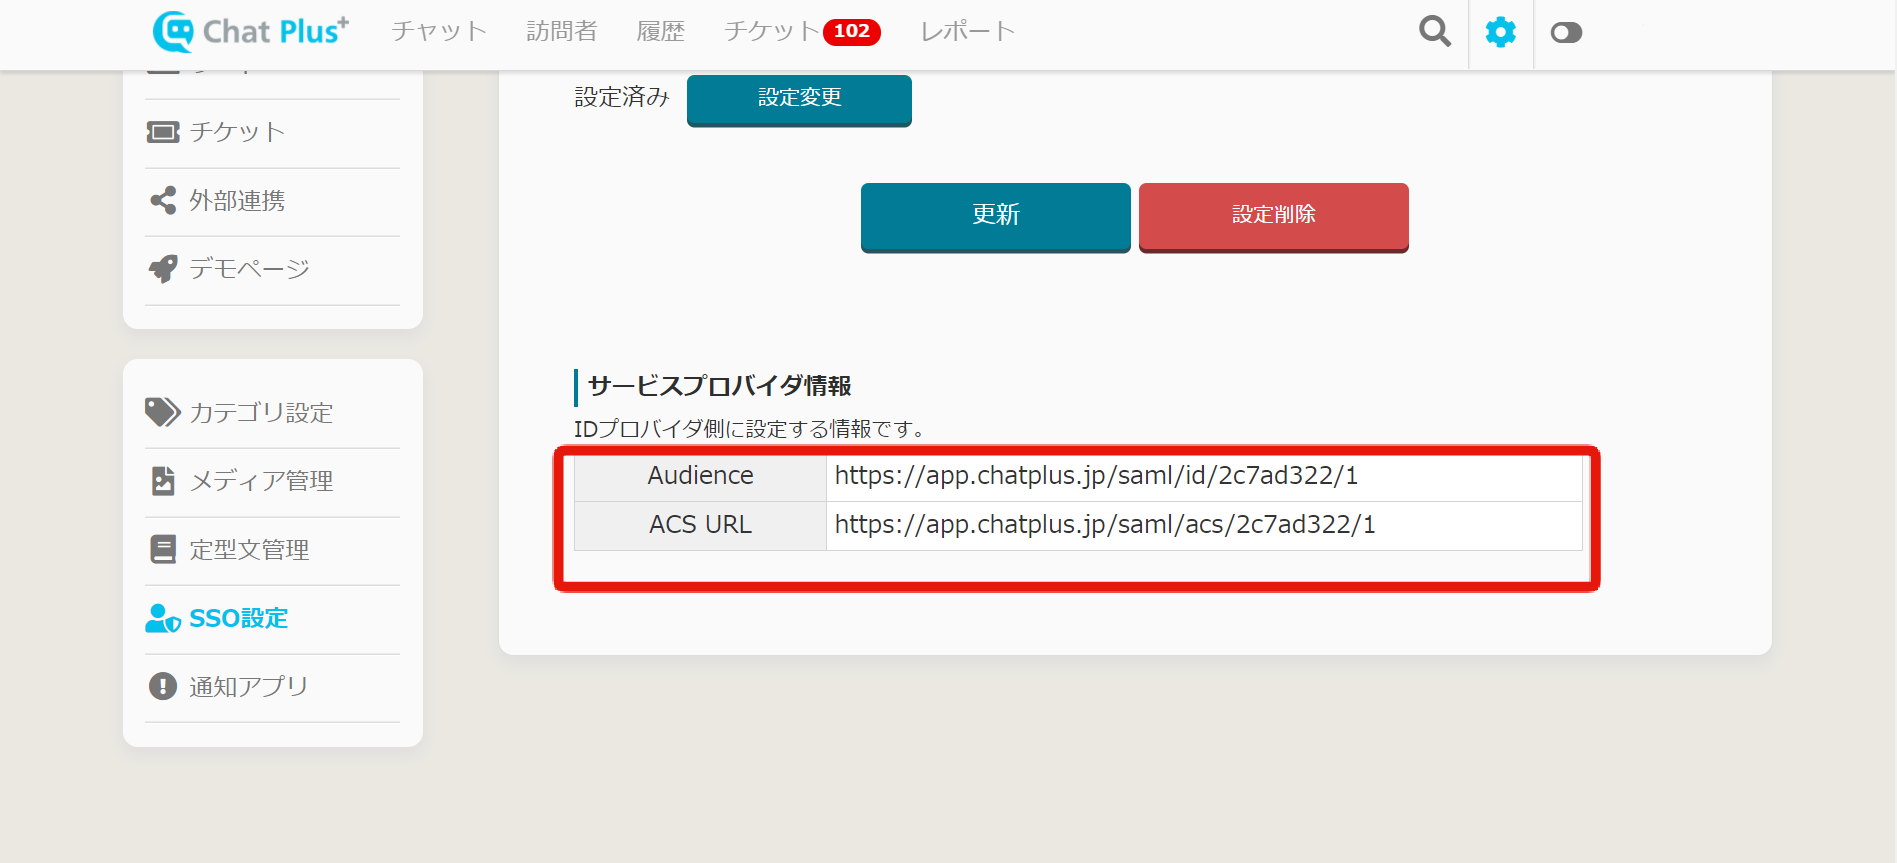
- This step takes you back to the Chat Plus page (https://app.chatplus.jp)
- Click [SSO Settings] on the left side of the Chat Plus page and use Audience and ACS URL in the service provider information below.
- Switch to [Basic SAML Configuration] of Microsoft Azure edit page and enter the audience and ACS URL of the SSO management screen in [Job Besshi] (Identity ID) and [URL of reply].
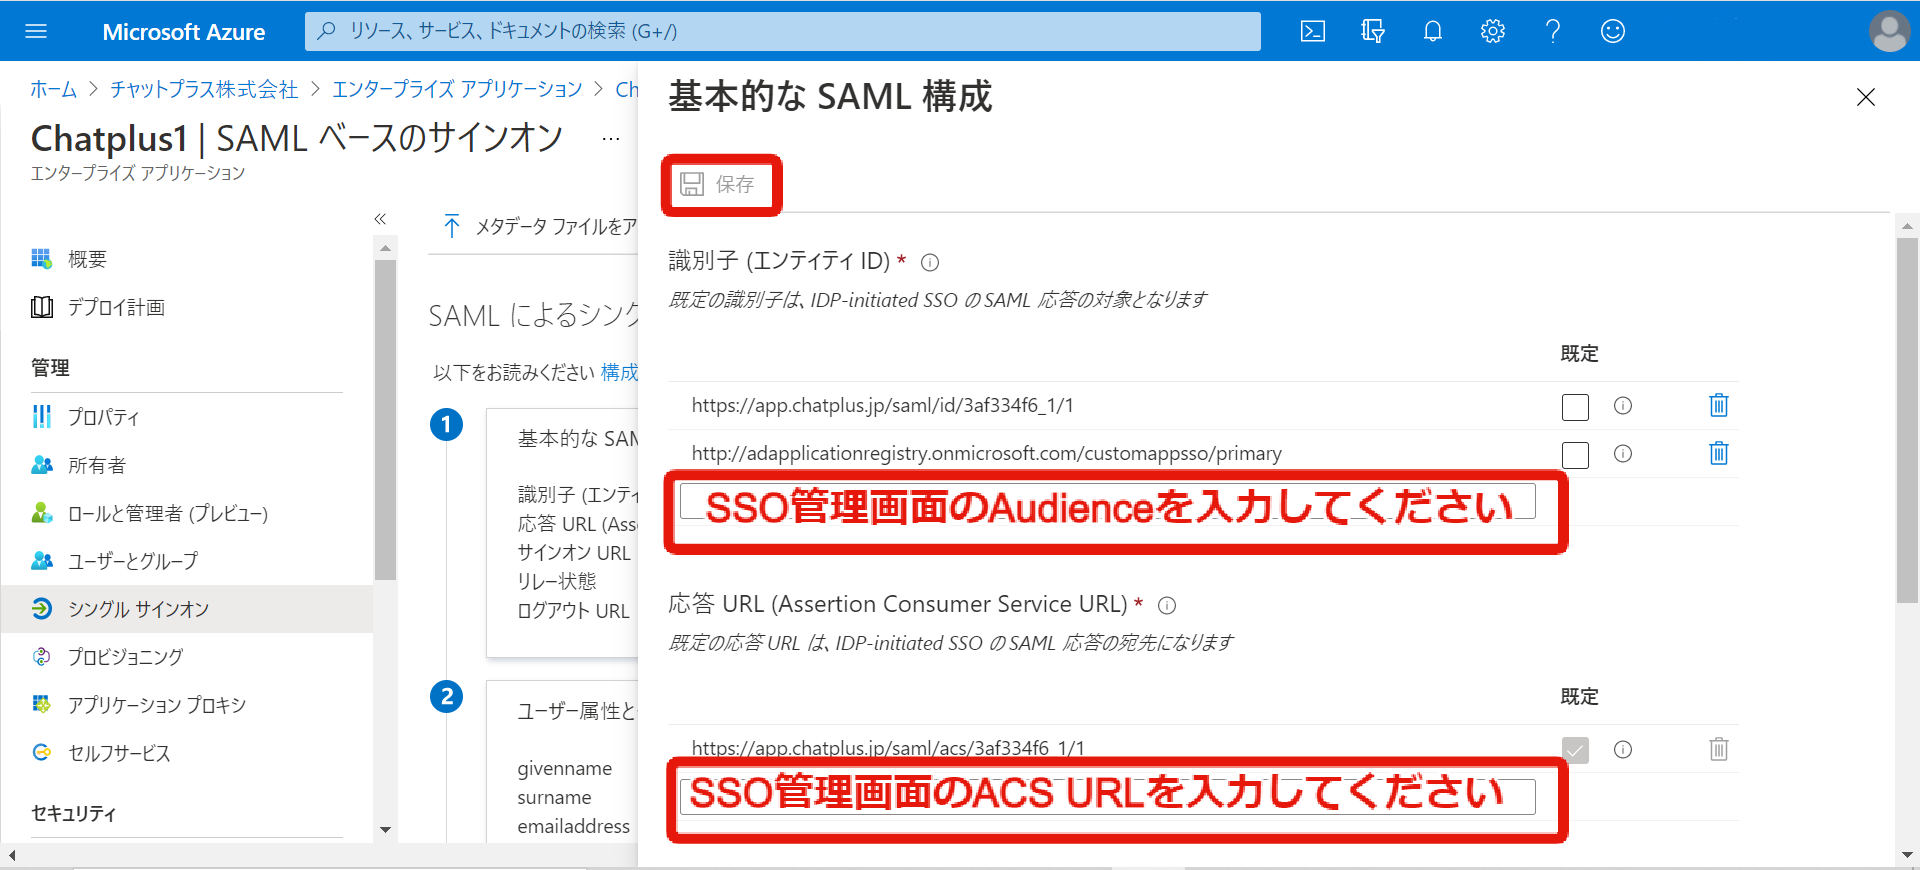
- Click [Save] at the top when finished.
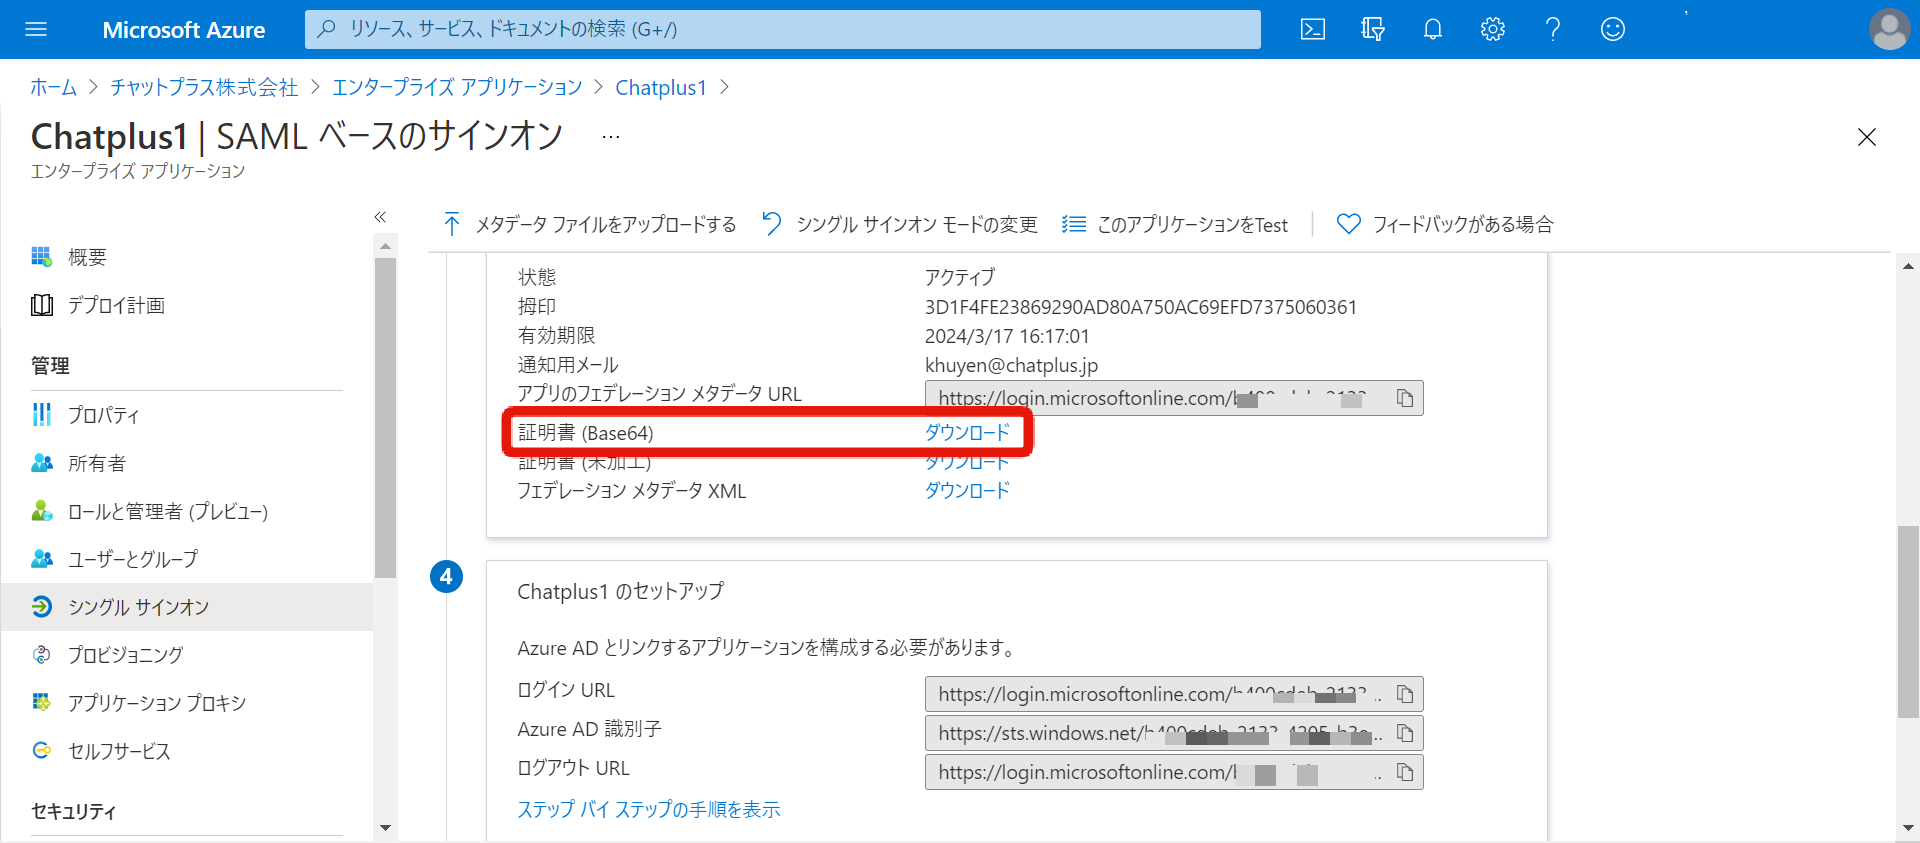
- Click [Download Certificate (Base64)] to download the certificate.
- Microsoft Azure creation is complete.
2-2.Settings on Chat Plus screen
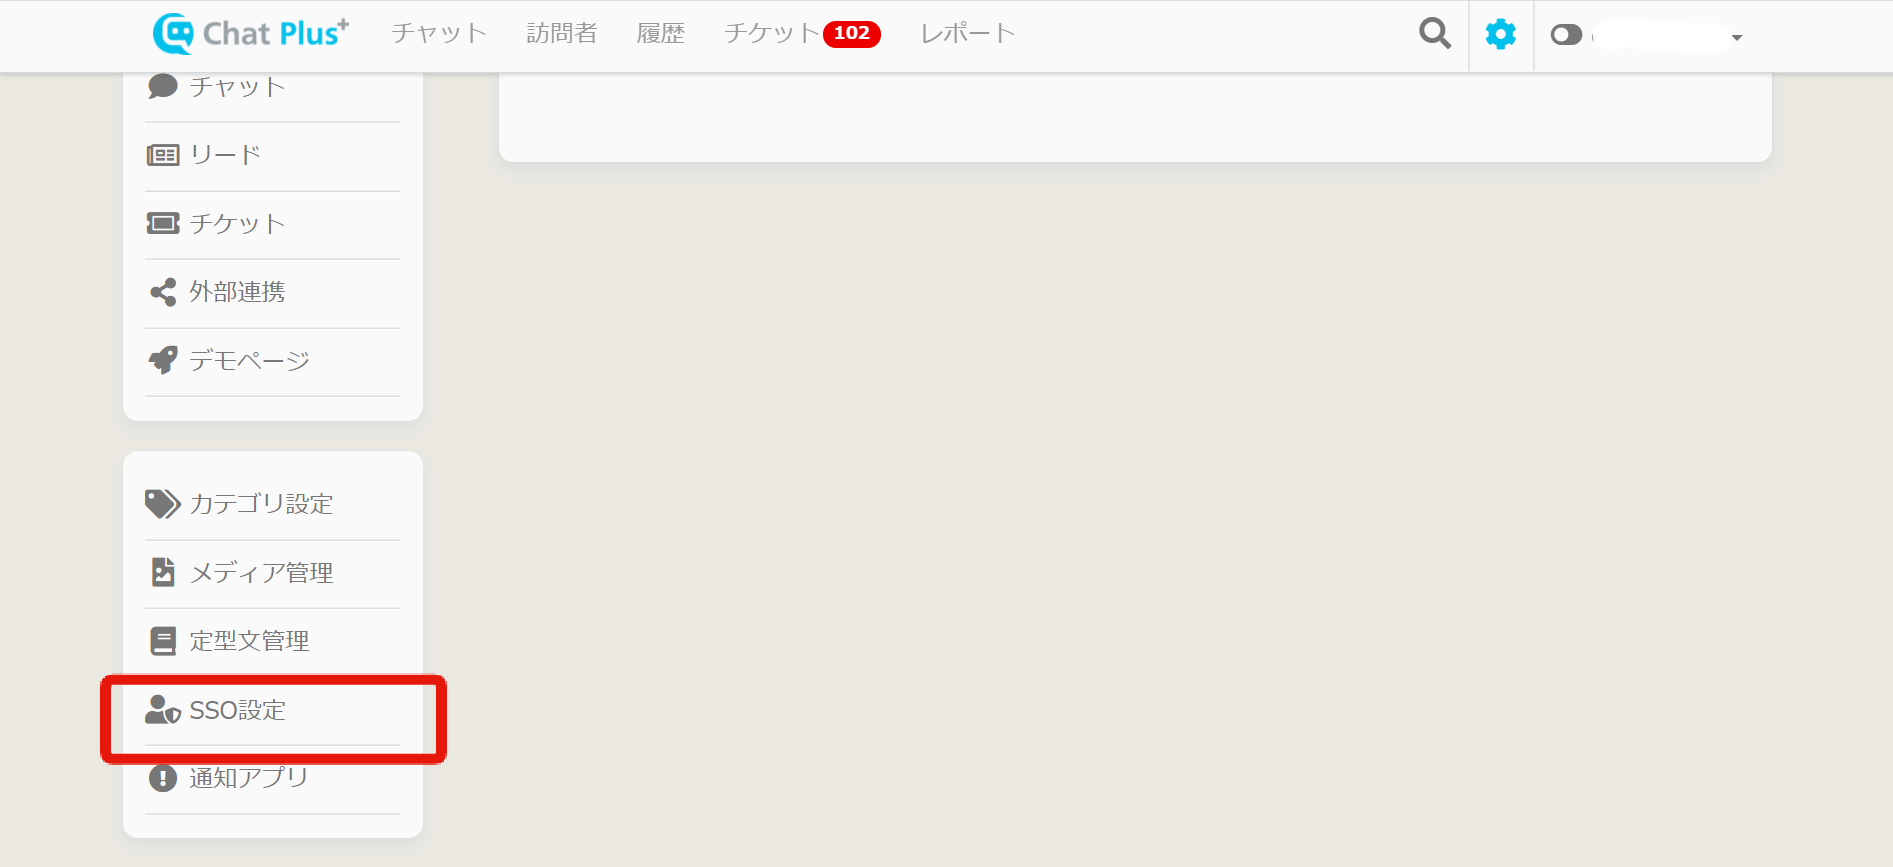
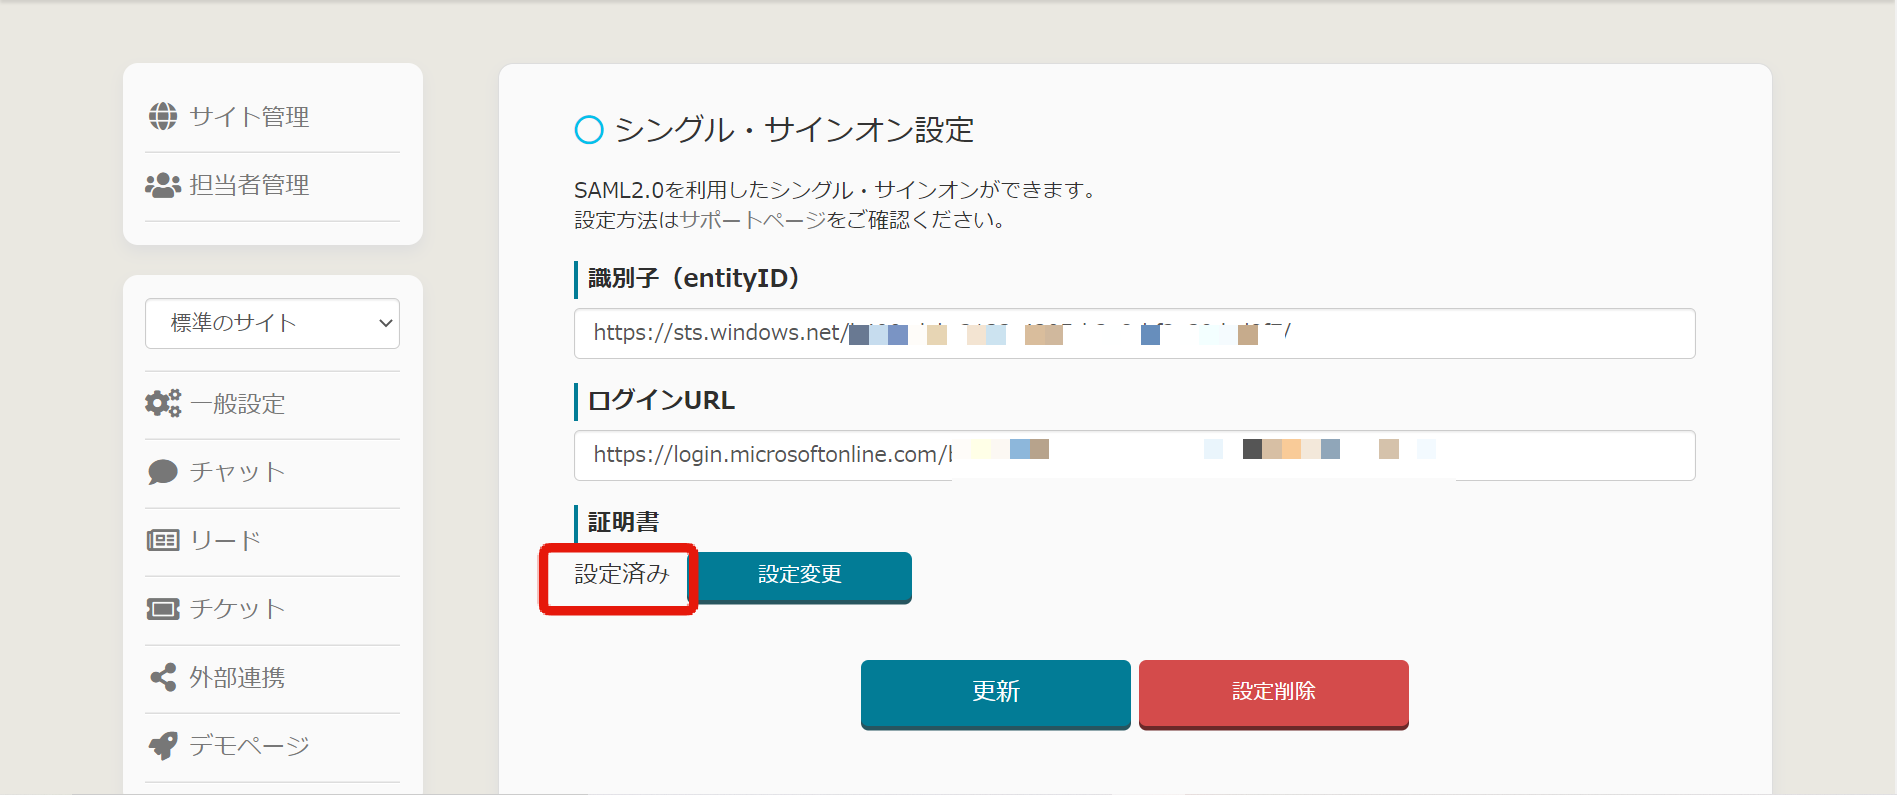
- Return to Chat Plus screen and click on [SSO Settings] below.
- Enter [Login URL] and [Azure AD Job Besshi] respectively, then upload the Base64 certificate. Finally, click on [Registration].
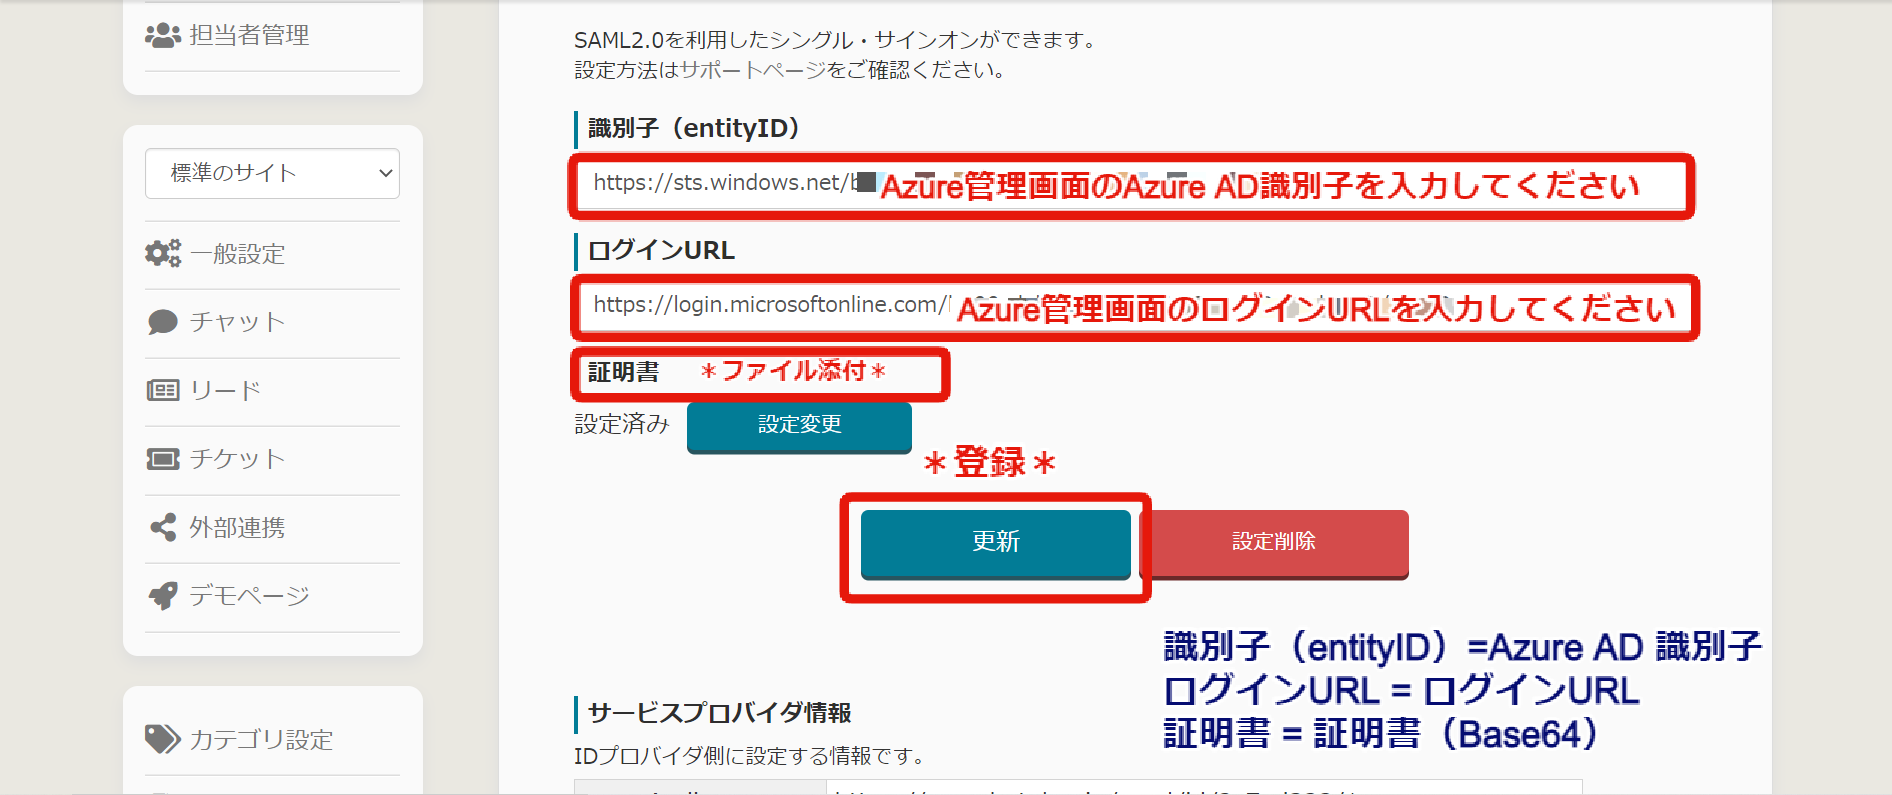
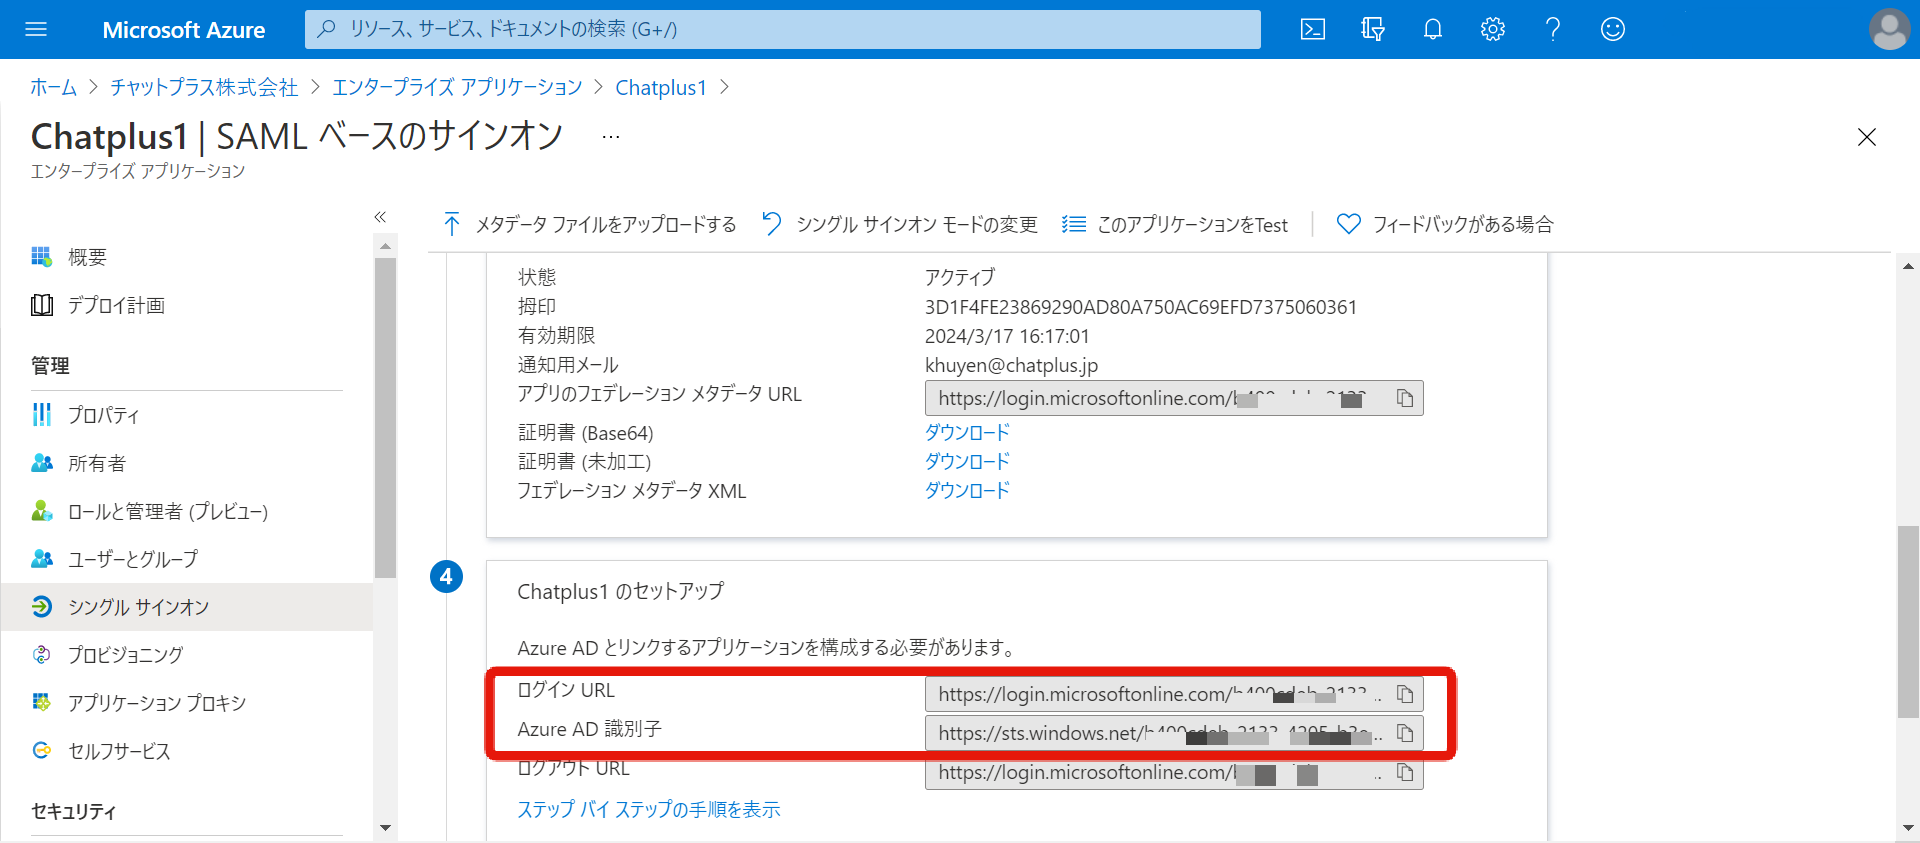
※ You can refer to [Login URL] and [Azure AD Job Besshi] from the created Microsoft Azure page.
- When [Set] is displayed, the SSO setting of Chat Plus is complete.
3.Operation test (performed by administrator)
Sign out of Chat Plus once > Sign in to Office 365 > Select Chat Plus from Office 365 app menu > Sign in to Chat Plus with SSO
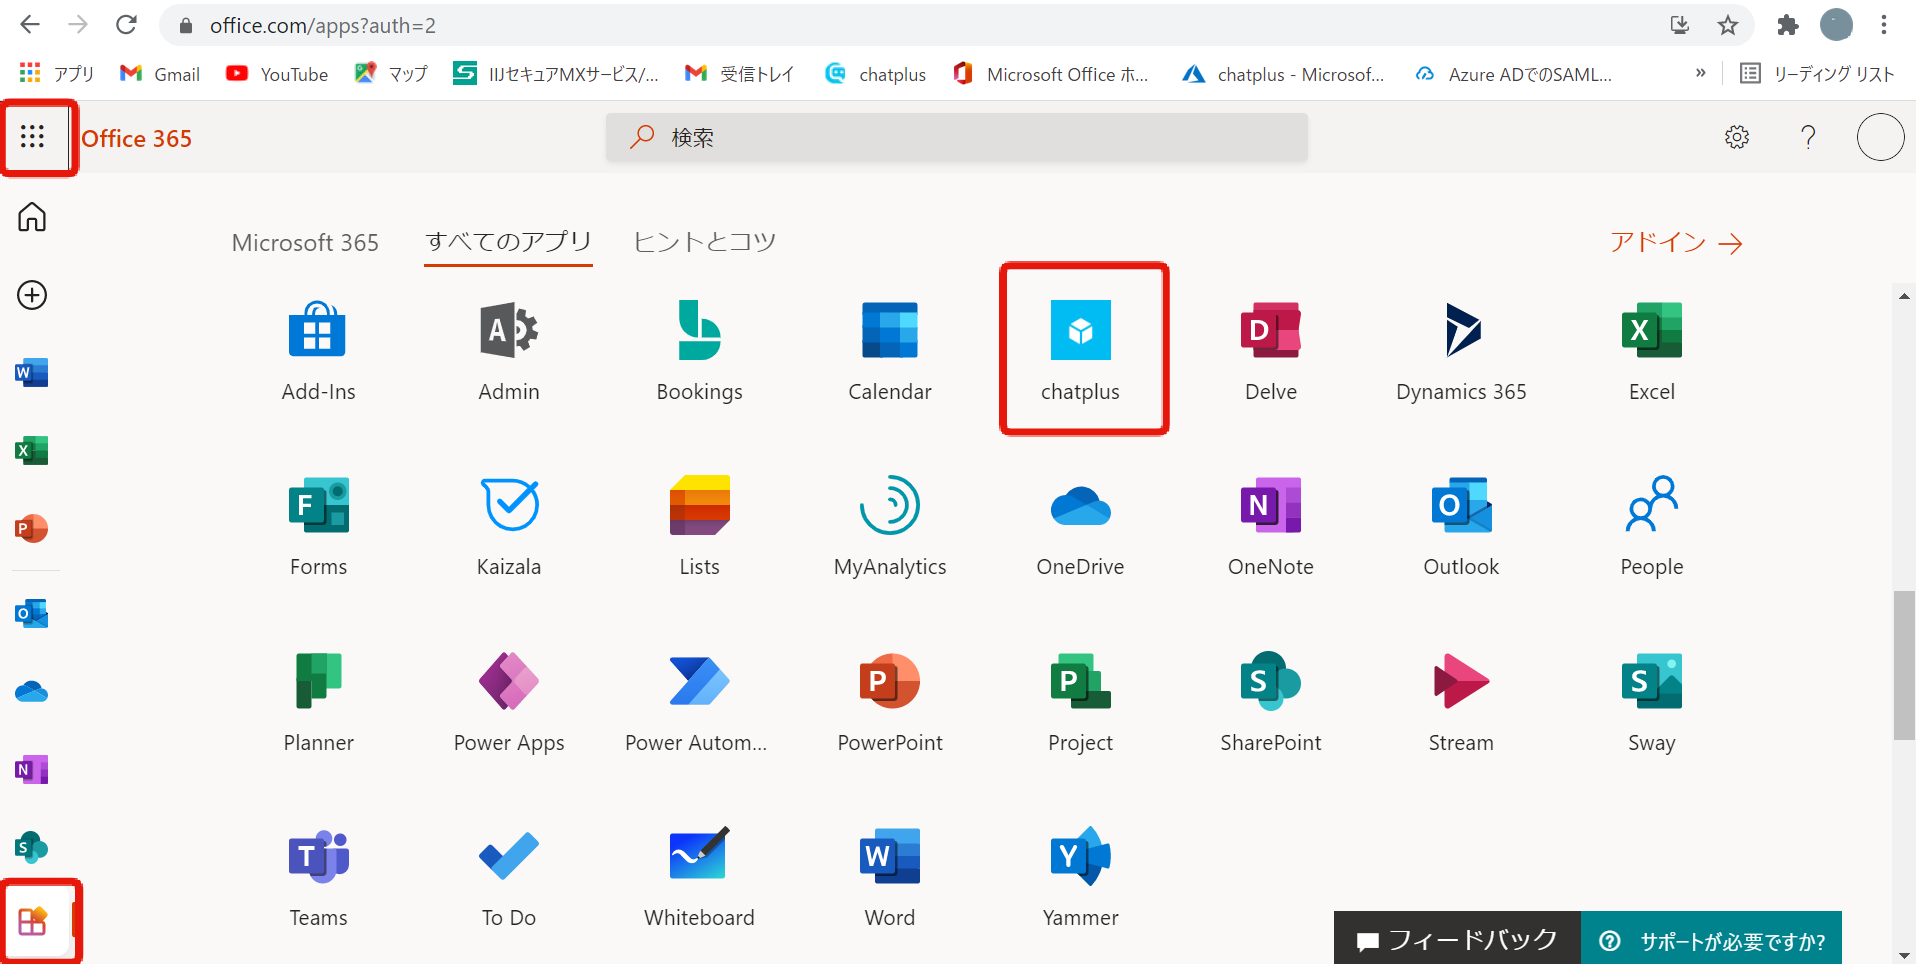
If you can sign in to Chat Plus, your SSO settings are fine. If this is unsuccessful, check that there are no errors in the settings or other and then start again.
※ If Chat Plus app does not appear on the screen, please sign out of Office365 and sign in again.
4.Add access to Chat Plus for users
Go to [Menu]> [Users and groups]> [Add user to Azure admin screen] then select and add users or groups that you want to allow access to Chat Plus.
※ Users authorized to access Chat Plus must be added in advance by the management manager on Chat Plus side.
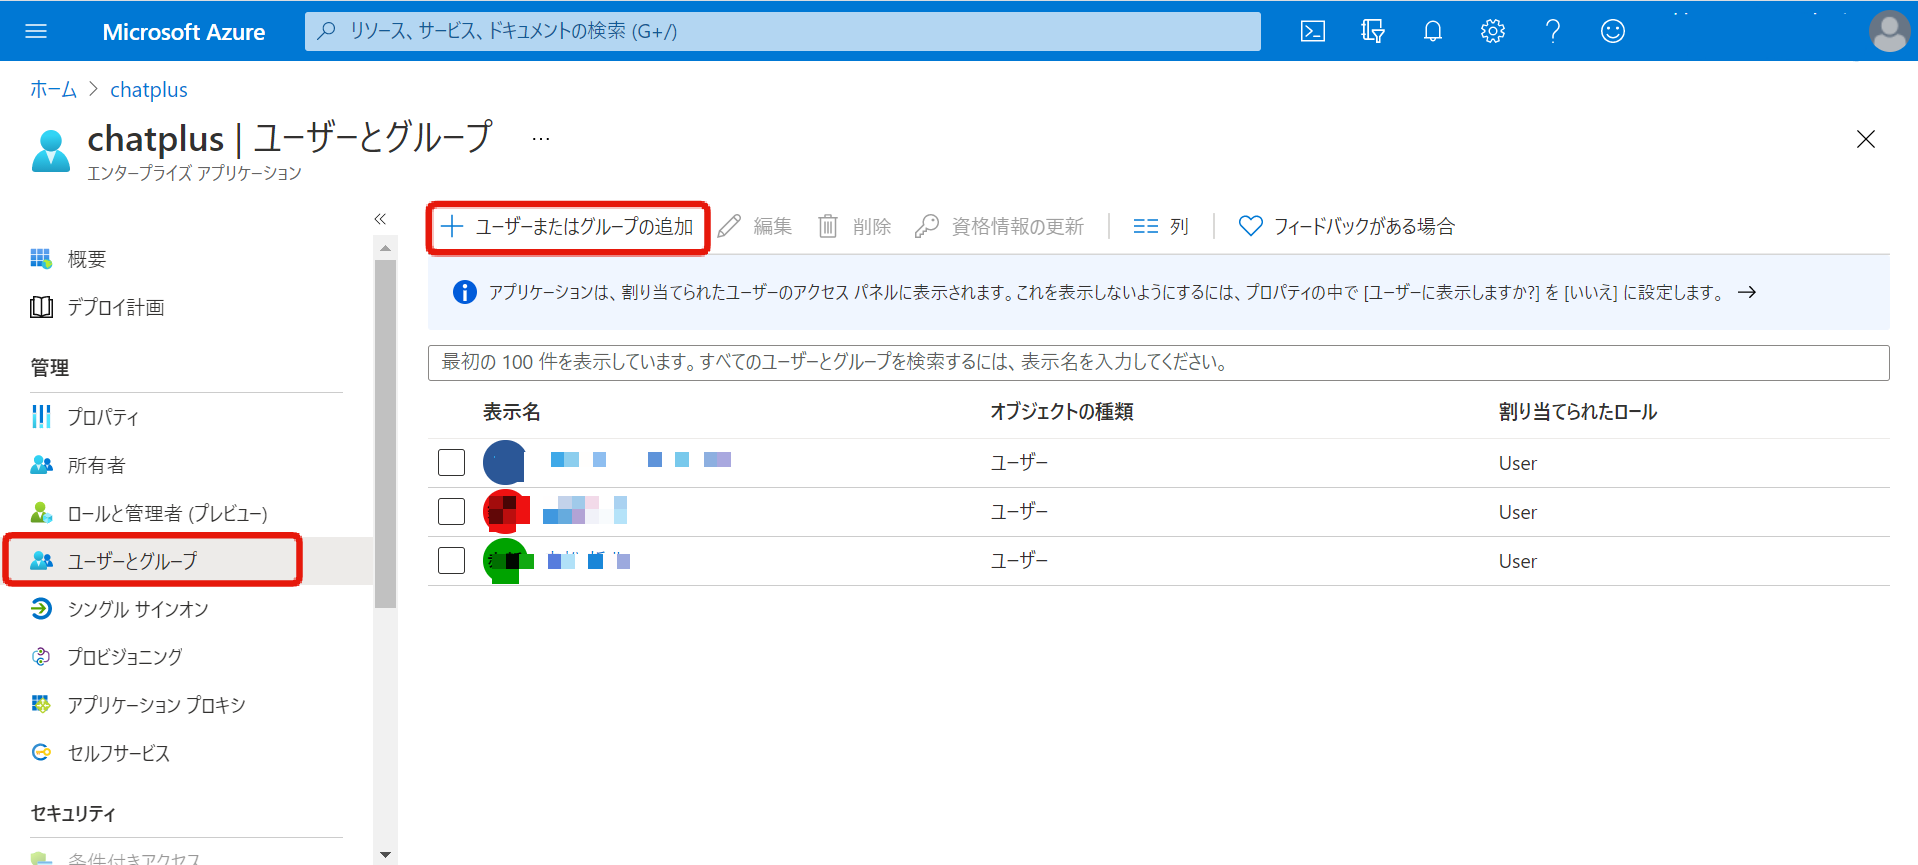
SSO settings and adding members are complete.