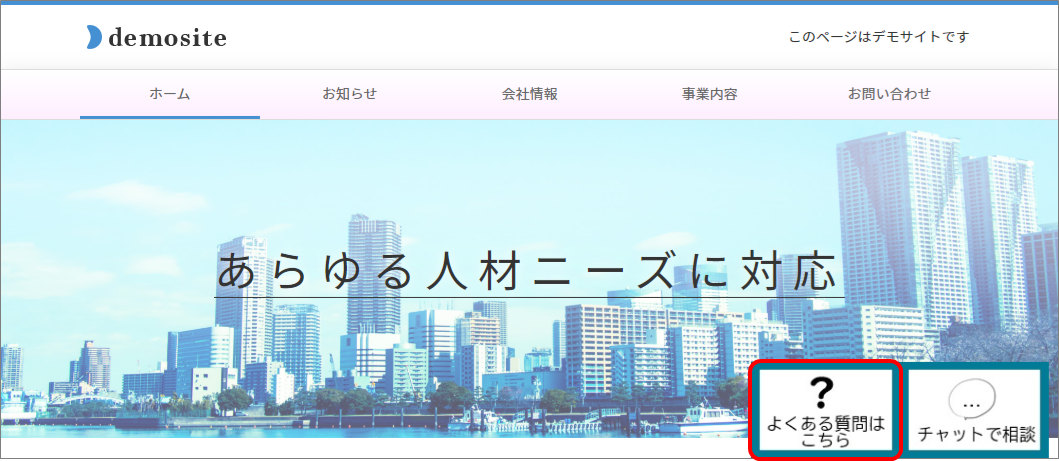
In ChatPlus, you can include choices in Eye・Catcher choices by using Image Map. By including choices in Eye・Catcher, it becomes distinct what users can do and easy to activate.
Register parts in Image Map
(1)Click the setting button on the upper right of the management page. 
(2)Click [Chat]>[Function]>[Chat bot+] on the left side of the screen.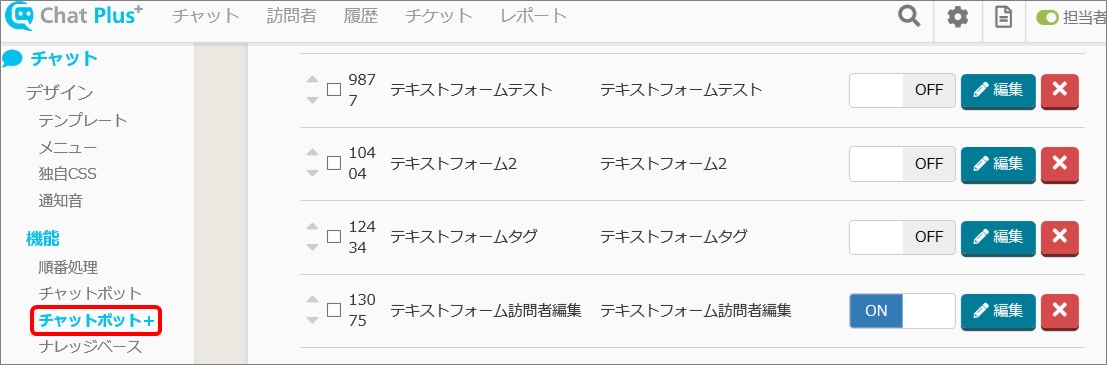
(3)Click [Add parts]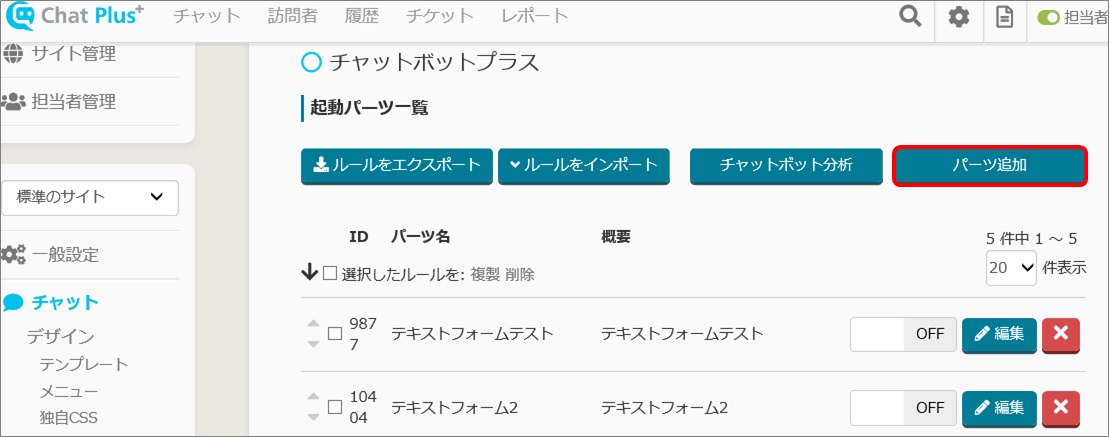
(4)Enter "Part's name" and "Detail"
※Leave the box at the top right "ID" empty, it will automatically be filled when Chat bot+ is created. 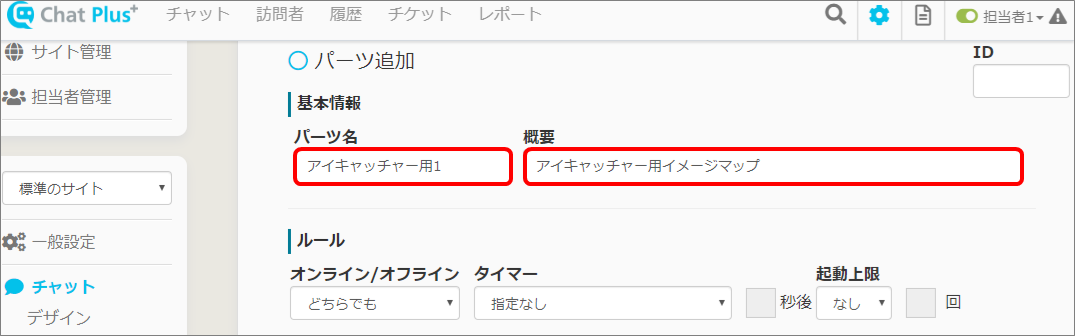
(5)In the section "Action", click [Image Map] from the pull down. 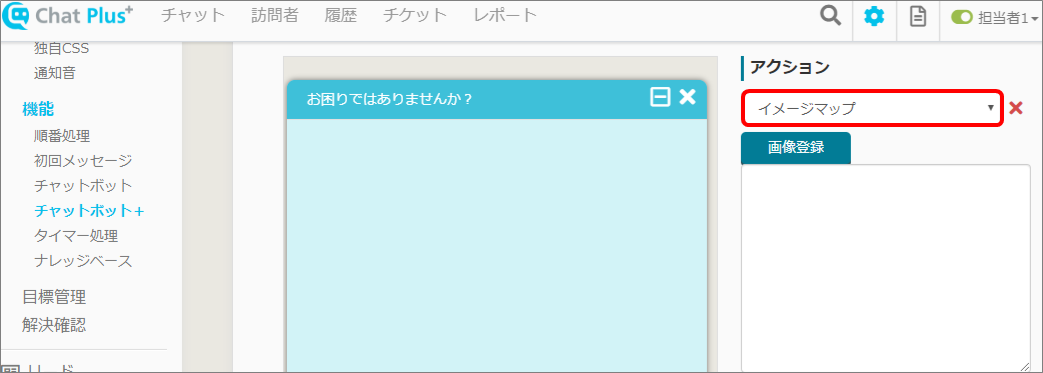
(6)Click [Register image] and upload an image to use in Image Map. 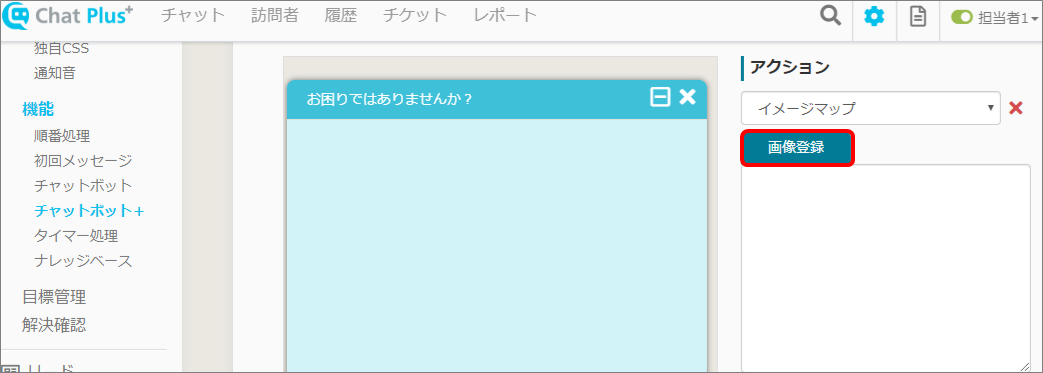

(7)Click [Open editor] and open [Image Map Editor] window.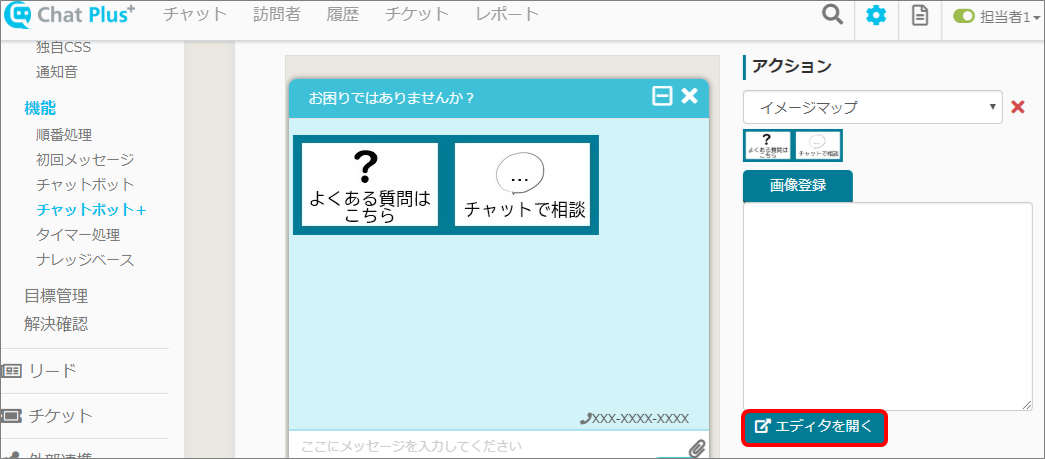
(8)In the section [Divide], click the method to divide according to an image.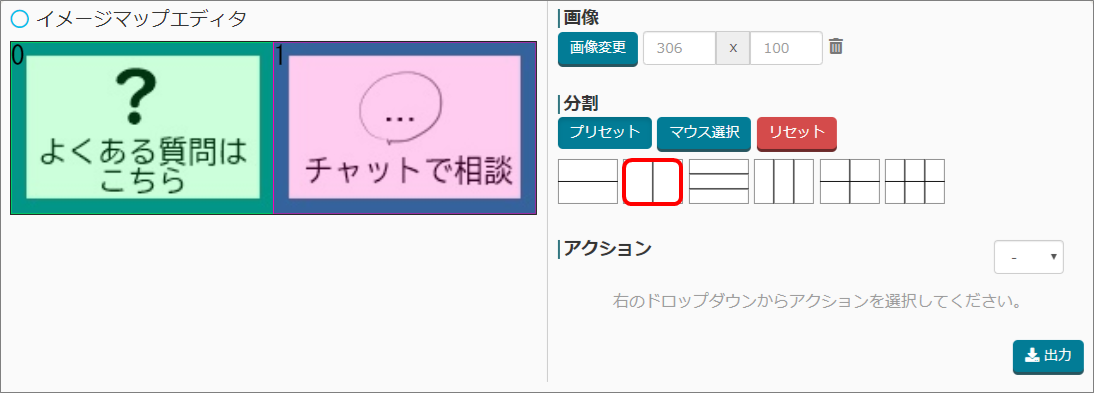
(9)In the section "Action" click number of the section you want to set from the pull down. 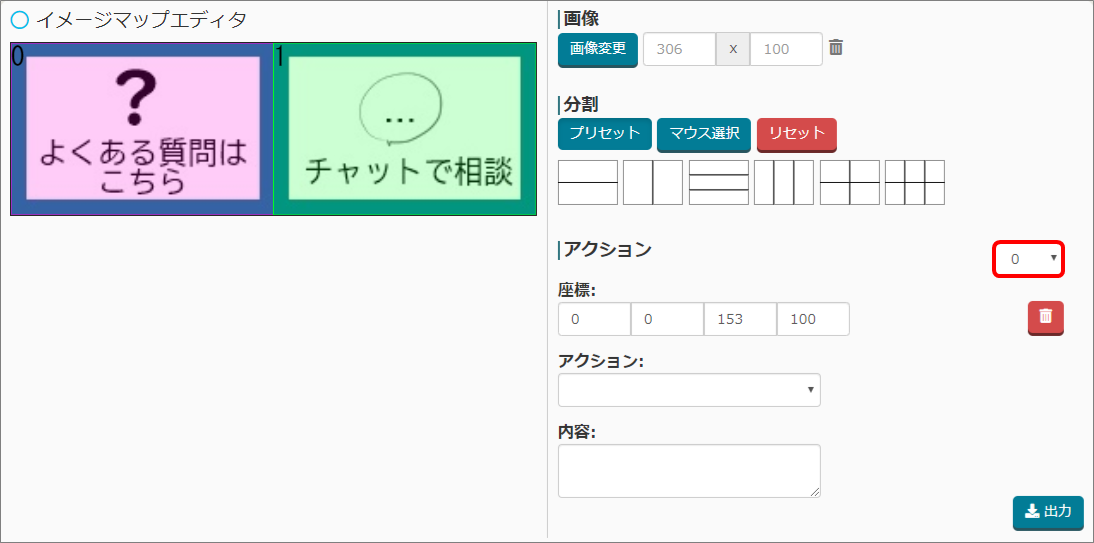
(10)Here, as an example, we will set to make a statement of text in the image as user's remark when a certain image was clicked.
■Action:You can set an aciton when a certain range was clicked.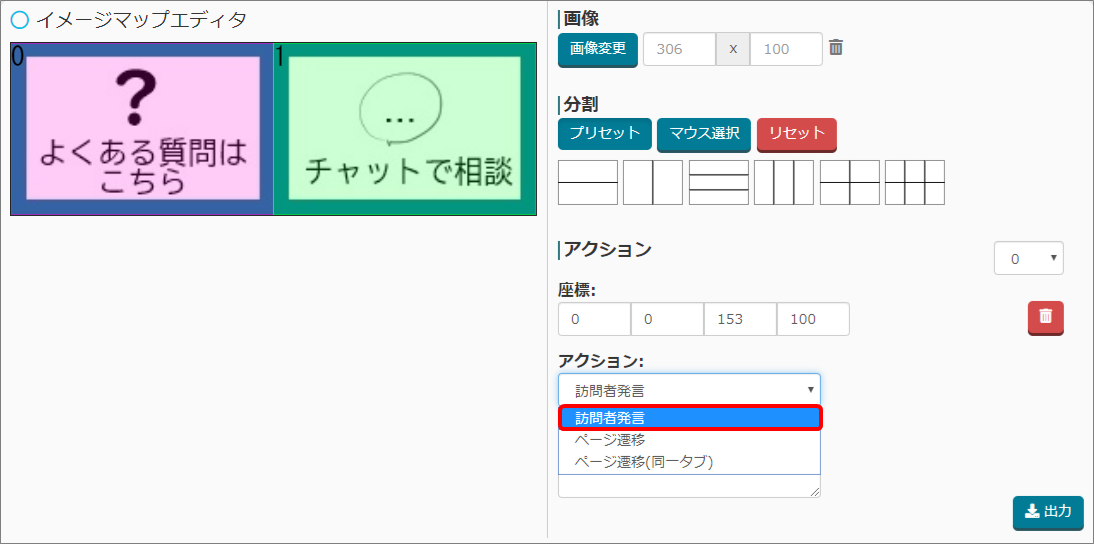 ■Content:You can set an URL or statement when clicked.
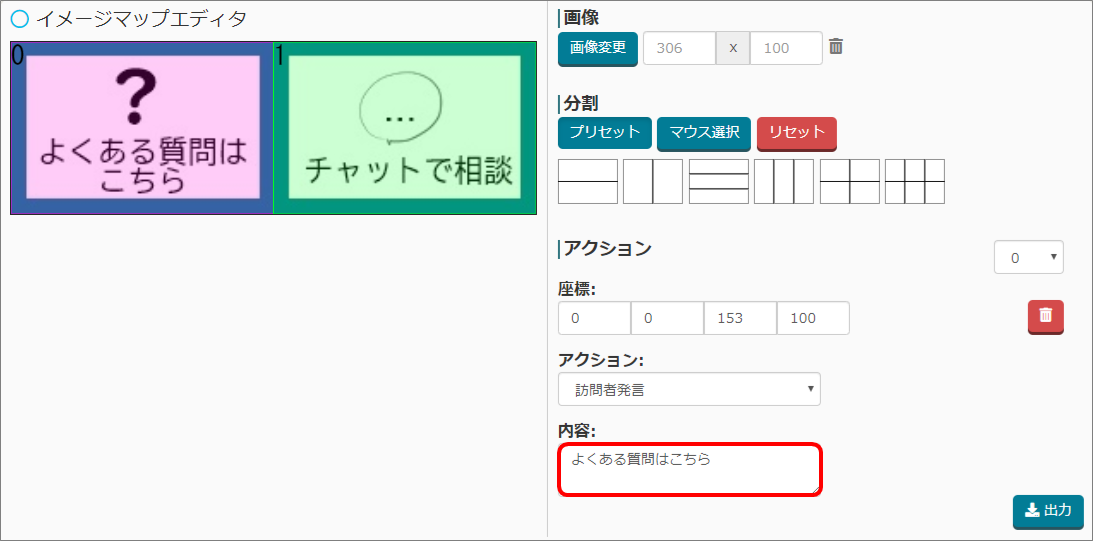
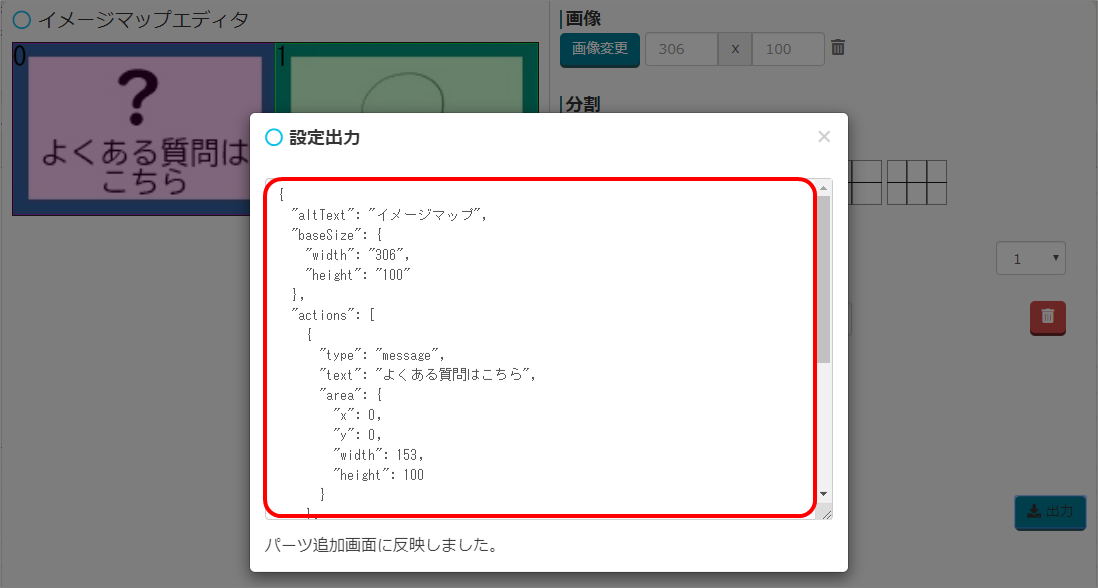
(11)If you click [Output], the code to reflect the setting will show, so copy all.
(12)Close [Image Map Editor] by clicking [×] at the top right of the screen.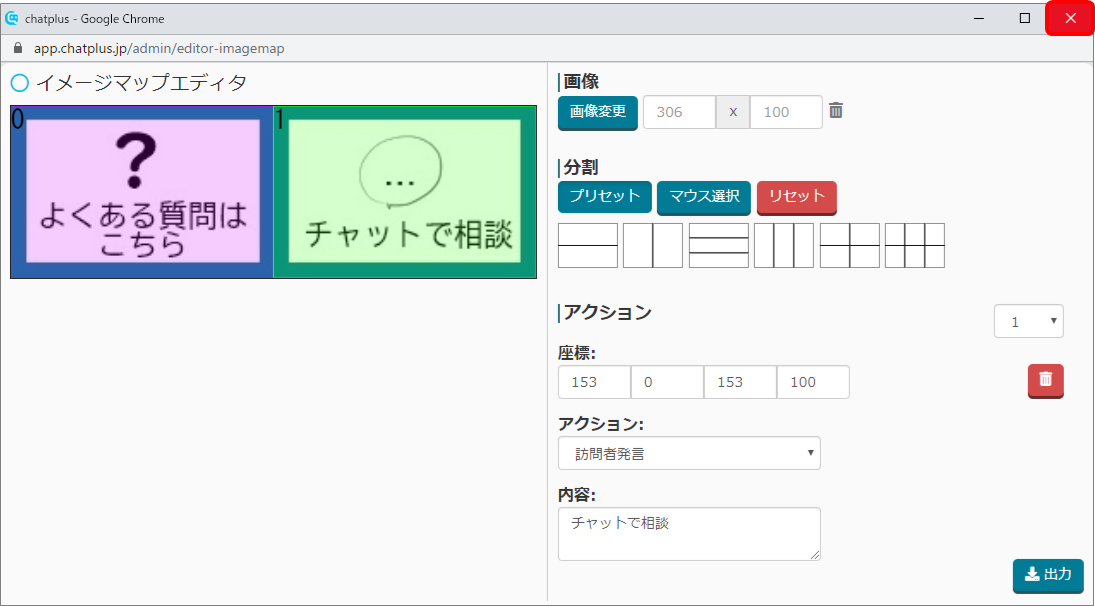
(13)In the box under "Register Image", check if the code in (11) is reflected.
※If not, paste the code copied in (11). 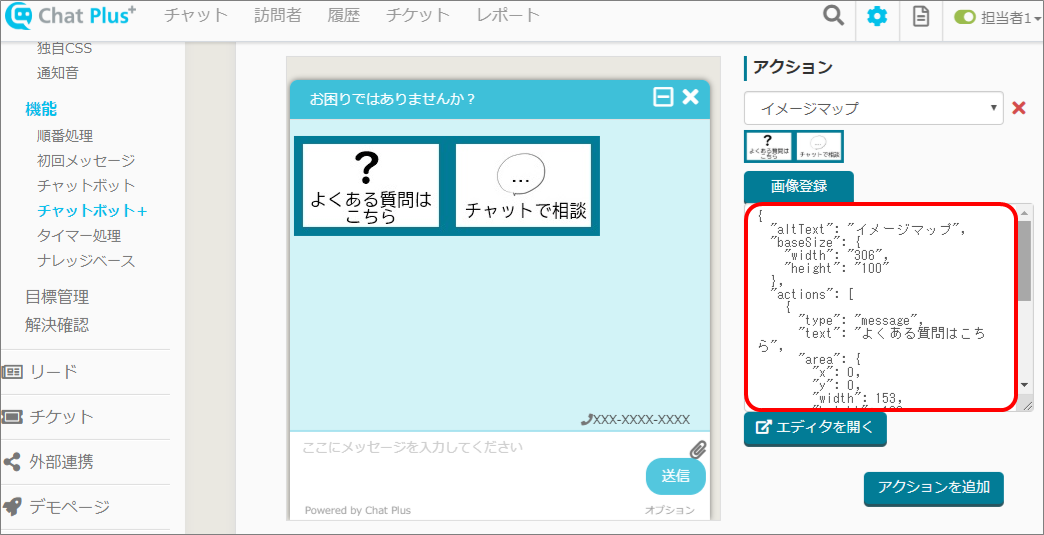
(14)Click [Update]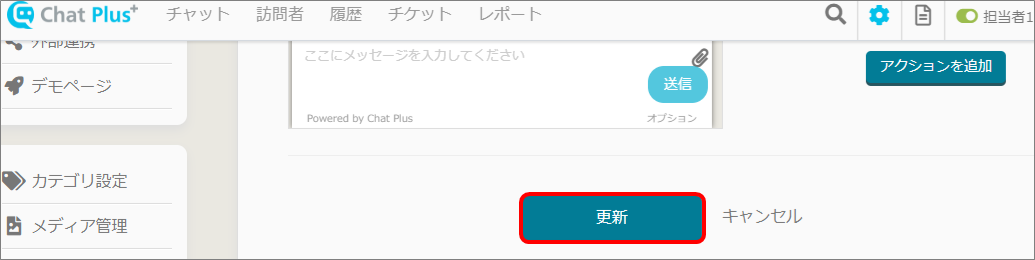
Setting of Eye・Catcher
(1)Click the setting button on the upper right of the management page.
(2)Click [Chat]>[Design]>[Menu] on the left side of the screen. 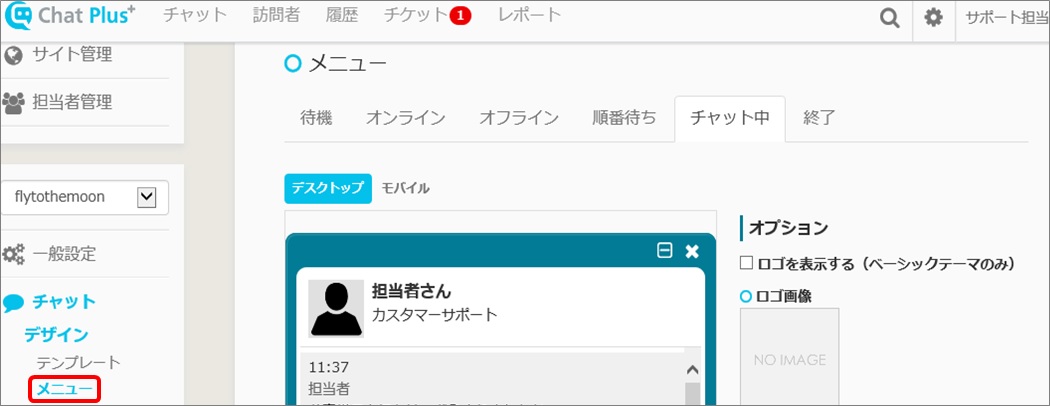
(3)Click [Menu]>[Stand by] tab.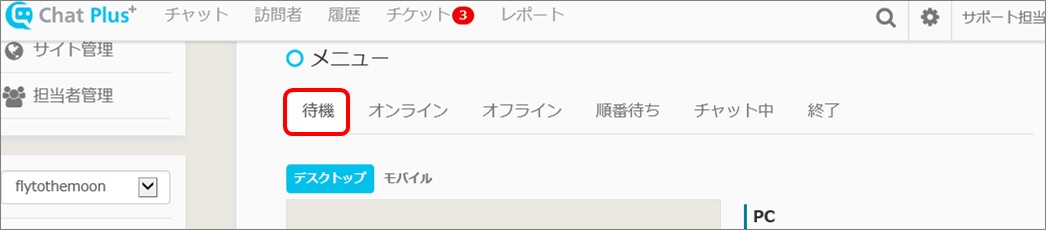
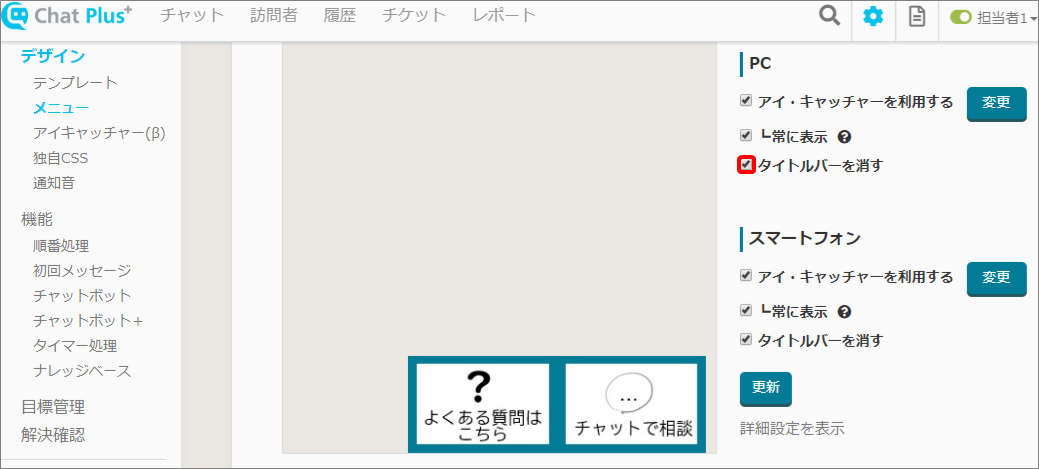
(4)Click [Change] of Eye・Catcher 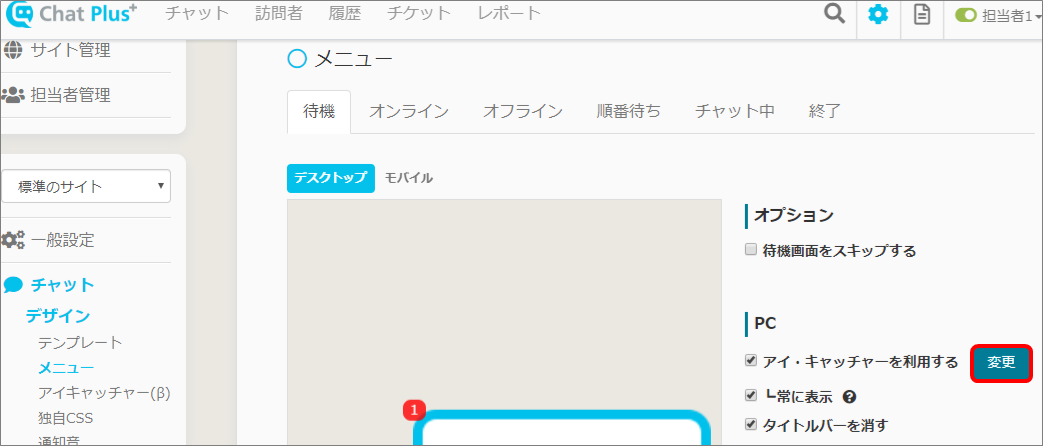
(5)Check in the radio button of Image Map, and click the image map set in [Register part of Image map] from the pull down.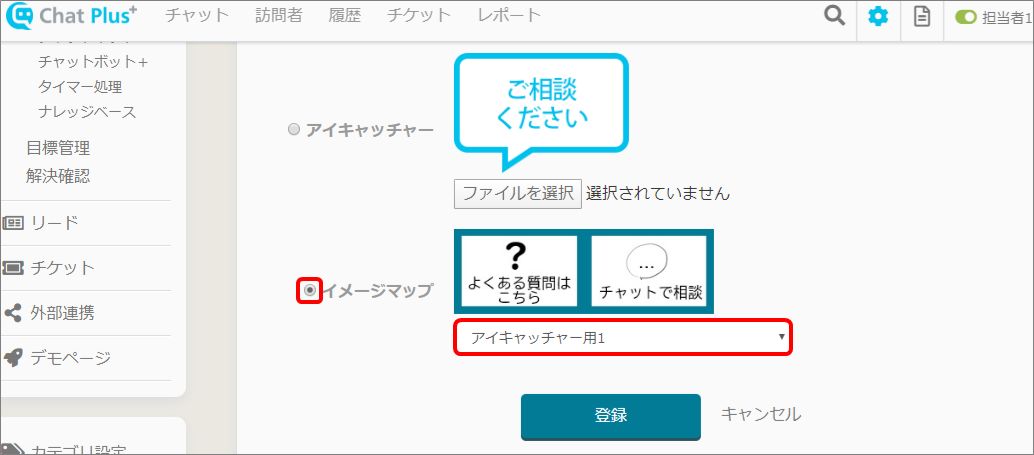
(6)Click [Register]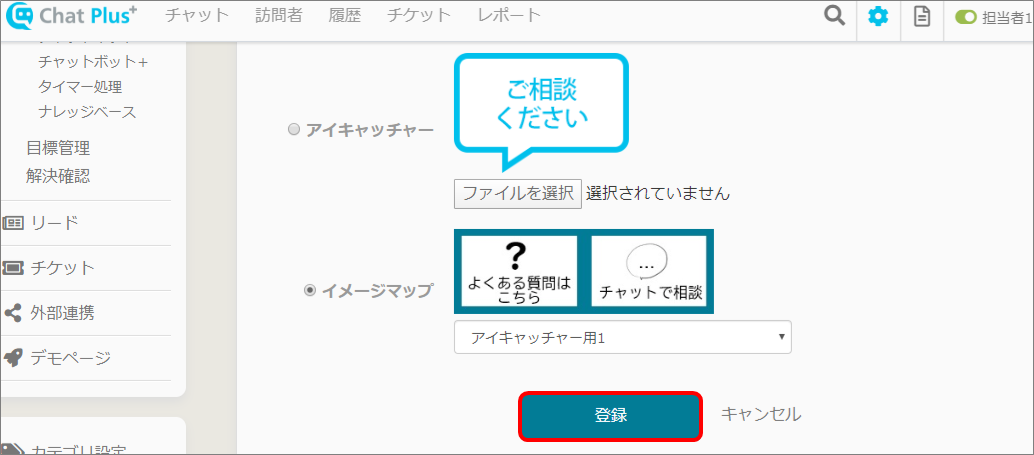
(7)Check if the image map is reflected.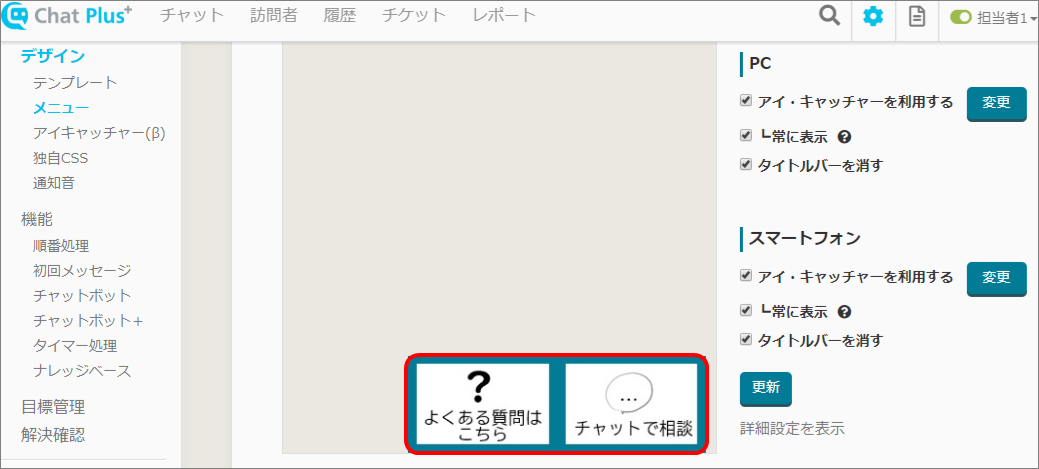
Action Confirmation
(1)Click the setting button on the upper right of the management page.
(2)Click [Demo Page] on the left side of the screen. 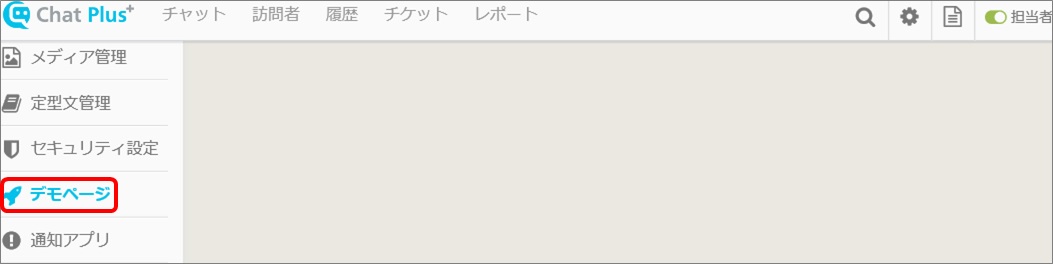
(3)Open Demo Page either corporate site or EC site. 
(4)Click the certain range in the image map and check if the user's remark is activated properly.