
 Here it explains the most basic setting of the chatbot (automatic reply). It works as when the users clicked on a choice in the chatbot, the content of the choice becomes the user’s statement. In response to that statement, the chatbot is activated, and the flow is going to be repeated to create the scenario on the chatbot. In this case, as an example, we will be setting a chatbot to be activated when [I want to know how much it costs] was selected in the choices in the initial message.
(1) Click on the setting button on the upper right of the management page.

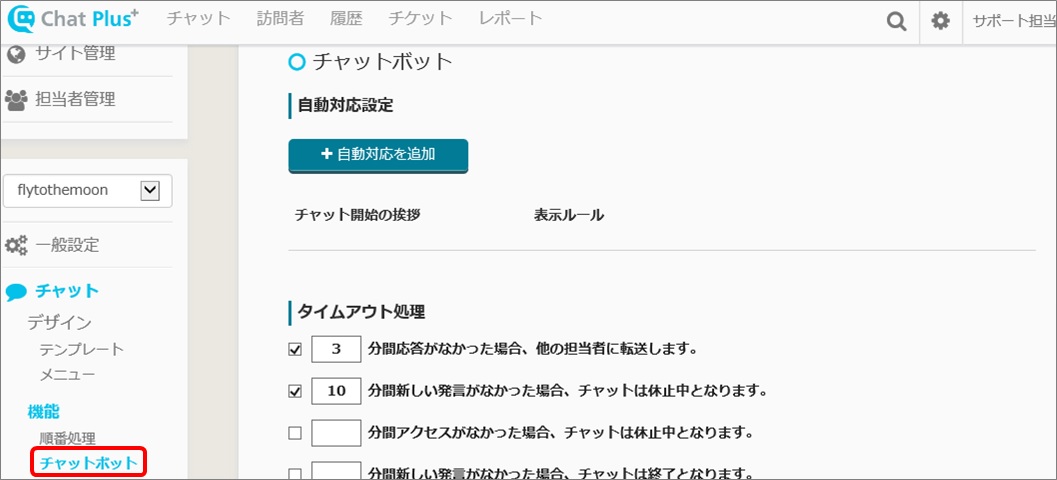
(2) Click on [Chat]>[Function]>[Chatbot] on the left side of the screen.
(3) In the section [Automatic reply setting], click on [+Add automatic reply].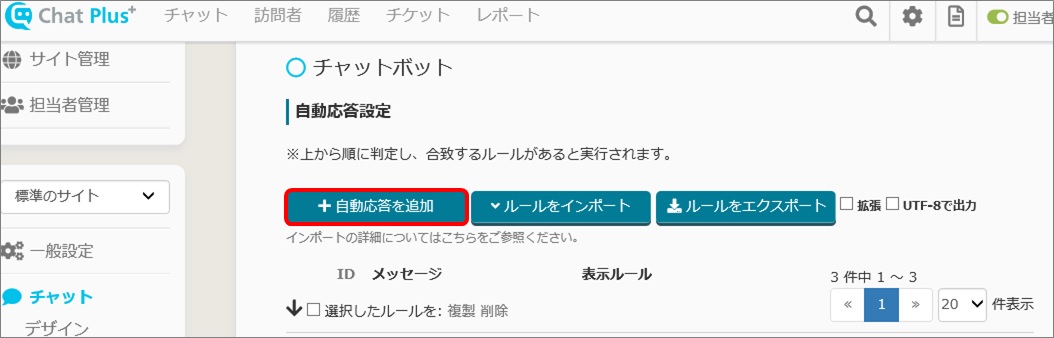
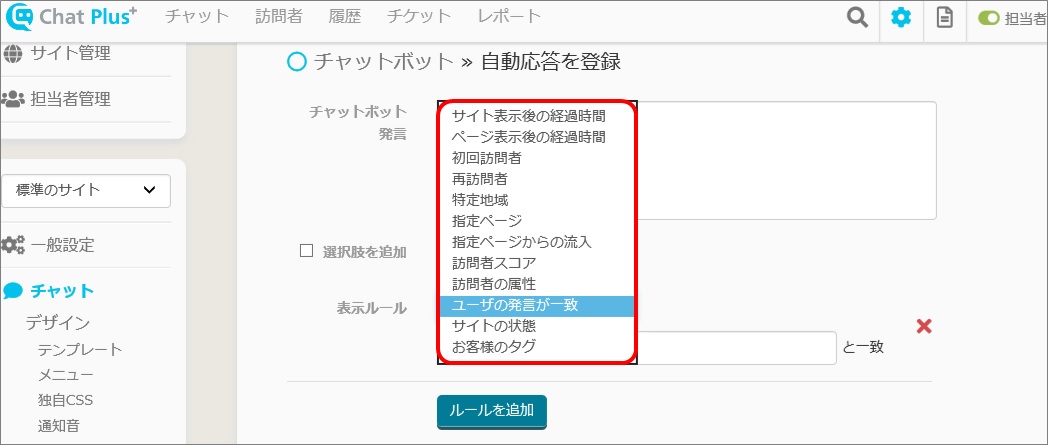
(4) Click on [Match with user ’s remark] from the pull down [Display rule]. 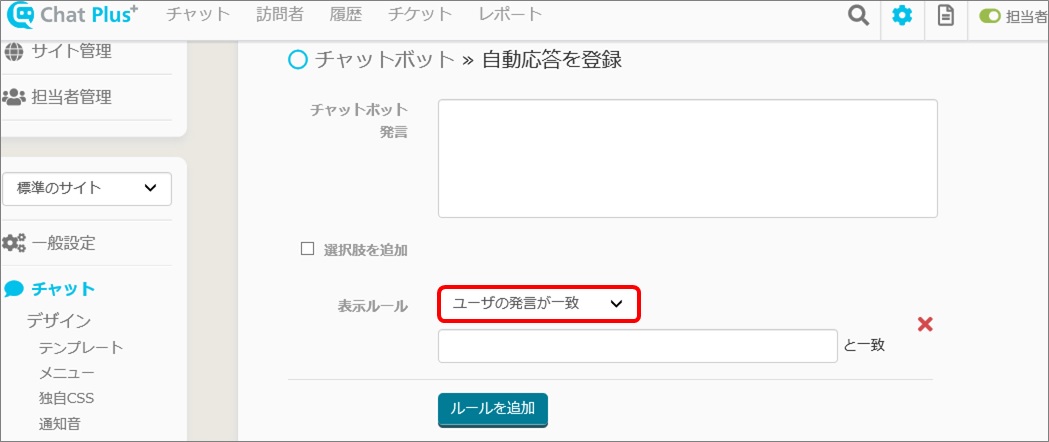
・Elapsed time of the site display, elapsed time of the page display, first time user ・Revisitors, specified region, designated page ・User score, User attribute, site status, User tags
(5) Write down in a box [Match with ----] the remark of the users. This time write [I want to know how much it costs].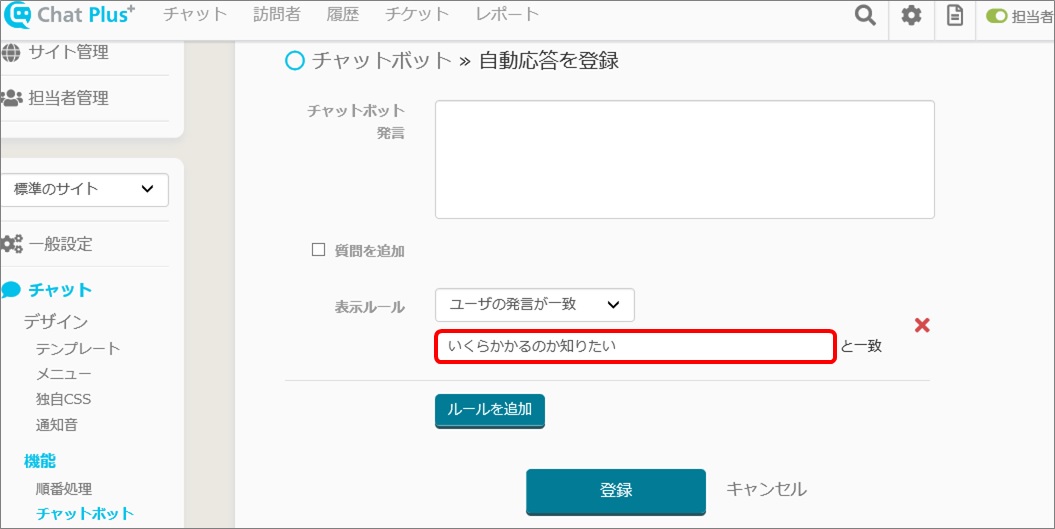
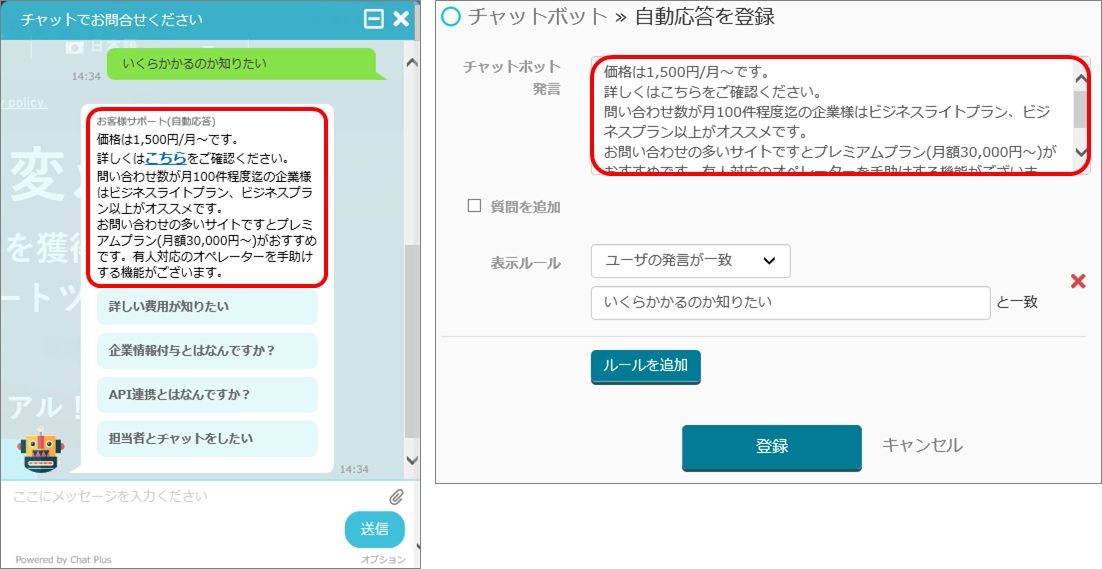
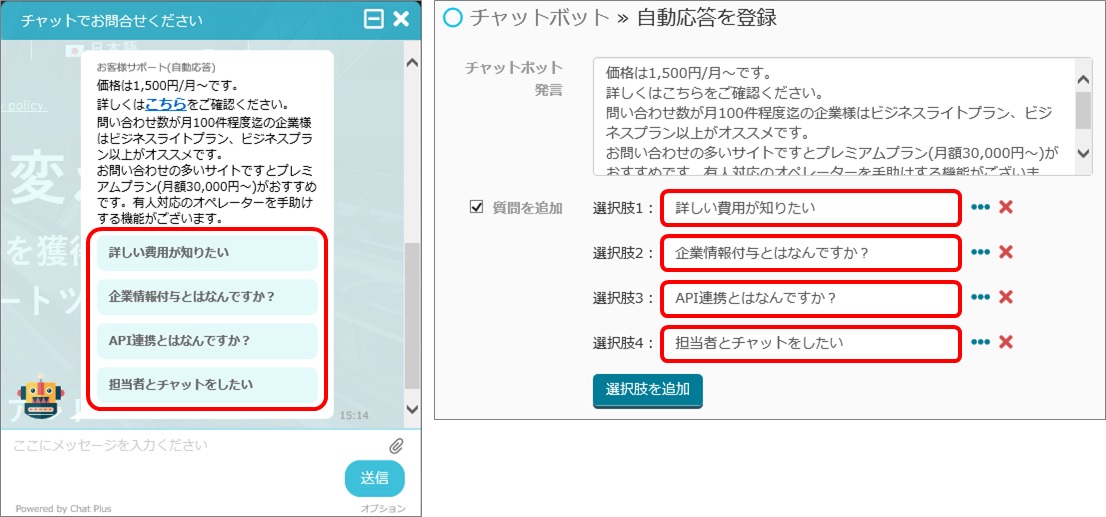
(6) Write down in the box above [Chatbot remark] what you want to respond with when the user’s remark was matched.
(7) If you want to give choices to users, check in the box [Add questions], you will be able to write down questions that you want to ask further. 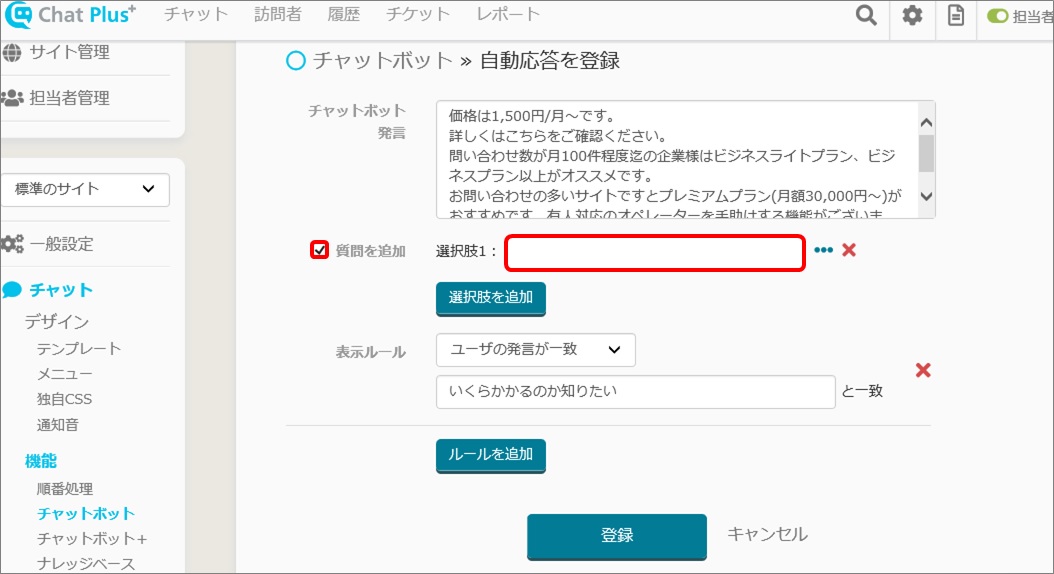
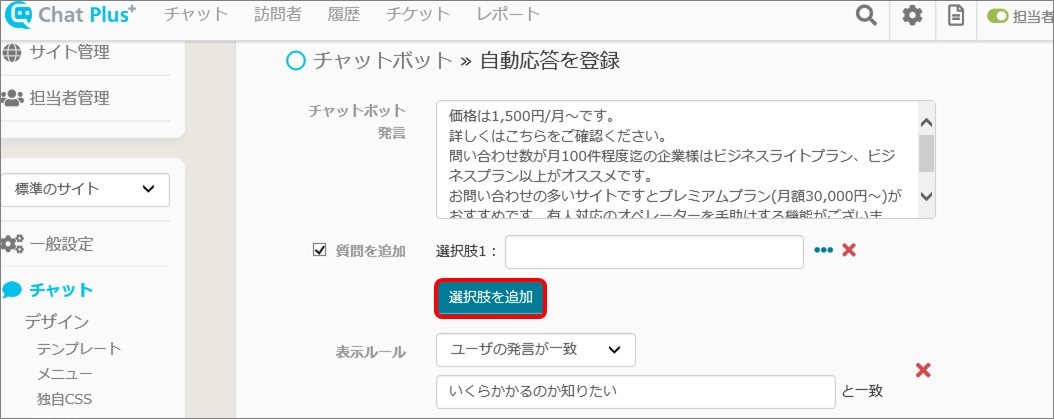
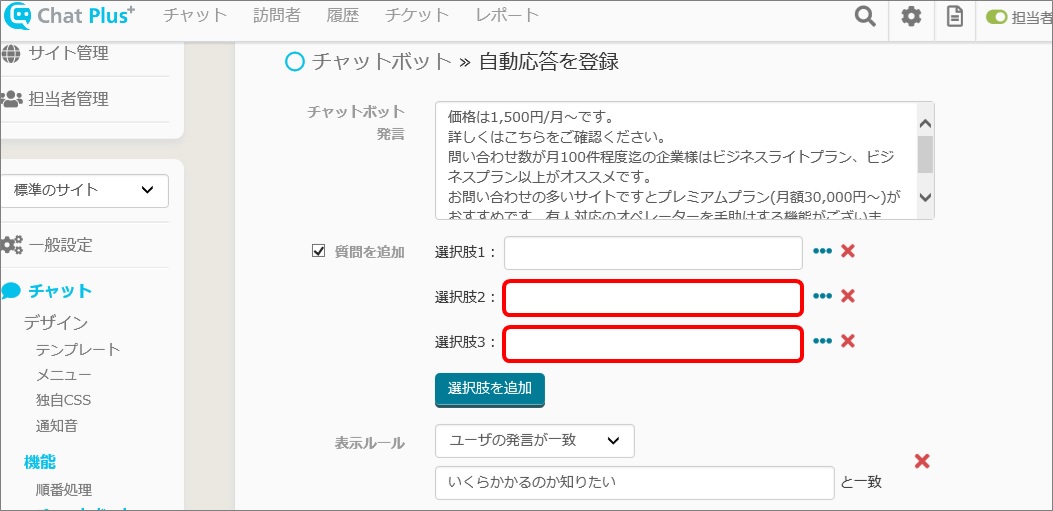
(8) Enter the choices you want to display in the empty boxes.
(9) Click on [Update].