 With [Chatbot+] you can send images through the chatbot.
(1) Click on the setting button on the upper right of the management page.

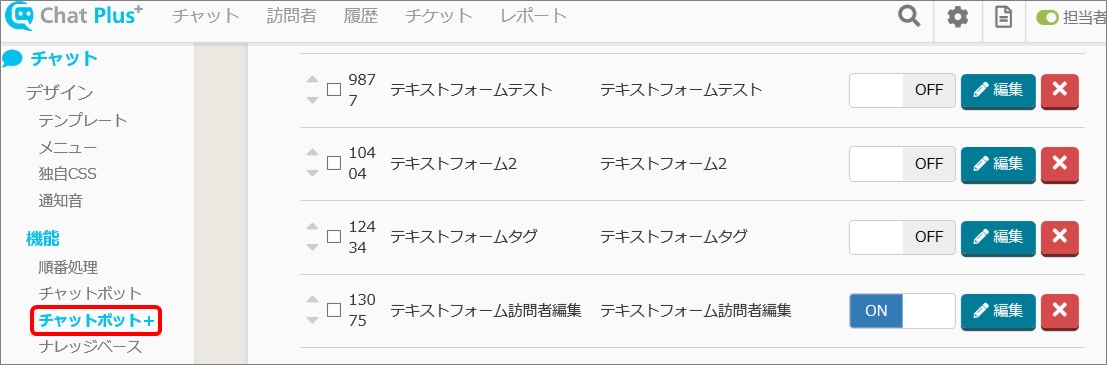
(2) Click on [Chat]>[Function]>[Chatbot+] on the left side of the screen.
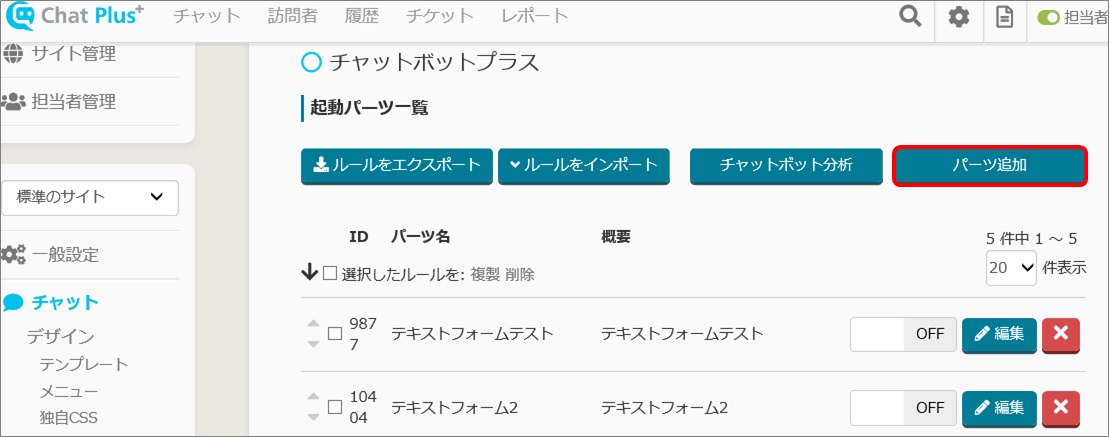
(3) Click on [Add parts].
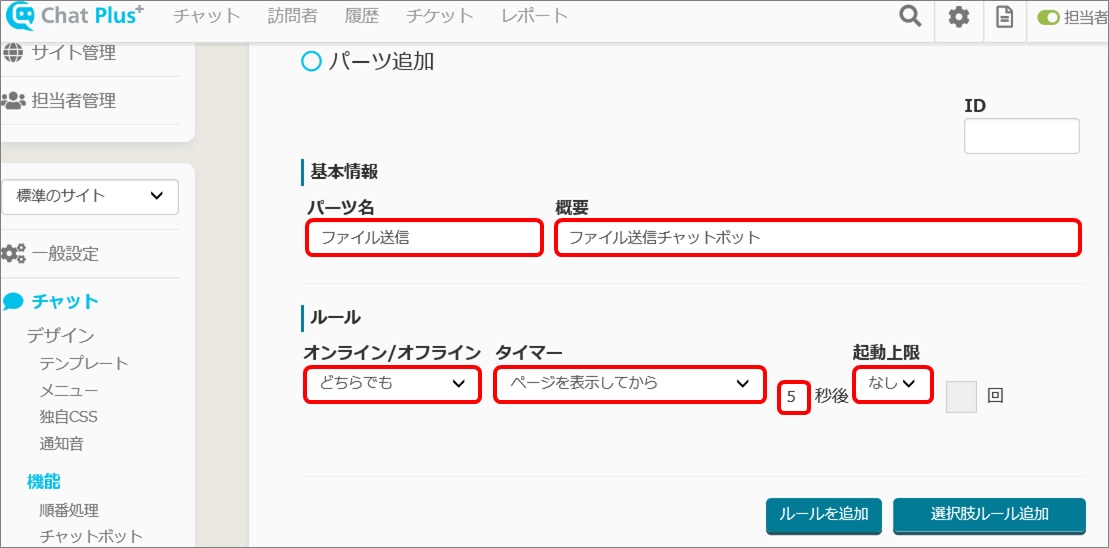
(4) In the section [Basic Information], write down [Part’s name] and [Details], and in the section [Rule], you can set the conditions when sending an image.
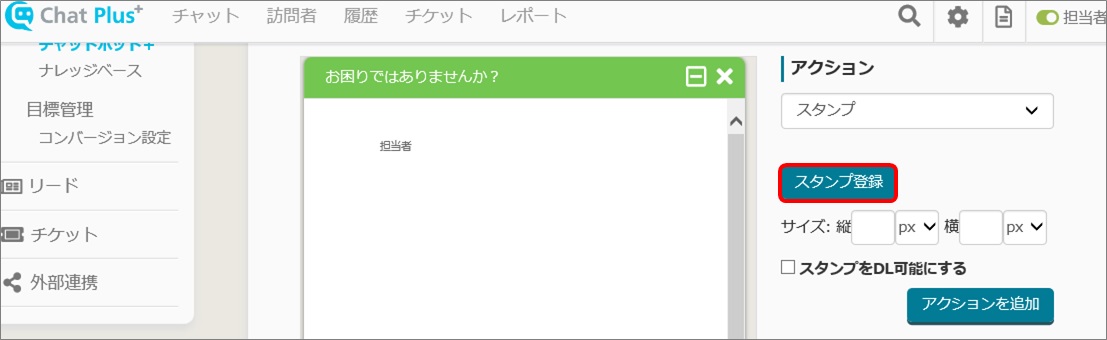
(5) In the section [Action], click on [Stamp] or [Send files] from the pull down.
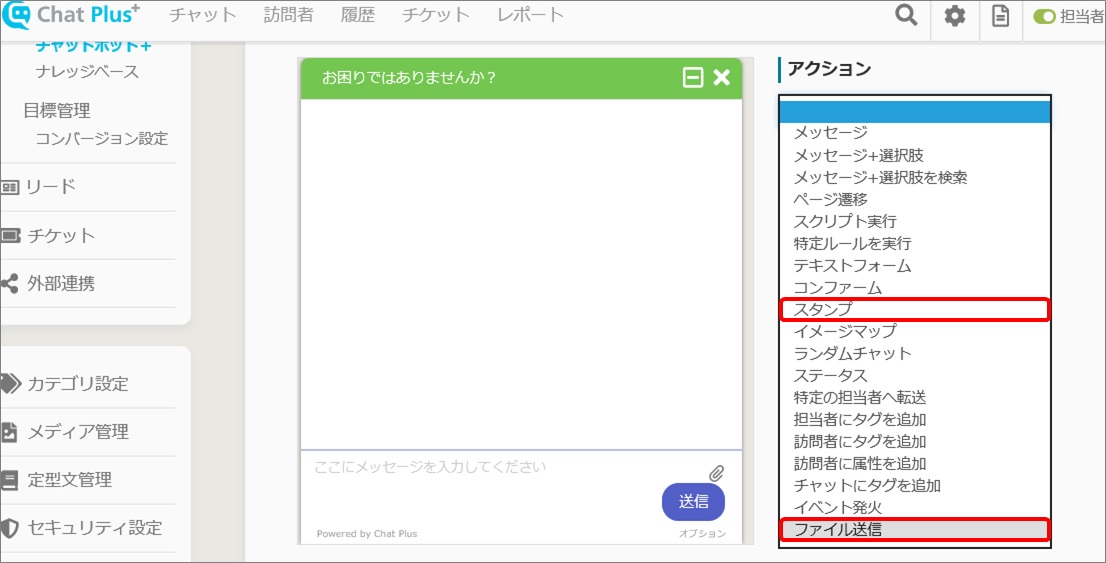
■[Stamp ] can change the size of images registered.
This is useful for brightening up the chat window using emojis.
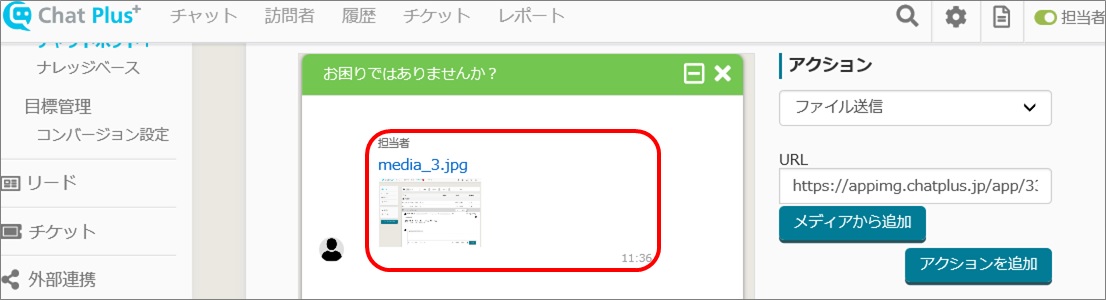
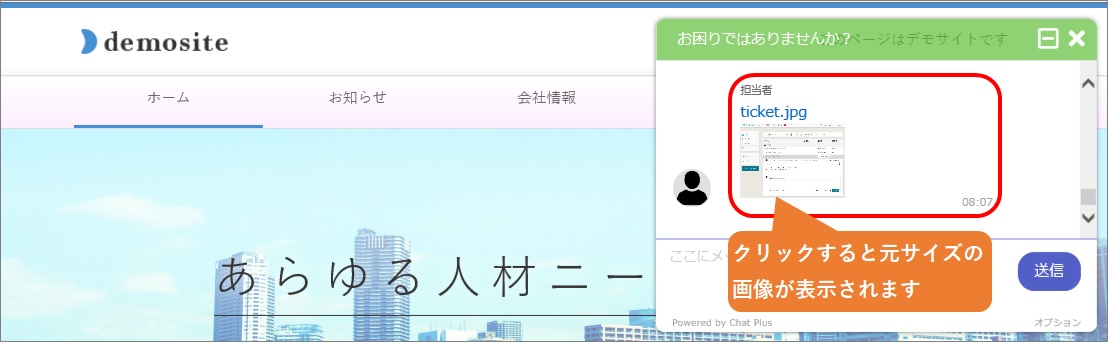
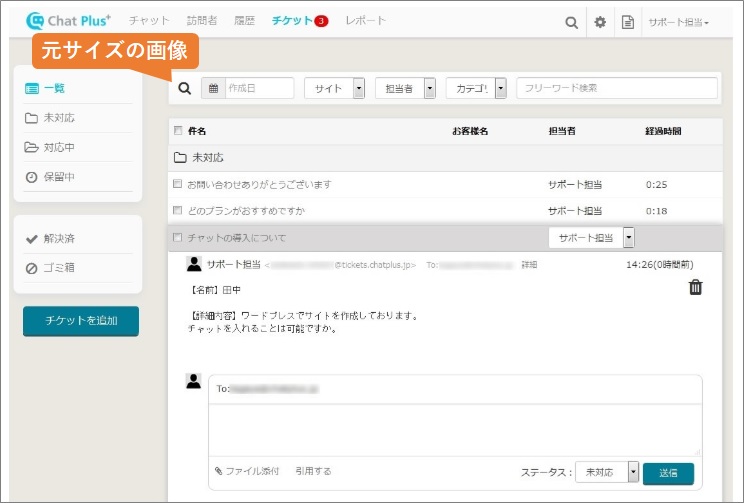
■[Sending files] can send the selected image file directly to the chat.
This is useful for sending important images like maps and manuals.
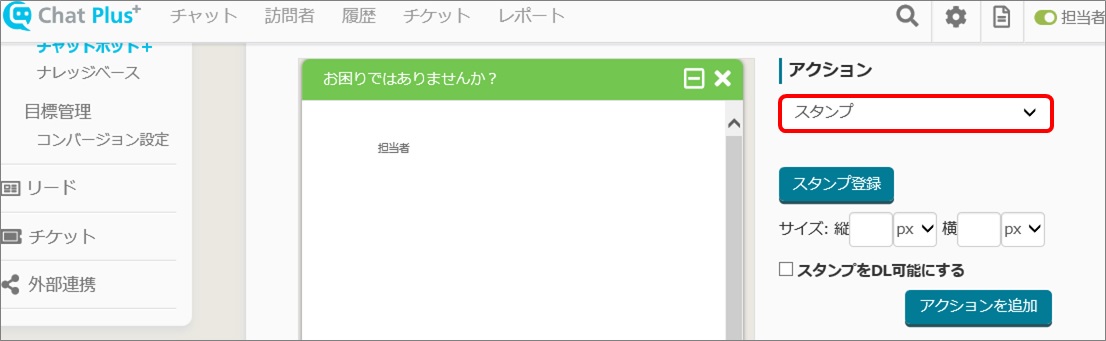
Setting of the stamps
(1) In the section [Action], click on [Stamp] from the pull down.
(2) Click on [Add files].
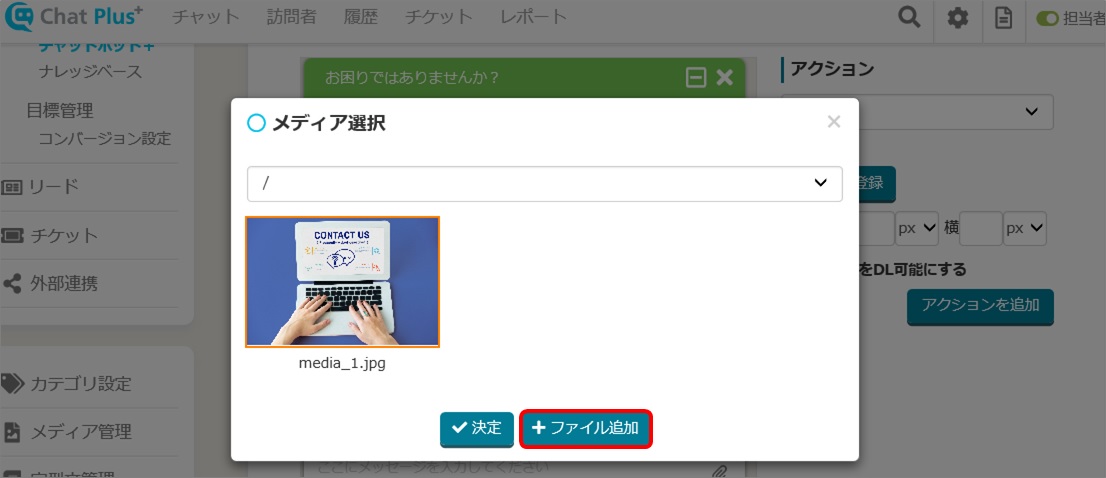
(3) Click on [Browse] and select an image.

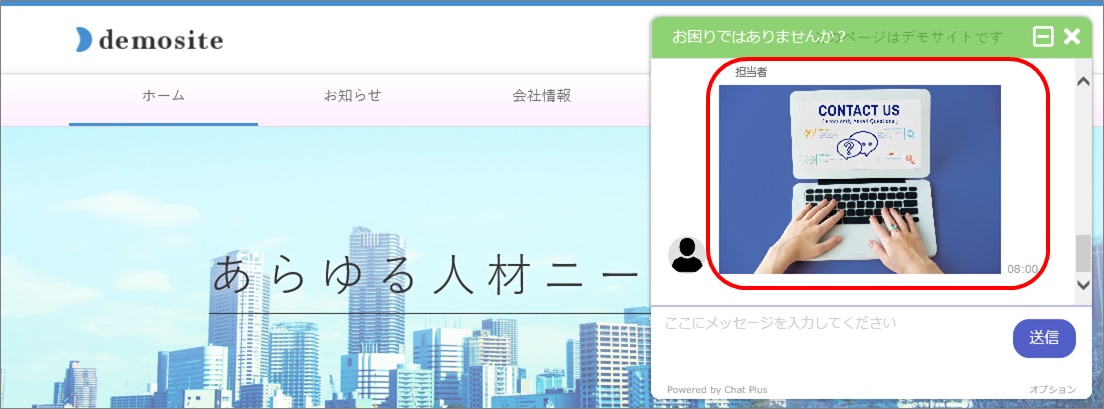
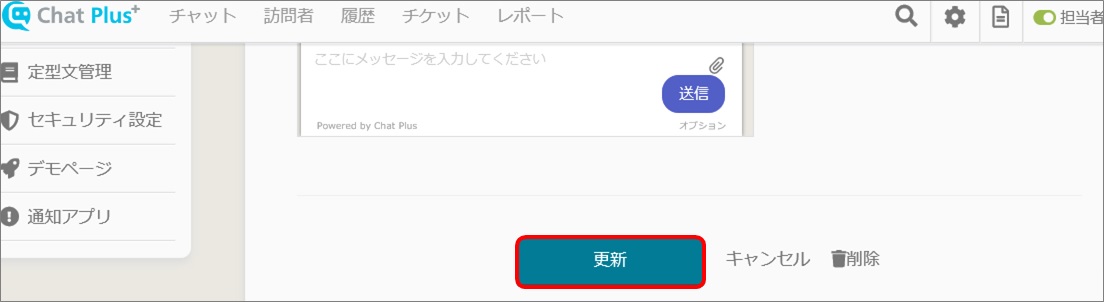
(4) Confirm the images are shown on the preview window, and click on [Update].

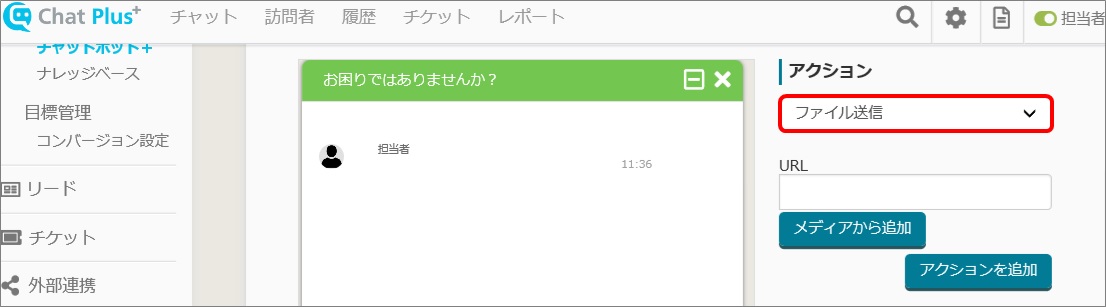
Setting of the send file
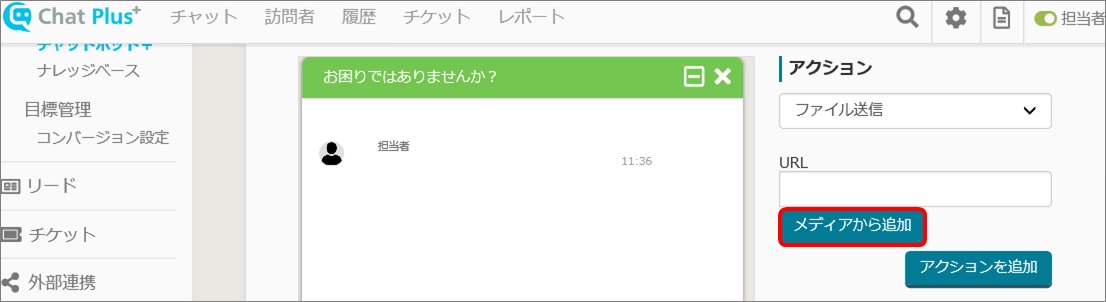
(1) In the section [Action], click on [Add from media].
(2) Click on [Add files].
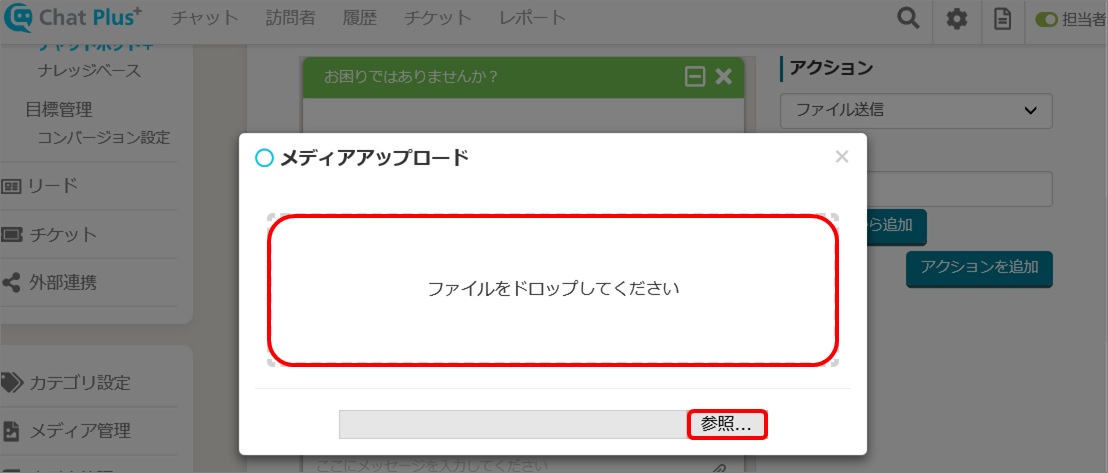
(3) Click on [Browse] and select an image/file.

(4) Confirm the images/files are shown on the preview window, click on [Update].