
Here it explains how to customize a text form.
The text form created in "Text Form (Basic)" is customized below.
Set the action after sent
When the user enters the text form, you can set the action after they clicked [Send].
You can choose from “User message” and “Run a specific rule”
User message
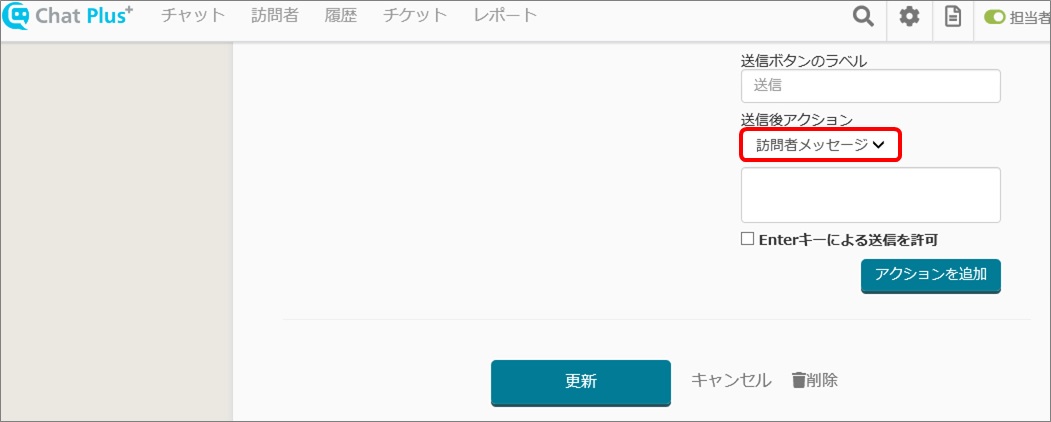
If you set “User message”, users can send a message after they clicked [Send]
(1)From the pull down “Action after sent”, click [User Message].
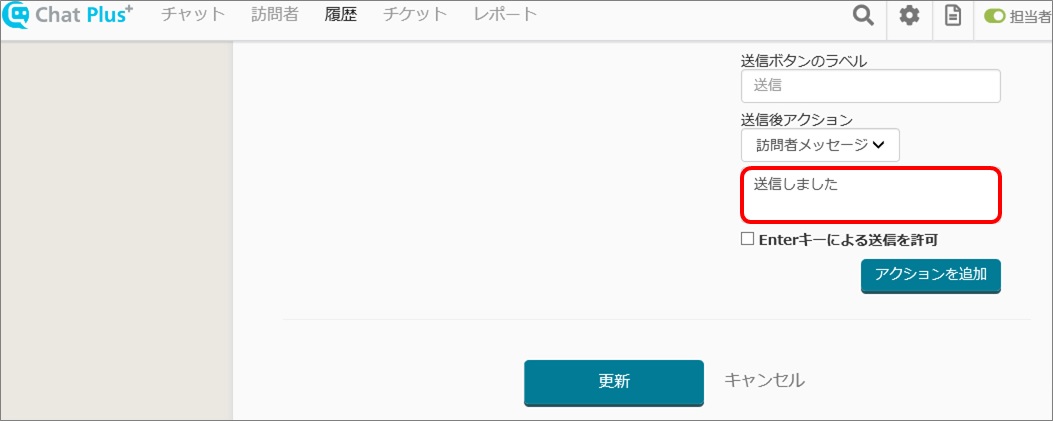
(2)Write down a message when the user clicked [Send]
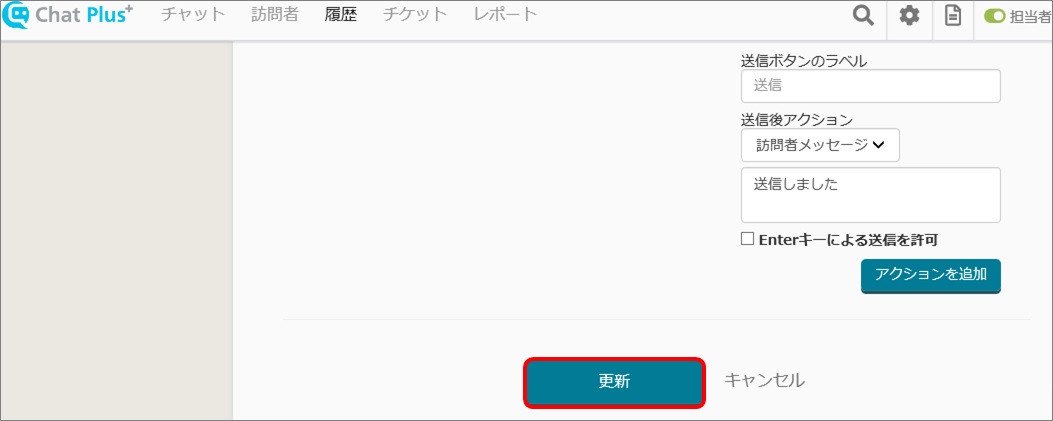
(3)Click [Update]
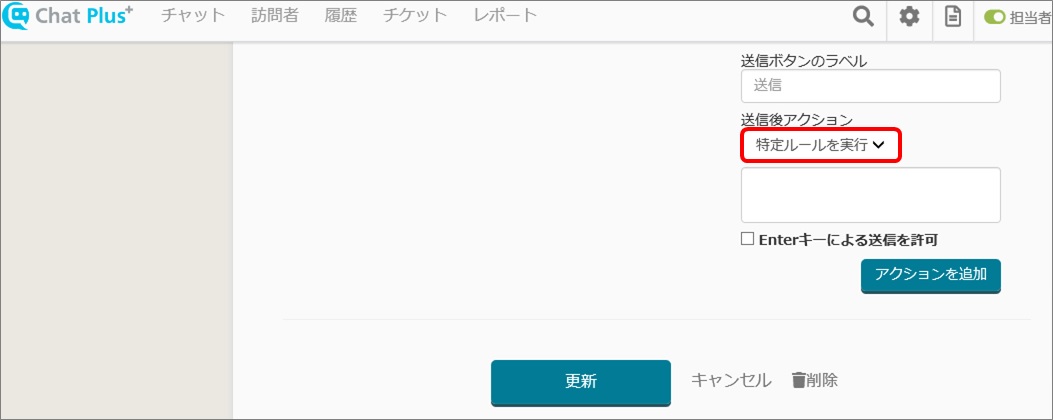
Run a specific rule
When a user clicked [Send], you can activate a specific Chatbot.
(1)From the pull down “Action after sent” click [Run a specific rule].
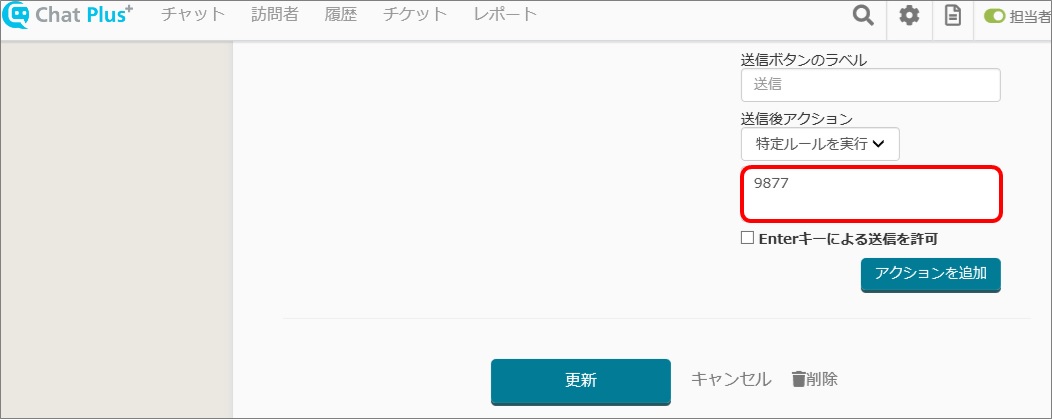
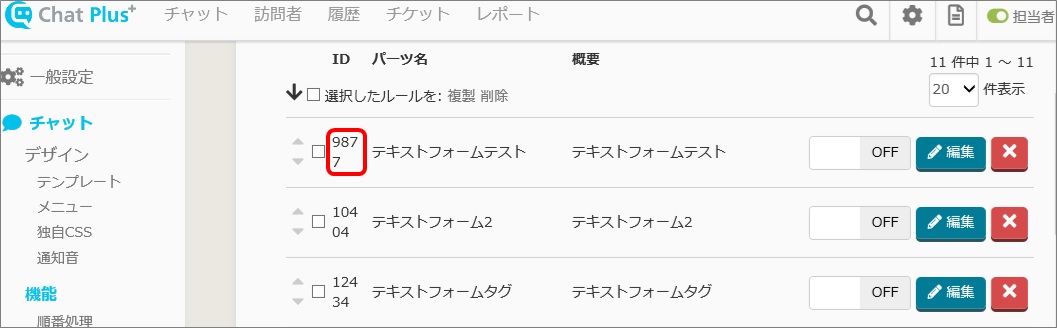
(2)In the box below, write down a Chatbot, or Chat bot+ ID number to activate.
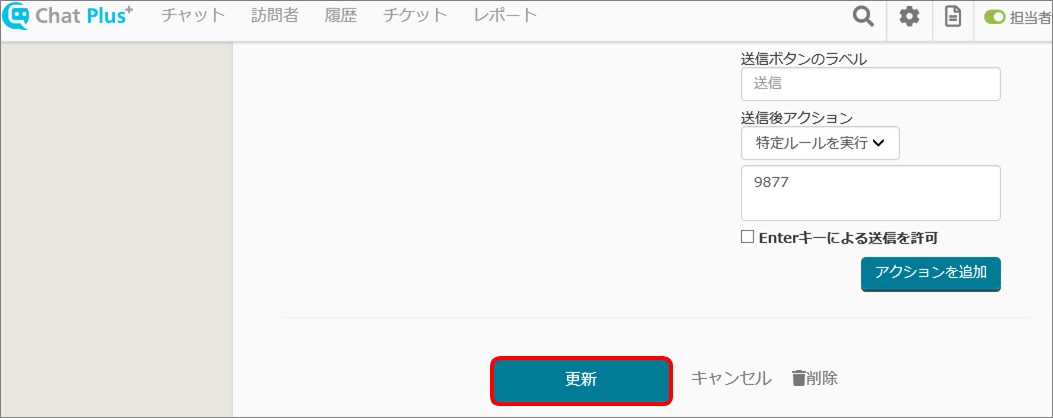
(3)Click [Update]
Update user attribute
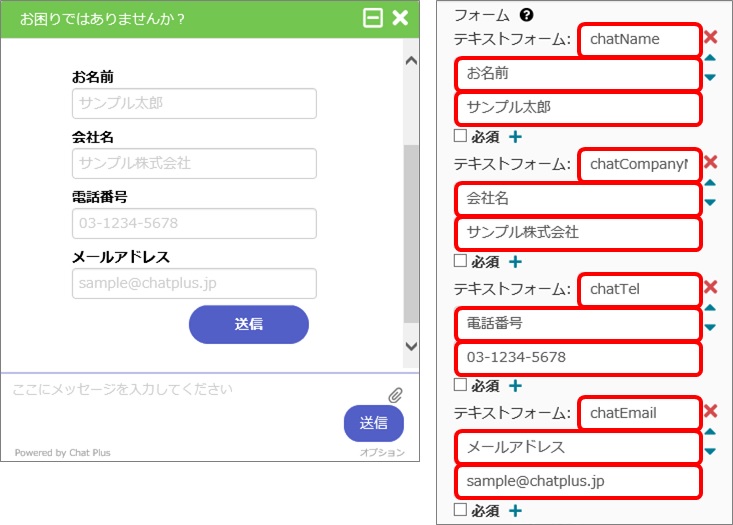
We set the text form name " chatName " above, if you set it like this, the content entered in that field are registered as user's names.
In addition, the following items are available.
chatTel:the entered data is registered as a phone number
chatEmail:the entered data is registered as the email address
If you want to register user's name, company name, phone number and e-mail address, you can set it as follows.
Actions other than ticket
In addition to tickets, various actions are available with the text form. An overview of each action is as follows:
Tag:Tag data reflects what users have entered in the form.
Remark:The content entered in the form will be reflected in the chat history.
Postback:The content entered in the form is posted to a specific URL.
Postback(JSON):The content entered in the form is posted to a specific URL in JSON format.
Ticket:A ticket is created with the contents of the form.
Email: The content entered in the form will be sent to the email address specified as the support source from the email setting.
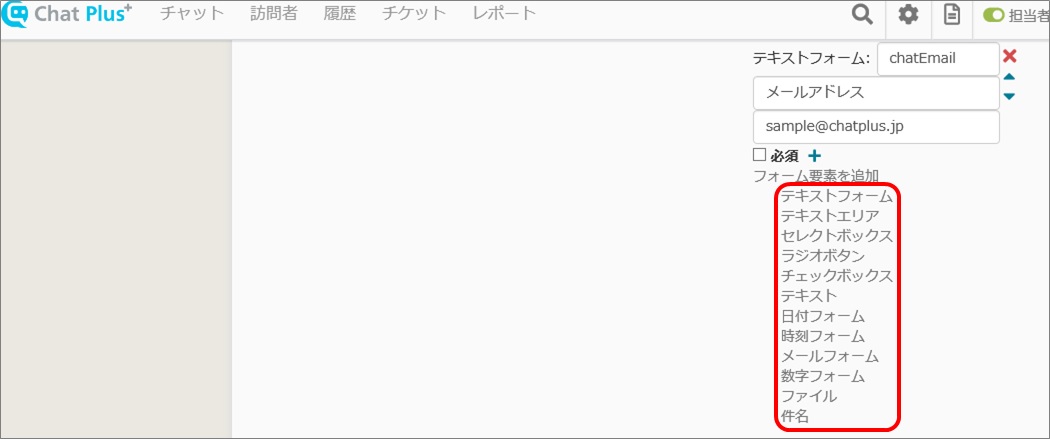
Form element
There are other forms in addition to text forms, such as radio buttons, select boxes etc.
(1)Click [Add form elements]
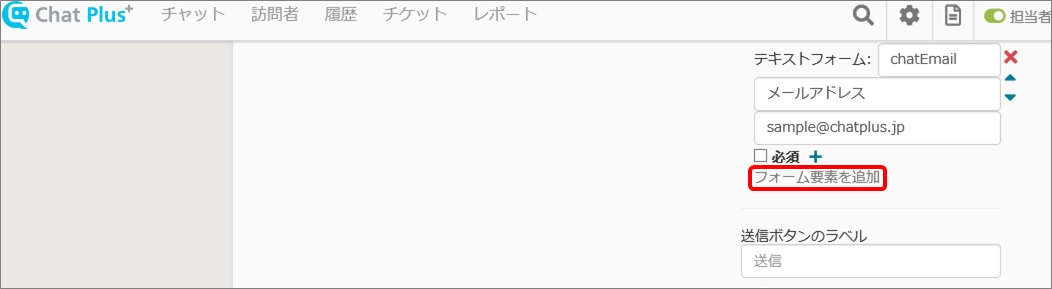
(2)Various elements will be shown in the box, select them depending on a situation.