

Here, it explains about the chat screen. Click on [Chat] at the top of the screen, you can see ongoing chats. 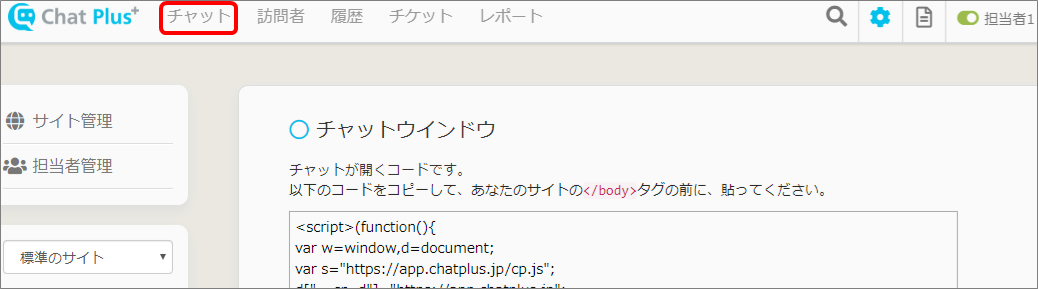 The picture below is the chat screen.
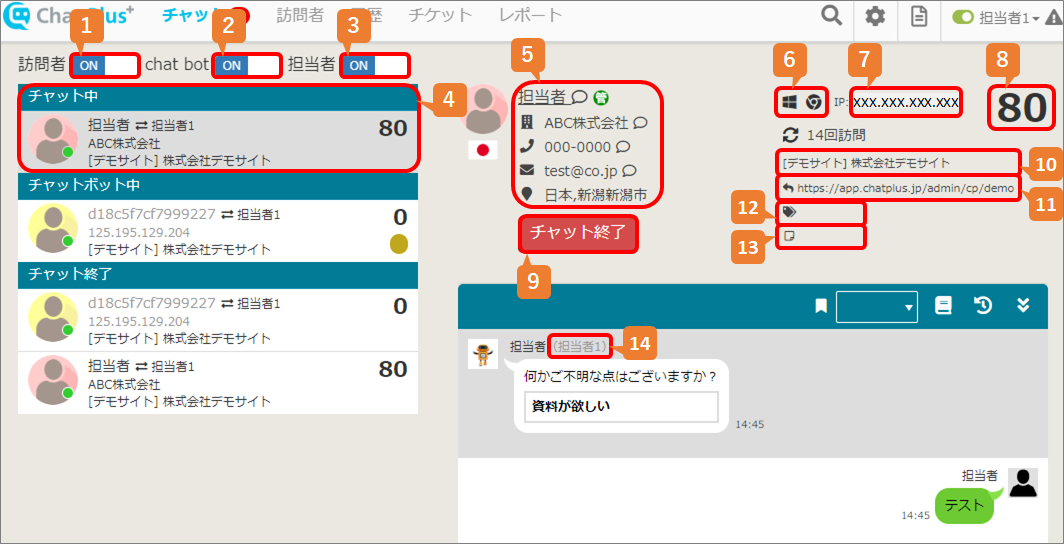
1:You can switch display / not display Users visiting. 2:You can switch display / not display chatbotting users. 3:You can switch display / not display Users outside your charge. ※You can use it above managing authority. 4:Displaying ongoing chat of each status. ※For more information about users' status, please refer to [About users' status]. 5:Displaying user's detail. ※Information like what users entered when starting a chat or edited information in the management page will be shown. 6:OS and browse that users using is displayed. ※For more information about OS and browse that users using, please refer to [Users]. 7:User's IP address will be shown. 8:Score will be displayed. ※For more information about scores, please refer to [Scoring users]. 9:Click this and the confirmation screen will show, and you can end chat. 10:Displaying page's title that user is staying on. 11:Referrer (Page's URL that user was staying right before) will be displayed. 12:Displaying the tag which set to the user. 13:Displaying the memo which set to the user. 14:Displaying the operator's name who is on the user.
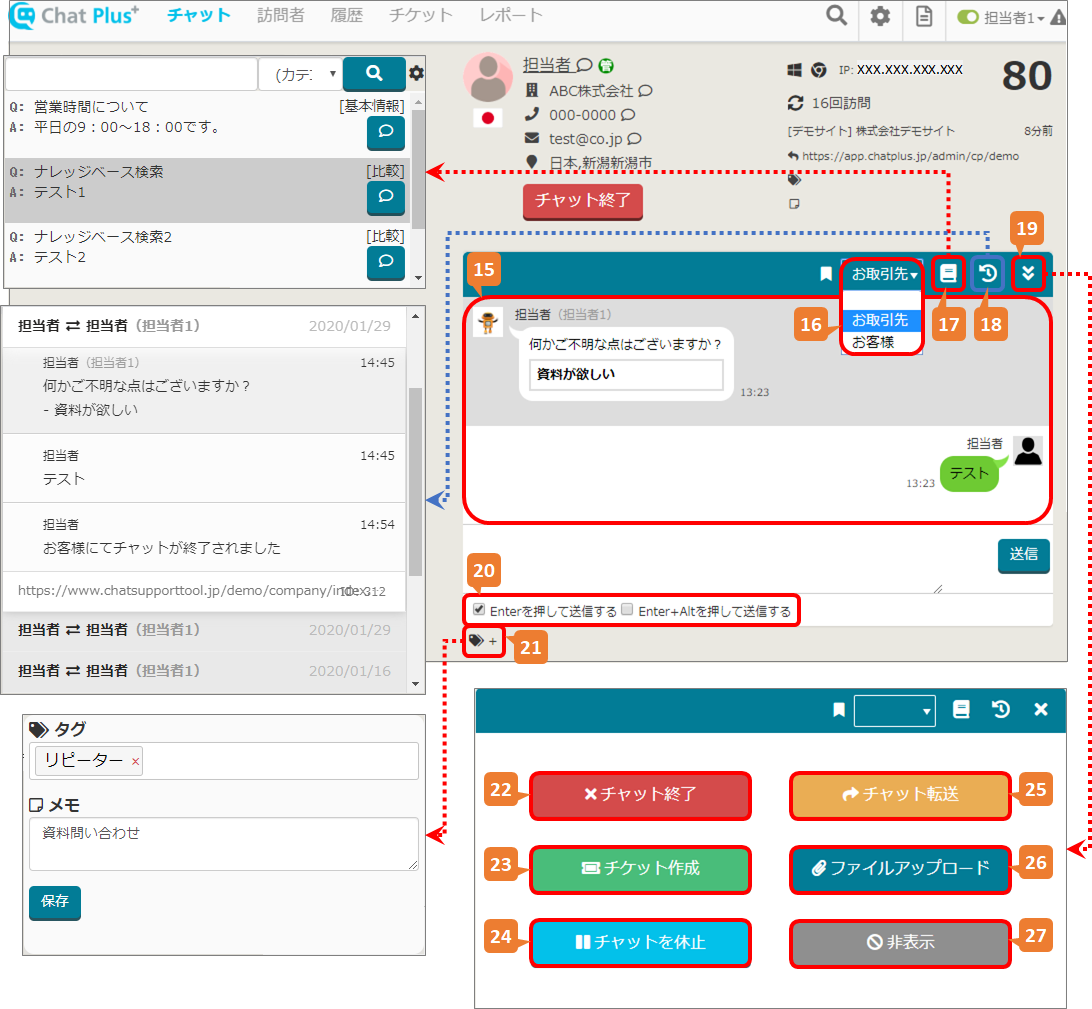
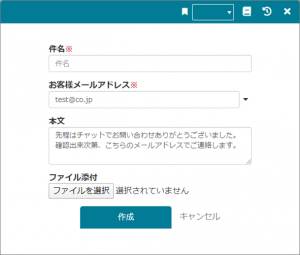
15:Displaying the on-going chat content. 16:You can set the category which you set previously. ※For more information about the setting of category, please refer to [Category setting] [Usage of category]. 17:Click on this and Knowledge Base will be displayed. ※This function can only be done above Premium Plan. For more information about the usage of Knowledge Base, please refer to [Knowledge Base]. 18:Click on this and it will show the chat history with the applicable user. 19:This is [Other menu] button. Click on this and it will show the menu from 22 to 27. 20:Check this and you can set the method to send chat. 21:Click on this and you can edit the tag and memo of the chat. ※For more information about tags and memo, please refer to [Tag and memo]. 22:Click on this and the confirmation screen will show to end the chat. 23:Click on this and it will display the screen to create ticket of the chosen chat.  24:Click on and you can pause the chat. 25:Click on this and it will display the operators which you can forward the chat. ※For more information about forwarding a chat, please refer to [Forwarding a chat]. 26:Click on this and you can upload a file to the chat.
  27:Click on this and you can choose not to display chat from now on to the user. ※The setting to not display the chat can be set individually from user page. For more information, please refer to [User block].
 24:Click on and you can pause the chat. 25:Click on this and it will display the operators which you can forward the chat. ※For more information about forwarding a chat, please refer to [Forwarding a chat]. 26:Click on this and you can upload a file to the chat.
 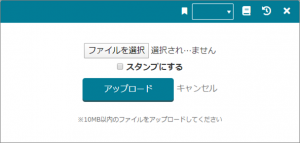 27:Click on this and you can choose not to display chat from now on to the user. ※The setting to not display the chat can be set individually from user page. For more information, please refer to [User block].